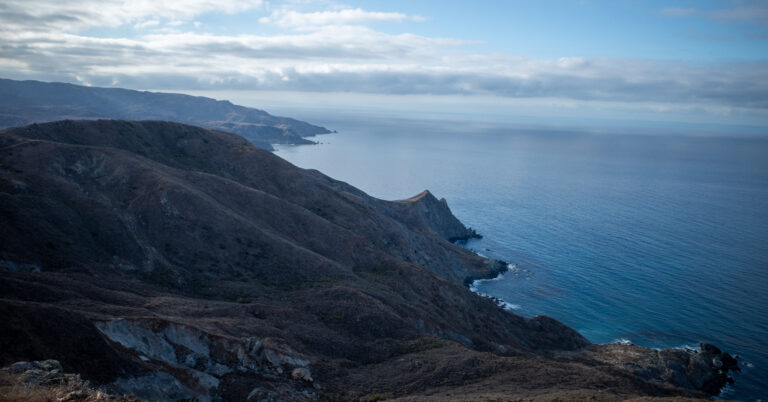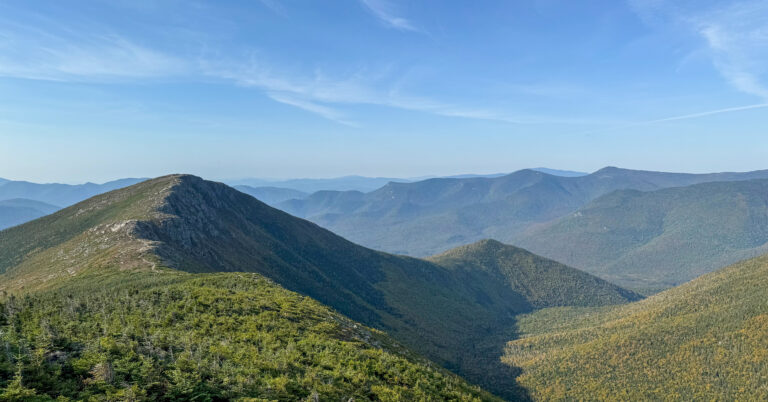
3-Day Dolly Sods Backpacking Loop from Bear Rocks
Trip Snapshot
| Wilderness Area | Dolly Sods Wilderness |
|---|---|
| National Forest | Monongahela National Forest |
| State | West Virginia |
| Route Type | Loop |
| Start / Finish | Bear Rocks Trailhead |
| Direction | Counterclockwise |
| Distance | 26.2 miles |
| Days / Nights | 3 days / 2 nights |
| Elevation Gain / Loss | 3,600 ft gain / 3,600 ft loss |
| Difficulty | Moderate to Strenuous |
| Trip Date | Mid-November 2024 |
| Camping | Dispersed camping at established backcountry sites during this trip |
| Water | Frequent creeks after the first high-plateau stretch; filter or treat all backcountry water |
| Permit / Fee | No permit, advance reservation, or parking fee was required during this trip; verify current rules before visiting |
| Solo Safety | Reasonable for experienced solo backpackers with offline navigation and conservative creek-crossing judgment |
| Best Season | Late spring through fall when access roads are open; choose dates from current road, weather, water, and fire information |
Scope of this guide: This route guide documents my mid-November 2024 trip. Access, closures, parking, camping, fires, food storage, water, and stream conditions can change. Check the Monongahela National Forest alerts and posted rules for your dates.
Overview
Dolly Sods Wilderness is less about one overwhelming summit and more about how often the landscape changes, from foggy plateau and spruce forest to rocky overlooks, creeks, boggy trail, and wide-open plains.
For a wilderness reached by car from much of the East Coast, the loop felt unusually wild once we moved away from the popular access points. Open plateau gave way to rocky ridge, spruce forest, muddy hardwoods, creek corridors, and broad plains in a compact three-day route. Established backcountry sites appeared often enough to keep daily mileage flexible, and much of the loop was quiet in mid-November.
This route does not have the enormous summit drama of Jotunheimen or Mont Aorai. Its appeal is variety, atmosphere, solitude, and the sense of moving through several distinct environments in one trip. Day 1 fog hid most distant views but made the plateau feel moody and remote. Day 3 brought clear skies over similar ground and made the return feel completely different.
Lion’s Head at sunrise was the standout experience. We reached the overlook with breakfast before anyone else arrived and watched first light spread across the surrounding ridges. The rest of the loop was rewarding without being uniformly scenic: Dunkenbarger Trail was muddy, enclosed, slow, and the section I would be least interested in repeating.
The numbers alone understate the effort. Mud, two Red Creek crossings, leaf-covered tread, a few imperfect junctions, short November daylight, and below-freezing overnight temperatures made the route more involved than 26.2 miles and 3,600 feet of climbing might suggest. There was no sustained technical terrain, but Lion’s Head included steep rock and light scrambling.
Route Map
Use this CalTopo map as the main route reference for the counterclockwise loop, daily tracks, camps, water notes, terrain, and planning. Open it in CalTopo for the best full-screen experience, and compare it with the official Forest Service trail map before hiking.
GPX note: The route, campsite, and water descriptions record planning notes and observations from this November 2024 trip. They are not a current report on access, water, crossings, campsites, or trail conditions.
Quick Itinerary
| Day | Route | Details |
|---|---|---|
| Day 1 | Bear Rocks Trailhead → Bear Rocks Loop → Raven Ridge → Rocky Ridge → Blackbird Knob → Big Stonecoal | Distance: 9.3 miGain/Loss: +900 ft / -1,220 ftCharacter: Late start, foggy plateau, rocky overlooks, longest dry stretch, transition to creek-side forestCamp: Streamside site shortly before the Dunkenbarger junction |
| Day 2 | Lion’s Head sunrise out-and-back → Dunkenbarger → Little Stonecoal → Red Creek | Distance: 8.5 miGain/Loss: +1,030 ft / -1,610 ftCharacter: Sunrise scramble, muddy woods, leaf-covered tread, and two Red Creek crossingsCamp: Established site near Red Creek after the second crossing |
| Day 3 | Red Creek → Blackbird Knob → Upper Red Creek → Dobbin Grade → Raven Ridge → Bear Rocks | Distance: 8.4 miGain/Loss: +1,680 ft / -770 ftCharacter: Uphill return, brief boggy connector, open plateau, strong wind, and clear viewsFinish: Bear Rocks Trailhead |
Trailhead & Access
| Start / End | Bear Rocks Trailhead |
|---|---|
| Route Type | Counterclockwise loop |
| Road | Forest Road 75 near Bear Rocks; verify the exact approach and all current closures before departure |
| Parking | Main and overflow parking were available, easy, and free around 11 a.m. in mid-November 2024 |
| Facilities | An information board and apparent voluntary trail register were present; do not assume toilets or trash service will be available |
Check access before driving: The forest-road approach and gate status can change with the season, weather, road damage, or maintenance. My dry, snow-free November 2024 drive is only a record of that trip. Review the current Monongahela National Forest alerts and confirm the exact approach before leaving cellular coverage.
Navigation before the trail: Download driving directions before losing service and confirm the forest-road approach rather than relying on live rerouting. Our app sent us onto private roads and eventually to a no-trespassing gate. We drove back toward service, corrected the route, and arrived later than planned.
Route Guide
Three counterclockwise days from the high plateau at Bear Rocks to Red Creek and back, with a sunrise out-and-back to Lion’s Head.
Day 1: Bear Rocks Trailhead to Big Stonecoal Camp
9.3 mi, +900 ft / -1,220 ft
Route
- Begin at Bear Rocks Trailhead and follow Bear Rocks Loop through open high-elevation terrain.
- Join Raven Ridge Trail, then continue south on Rocky Ridge Trail.
- Follow Rocky Ridge through some of the better Day 1 overlooks before continuing onto Blackbird Knob Trail.
- At the four-way junction, continue onto Big Stonecoal Trail.
- Descend as the route shifts from plateau and rocky ridge into more protected forest and creek terrain.
- Camp at an established streamside site shortly before the Dunkenbarger Trail junction.
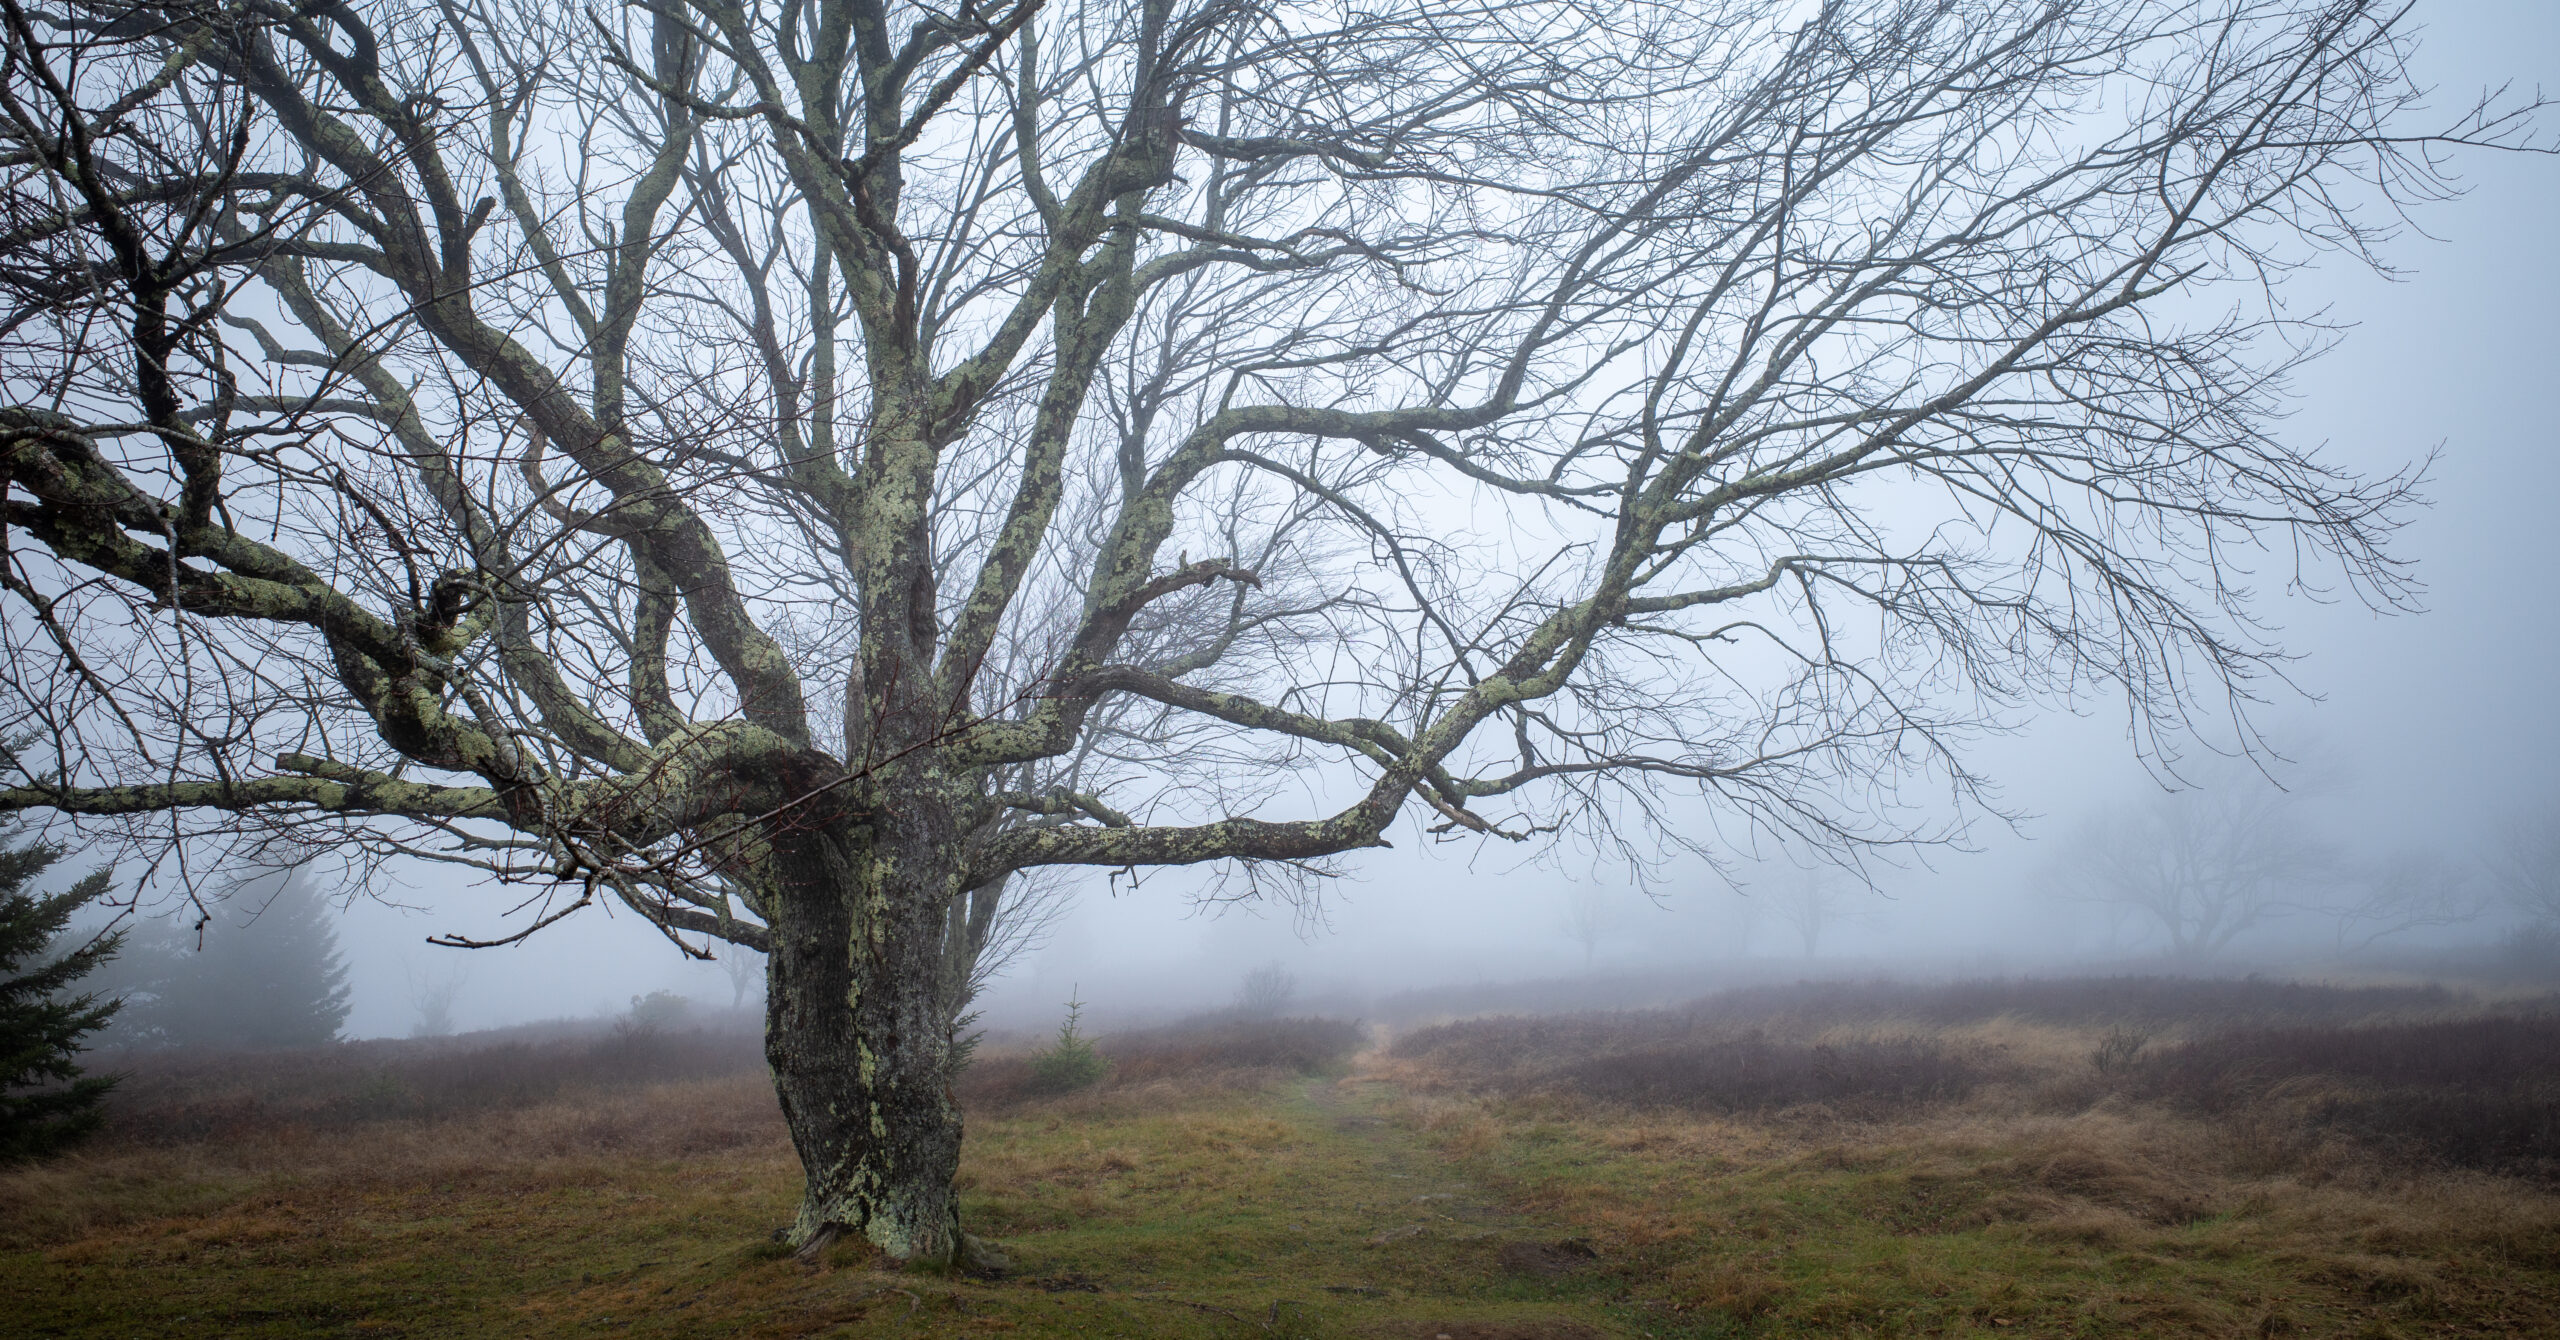
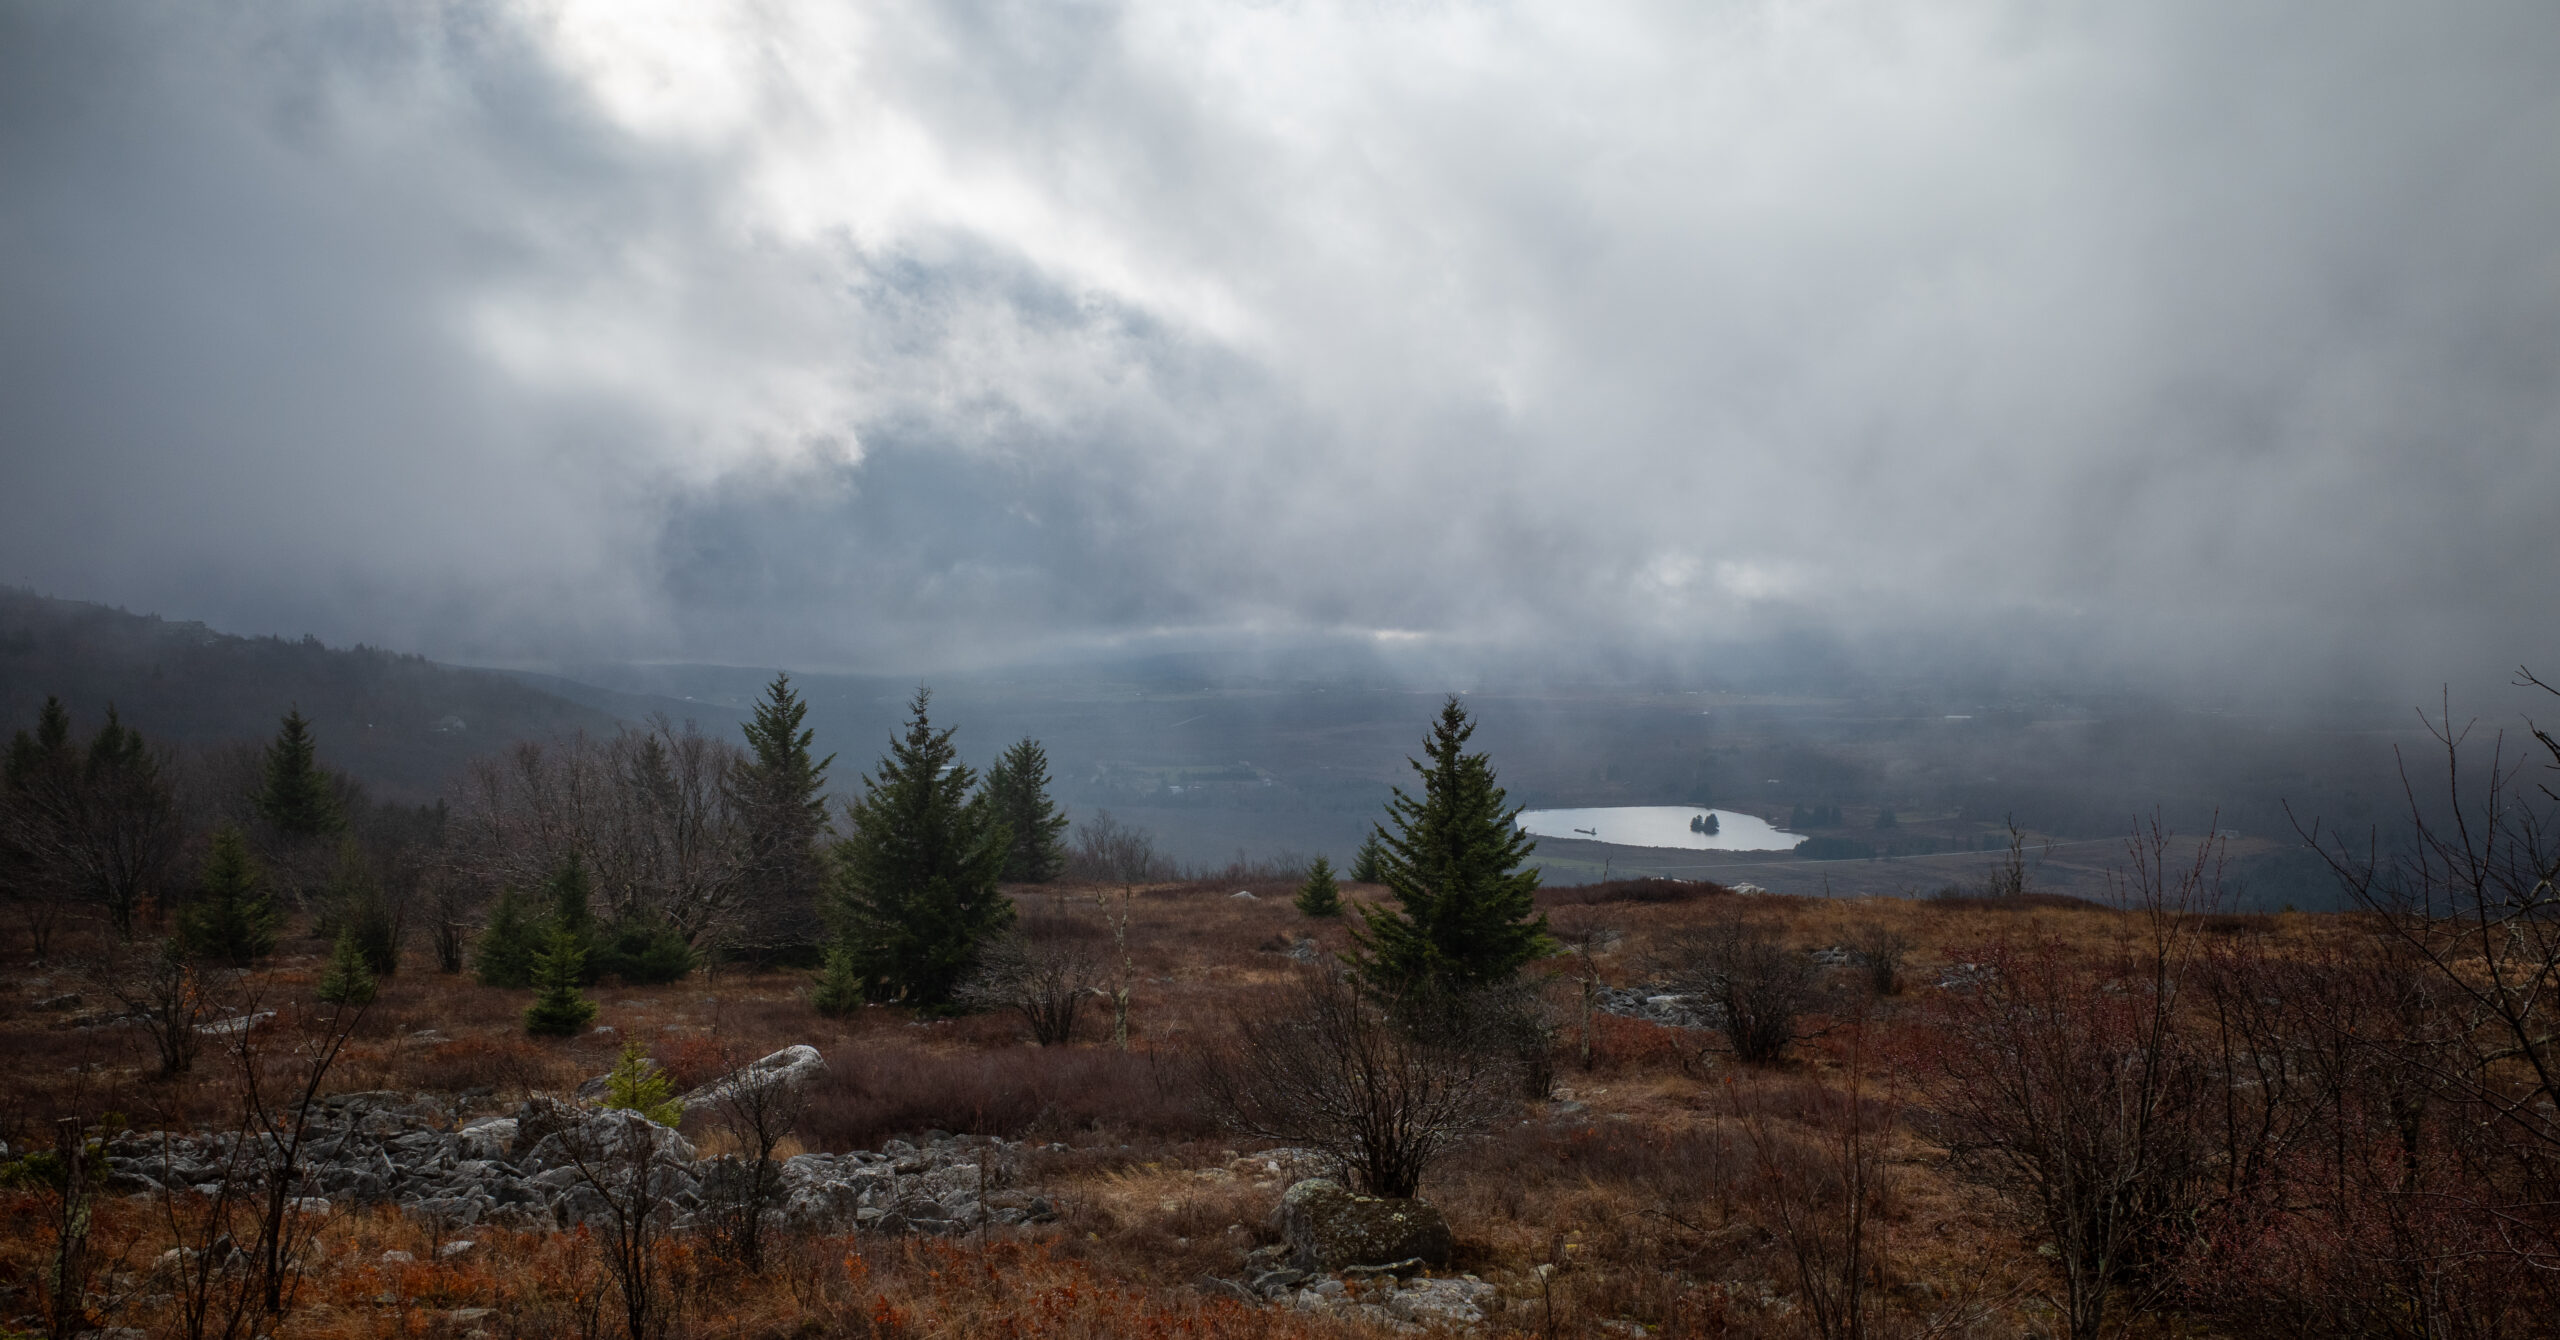
Fog obscured the distant views for most of the day, but it improved the mood of the plateau. Spruce, rock, wind, and limited visibility gave the opening miles an atmosphere that clear weather would not have produced. The fog lifted after dark and revealed an unusually clear sky with very little light pollution.
Water
The opening plateau and ridge formed the longest dry stretch of the trip. Start with enough water for the high ground and do not rely on an unverified source there. Water became much more frequent after the descent toward Big Stonecoal.
Camp
Our established backcountry site sat beside the stream on a small island-like patch of land. It had room for roughly two tents, tree cover, a fire ring, and reliable nearby water during this trip. An opening in the trees made it possible to look up at the stars after the fog cleared, and the first-night sky became one of the trip’s quiet highlights.
Day 2: Lion’s Head Sunrise to Red Creek
8.5 mi, +1,030 ft / -1,610 ft
Lion’s Head Sunrise
Wake before sunrise and leave the full overnight packs near the Big Stonecoal–Dunkenbarger junction, carrying daypacks, breakfast, water, and essential layers uphill on Big Stonecoal Trail. The approach includes steep rock and light scrambling before leveling near the top. Continue to the Lion’s Head overlook for sunrise, then return the same way to retrieve the full packs.
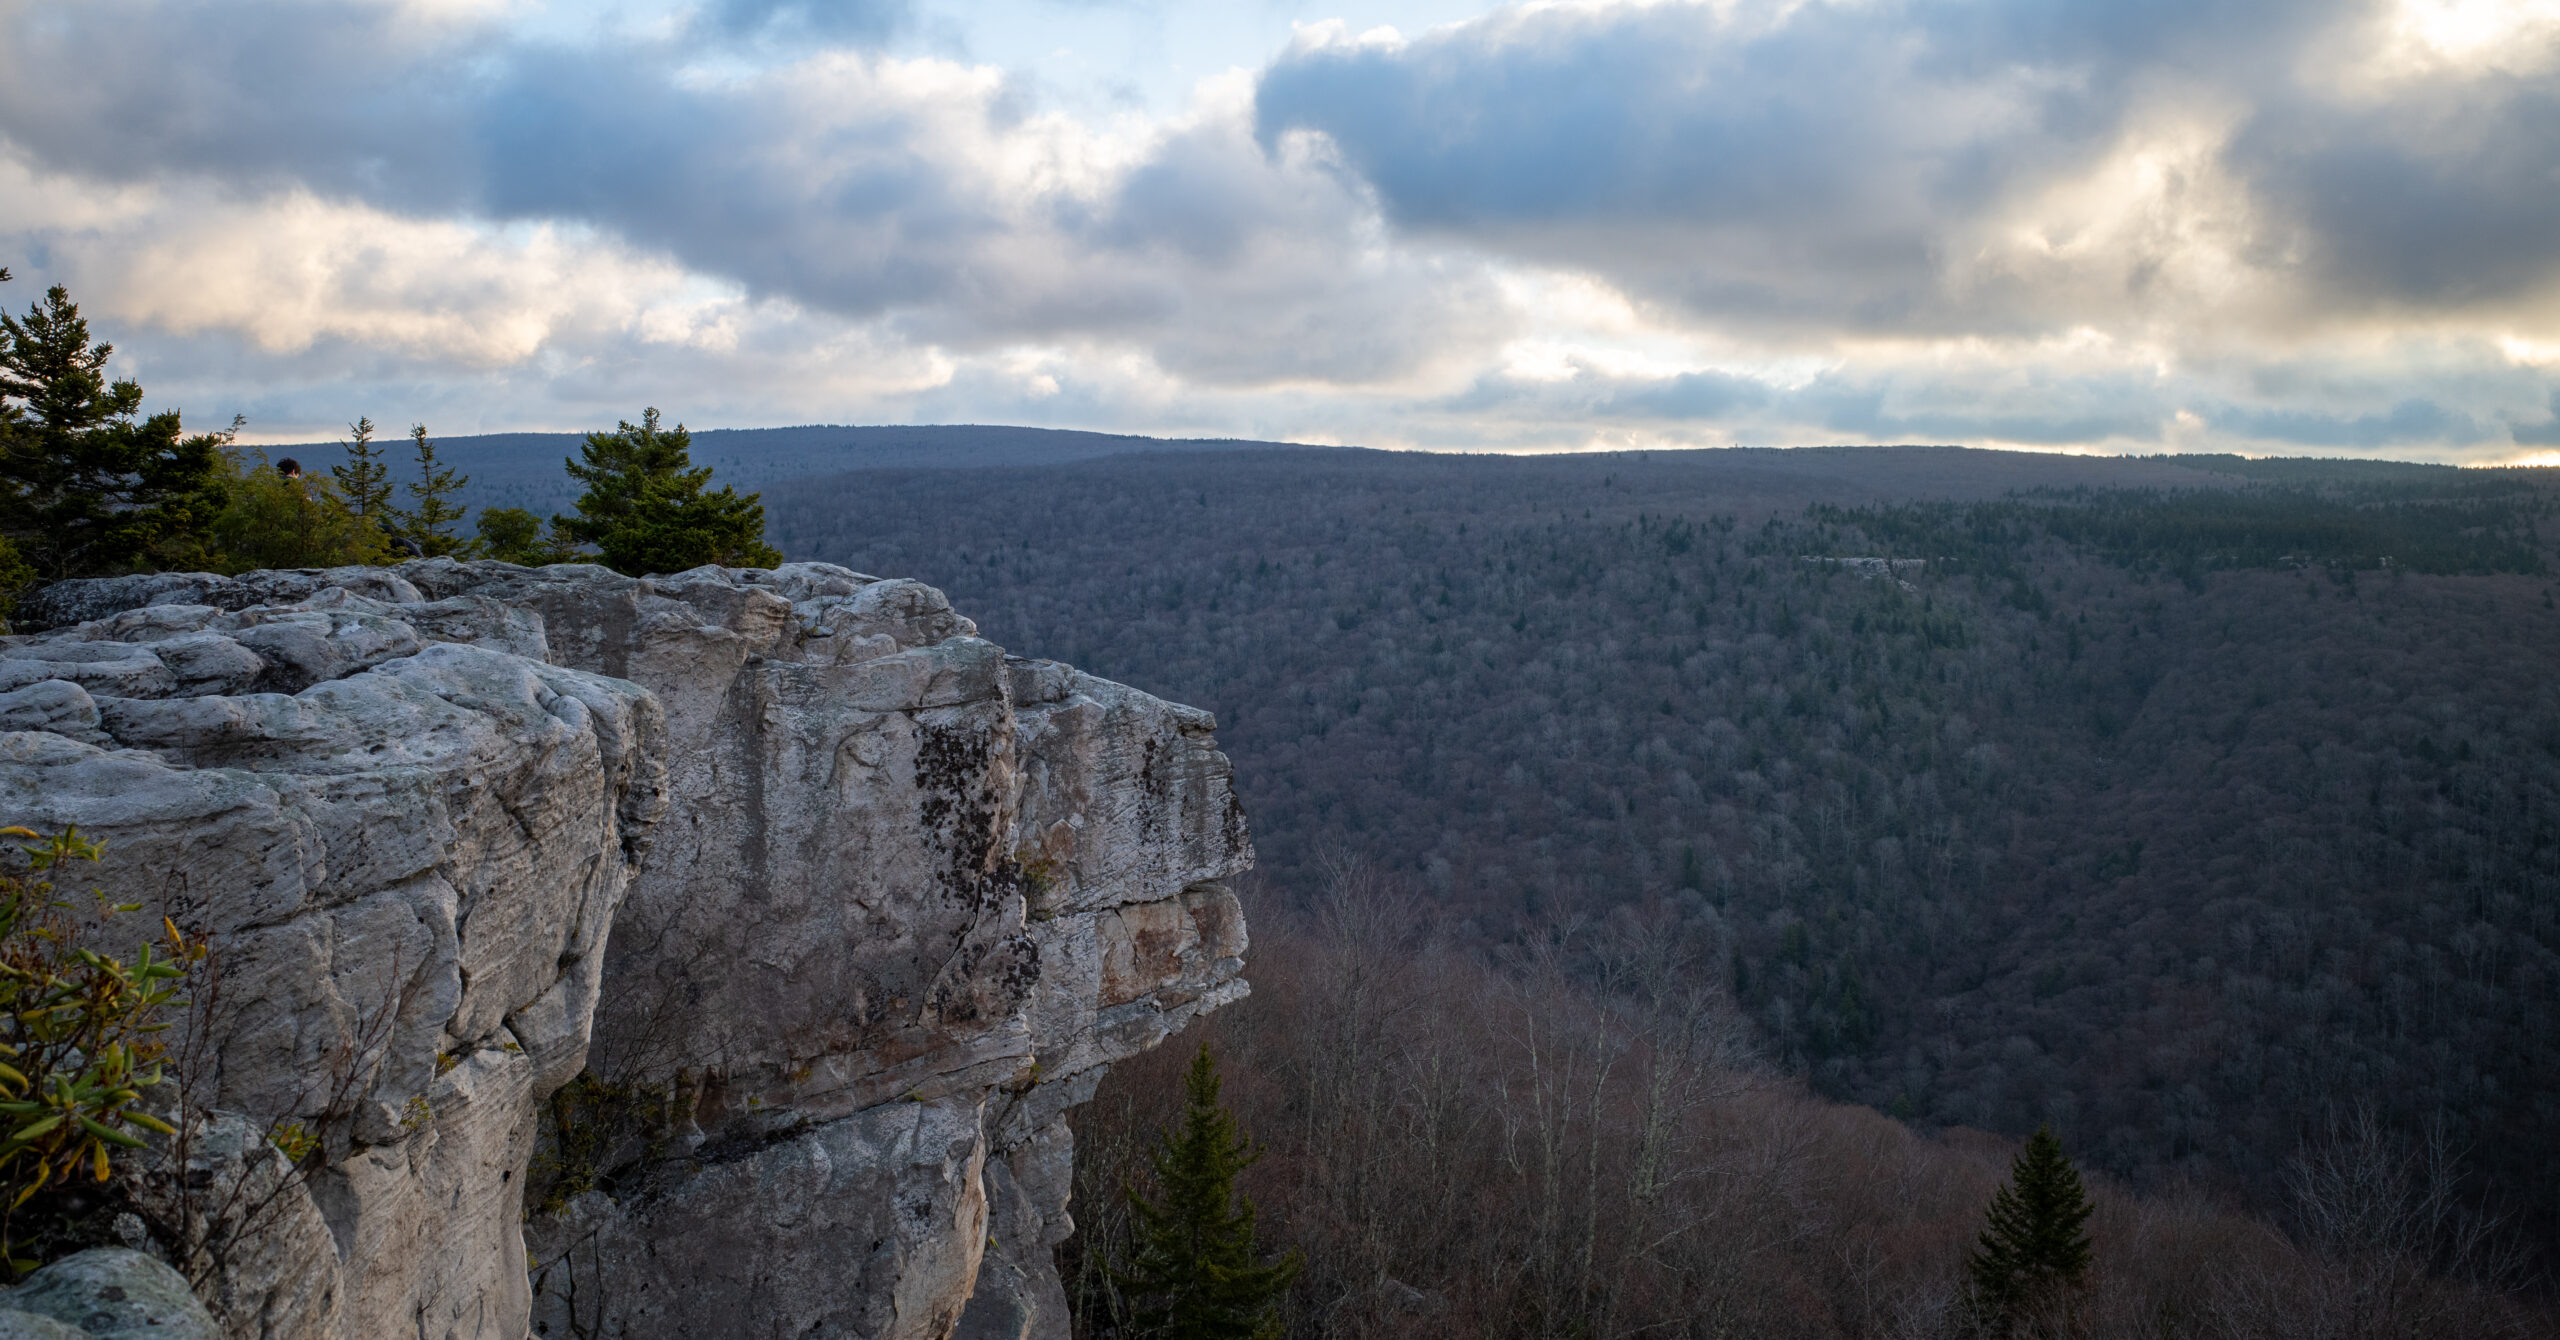
We ate breakfast while sunrise spread across the surrounding mountains, with no one else at the overlook. It was the standout moment of the trip. Dry established sites were visible near the upper area, but anyone camping there would need to carry water.
Unattended gear: Leaving overnight packs below the climb reduced the load, but gear left unattended is always at the hiker’s own risk. Keep valuables and essential safety equipment with you.
The Misoriented Junction Sign
At the Big Stonecoal–Dunkenbarger junction, the wooden direction sign had been rotated or installed incorrectly: its arrow toward Lion’s Head pointed down Dunkenbarger. We checked the offline map and terrain instead of following it blindly, corrected the sign’s orientation, and confirmed our mapped direction by reaching Lion’s Head. It was impossible to know whether the sign had fallen, been replaced incorrectly, or been moved. Use signs as one source of information, not the only source.
Dunkenbarger and Little Stonecoal
After retrieving the packs, turn onto Dunkenbarger Trail. During this trip it was consistently muddy, enclosed in forest, and slow because nearly every stretch required stepping around or between wet patches. It was not disastrous or especially difficult, but it was the least scenic and least rewarding part of the loop. Continue onto Little Stonecoal Trail, where conditions improved somewhat on the approach to Red Creek.
Red Creek Crossings and Camp
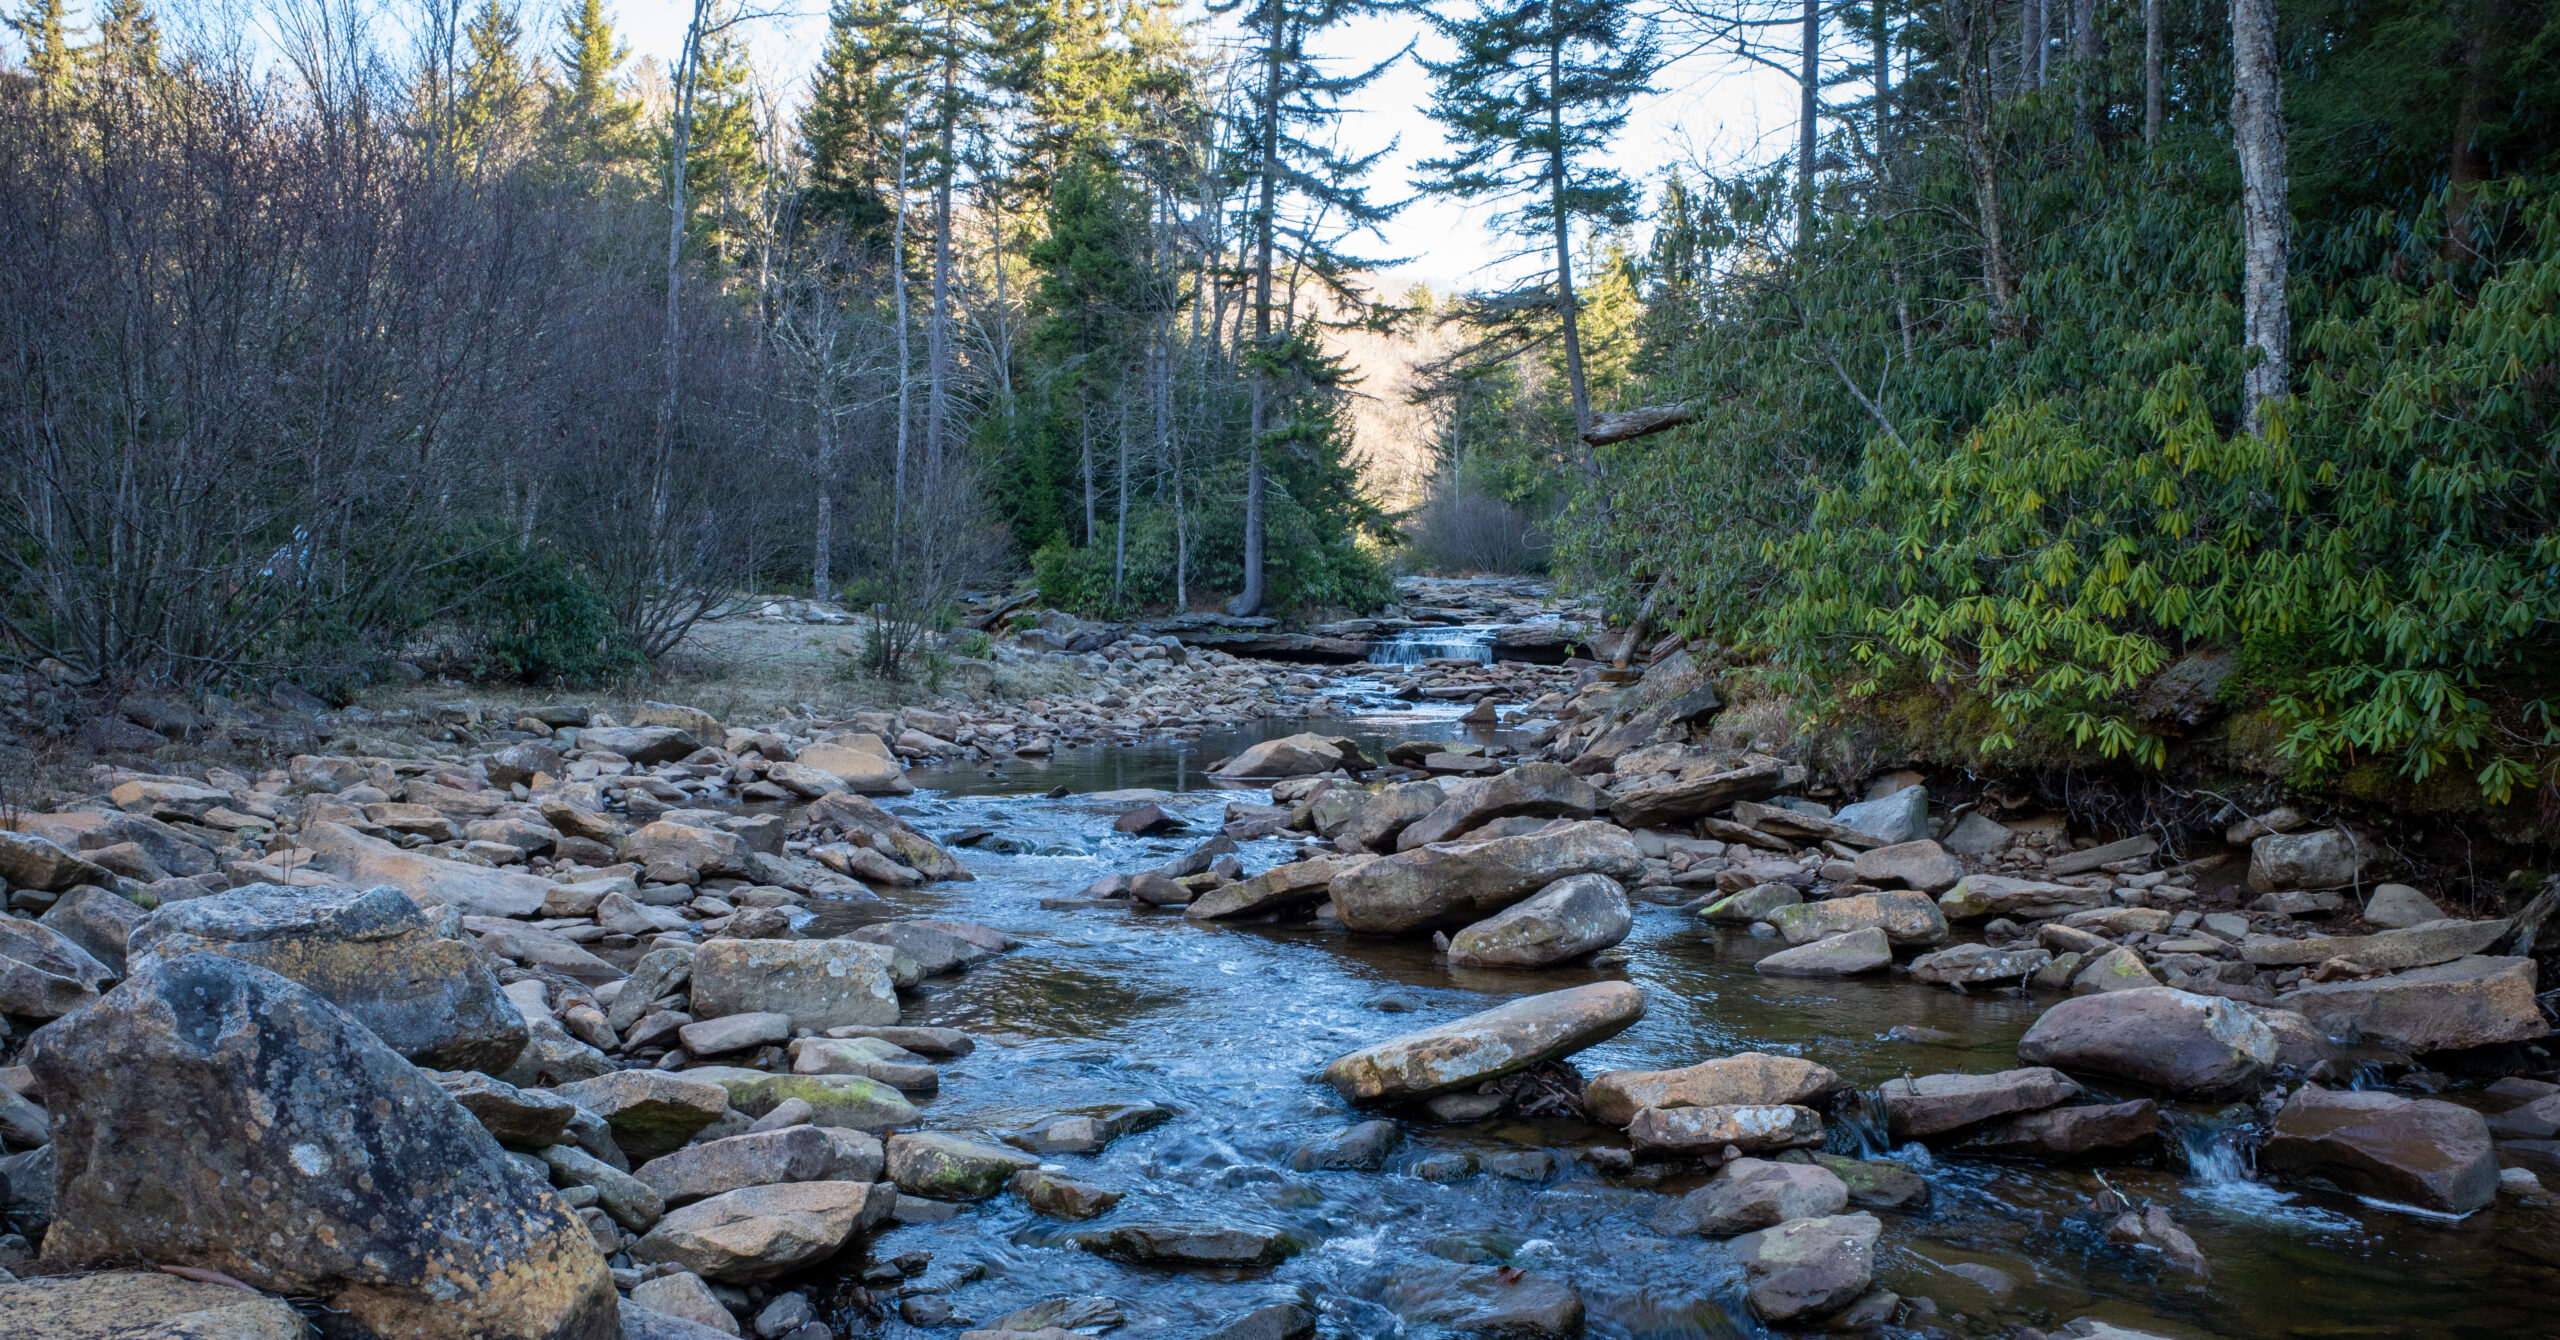
The first major Red Creek crossing reached nearly knee height during the trip. We removed our boots, changed into sandals, and used trekking poles on the rocky bottom. The current was moderate, but a loaded pack raises the consequences of a slip, so cross deliberately and reassess rather than assuming November 2024 conditions will repeat.
Shortly afterward, turn left at the Red Creek Trail junction. Fallen leaves obscured the tread and we briefly moved off the formal trail, picking through fallen trees while still traveling in the correct general direction. The offline map helped us regain the trail. A second Red Creek crossing was shallower and did not require the same footwear change.
Several established sites appeared beyond the second crossing. The area was busier near the start of the weekend, so we continued slightly farther and found a site outside immediate sight or earshot of most campers. Water was available down at Red Creek, the trees reduced wind, and an established fire ring was present, though we did not build a fire. Temperatures dropped below freezing, and we got into our sleeping bags early.
Day 3: Red Creek to Bear Rocks Trailhead
8.4 mi, +1,680 ft / -770 ft
Route
- Continue uphill on Red Creek Trail.
- Reach Blackbird Knob Trail and follow it briefly.
- Turn onto Upper Red Creek Trail and continue toward Dobbin Grade.
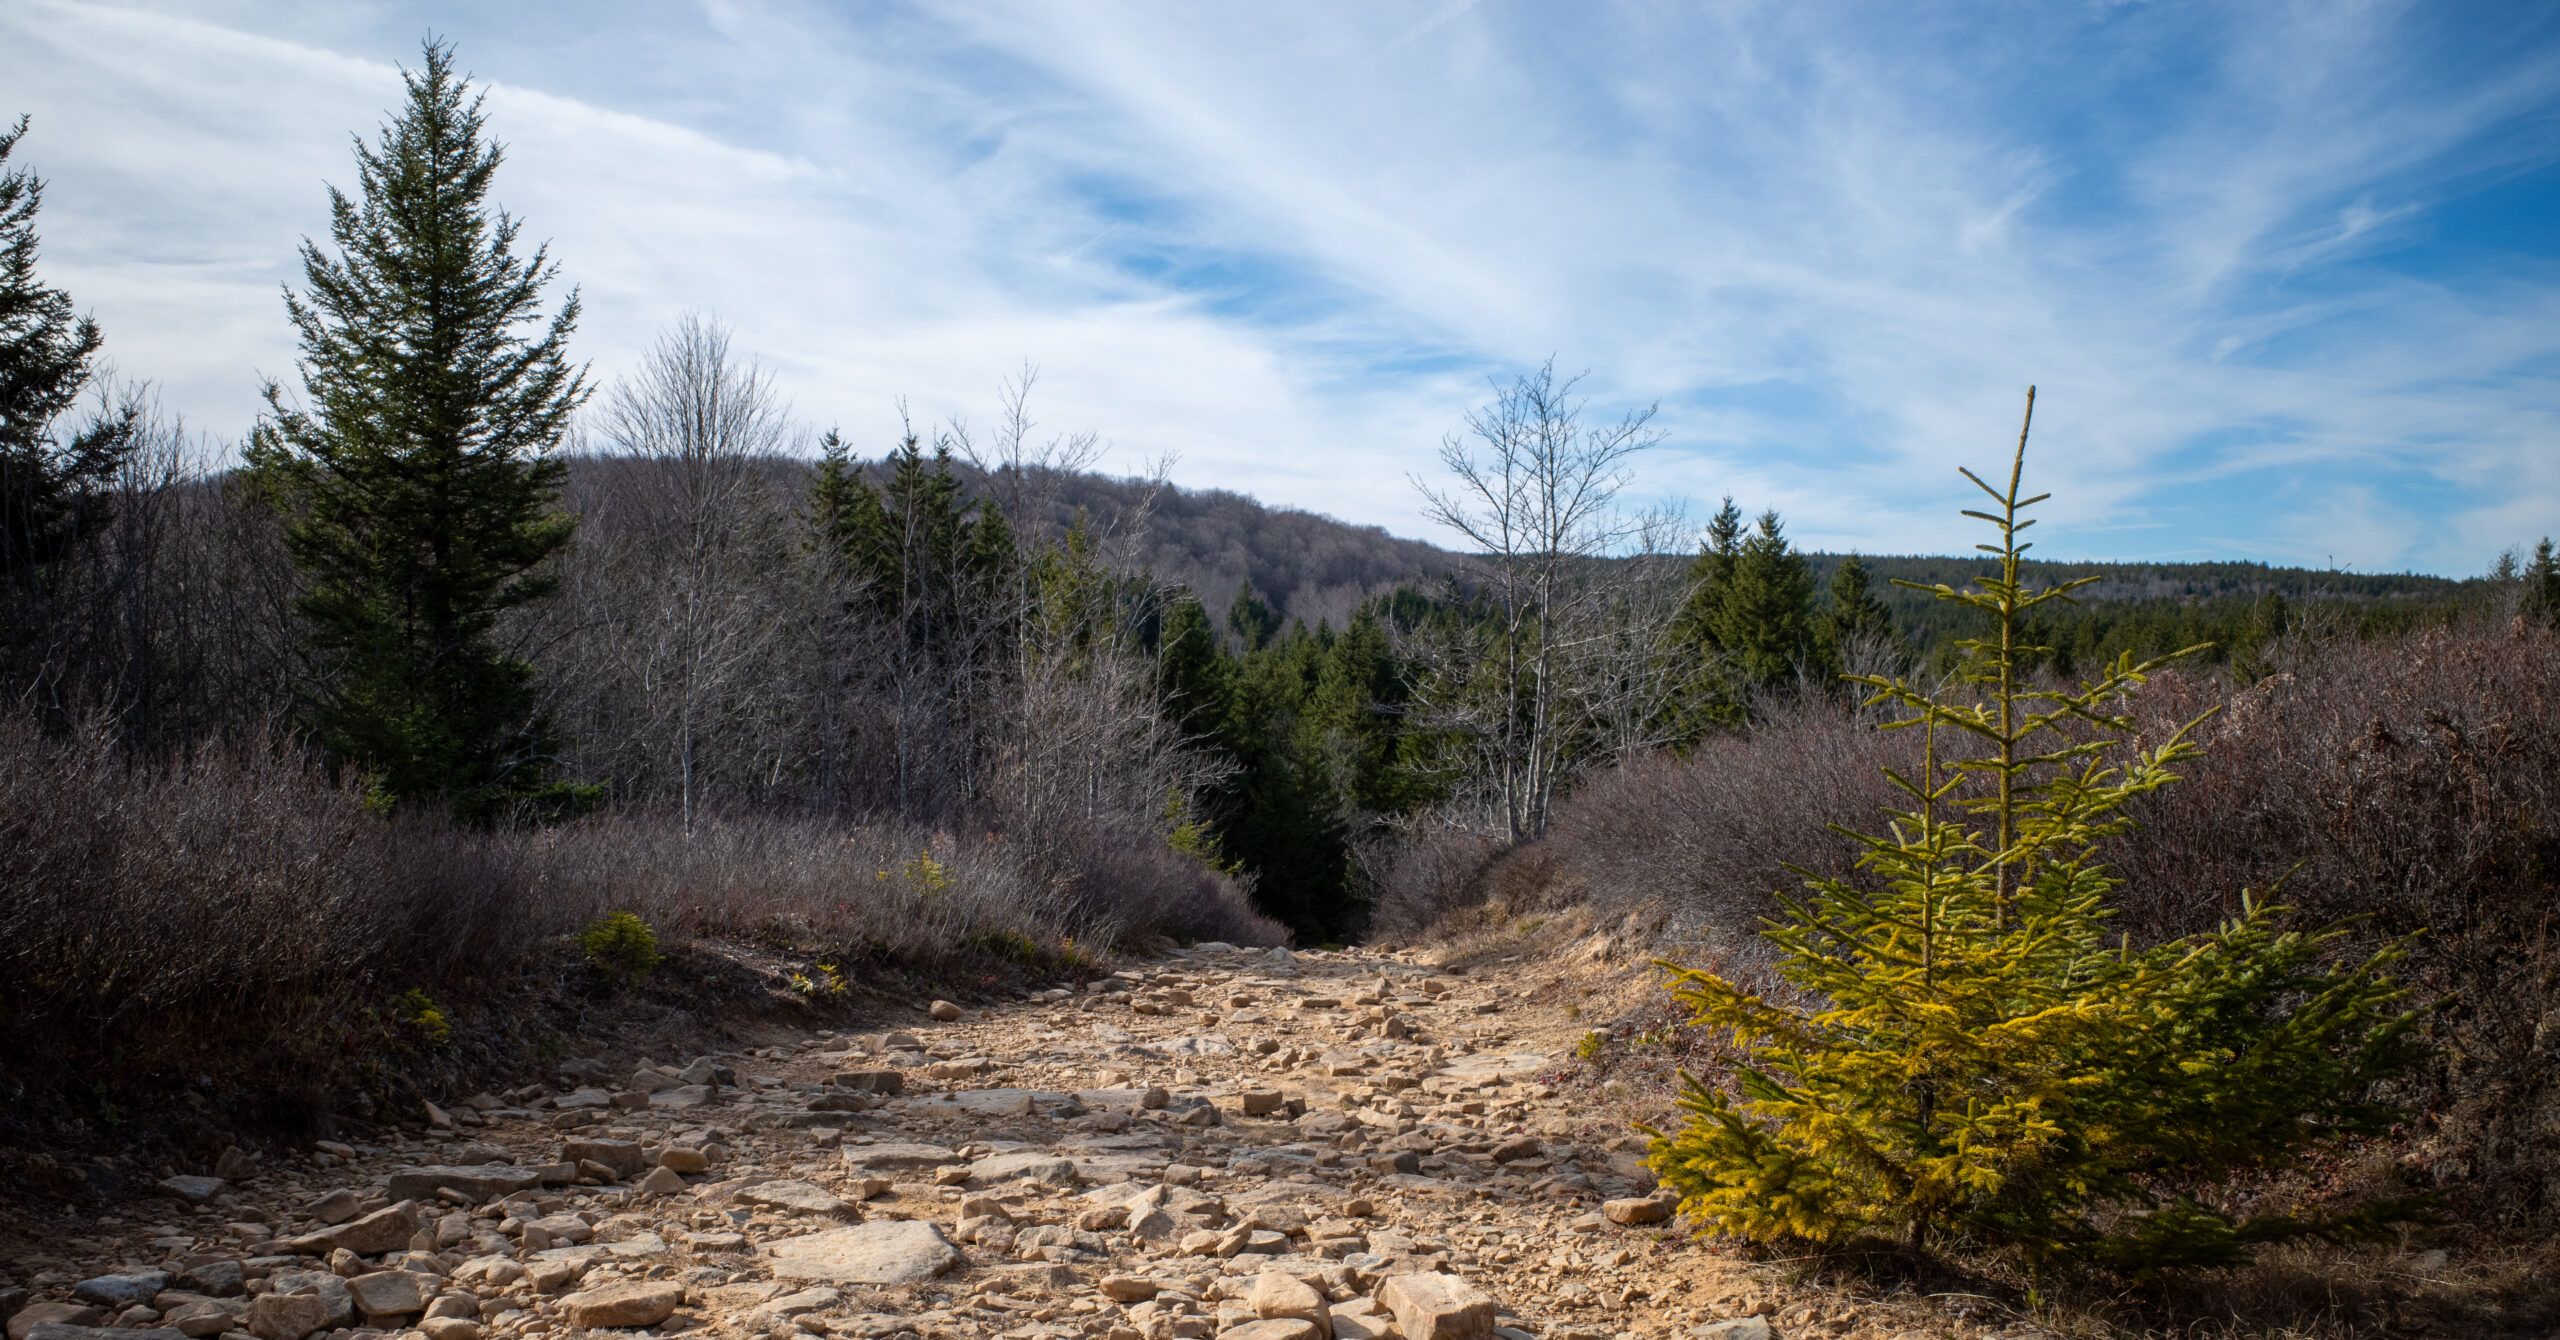
- Use Dobbin Grade Trail only as a short connector, testing the muddy and boggy tread with trekking poles.
- Turn onto Raven Ridge Trail as the terrain opens into broad, flat plateau.
- Continue north to Bear Rocks Loop and follow it back to the trailhead.
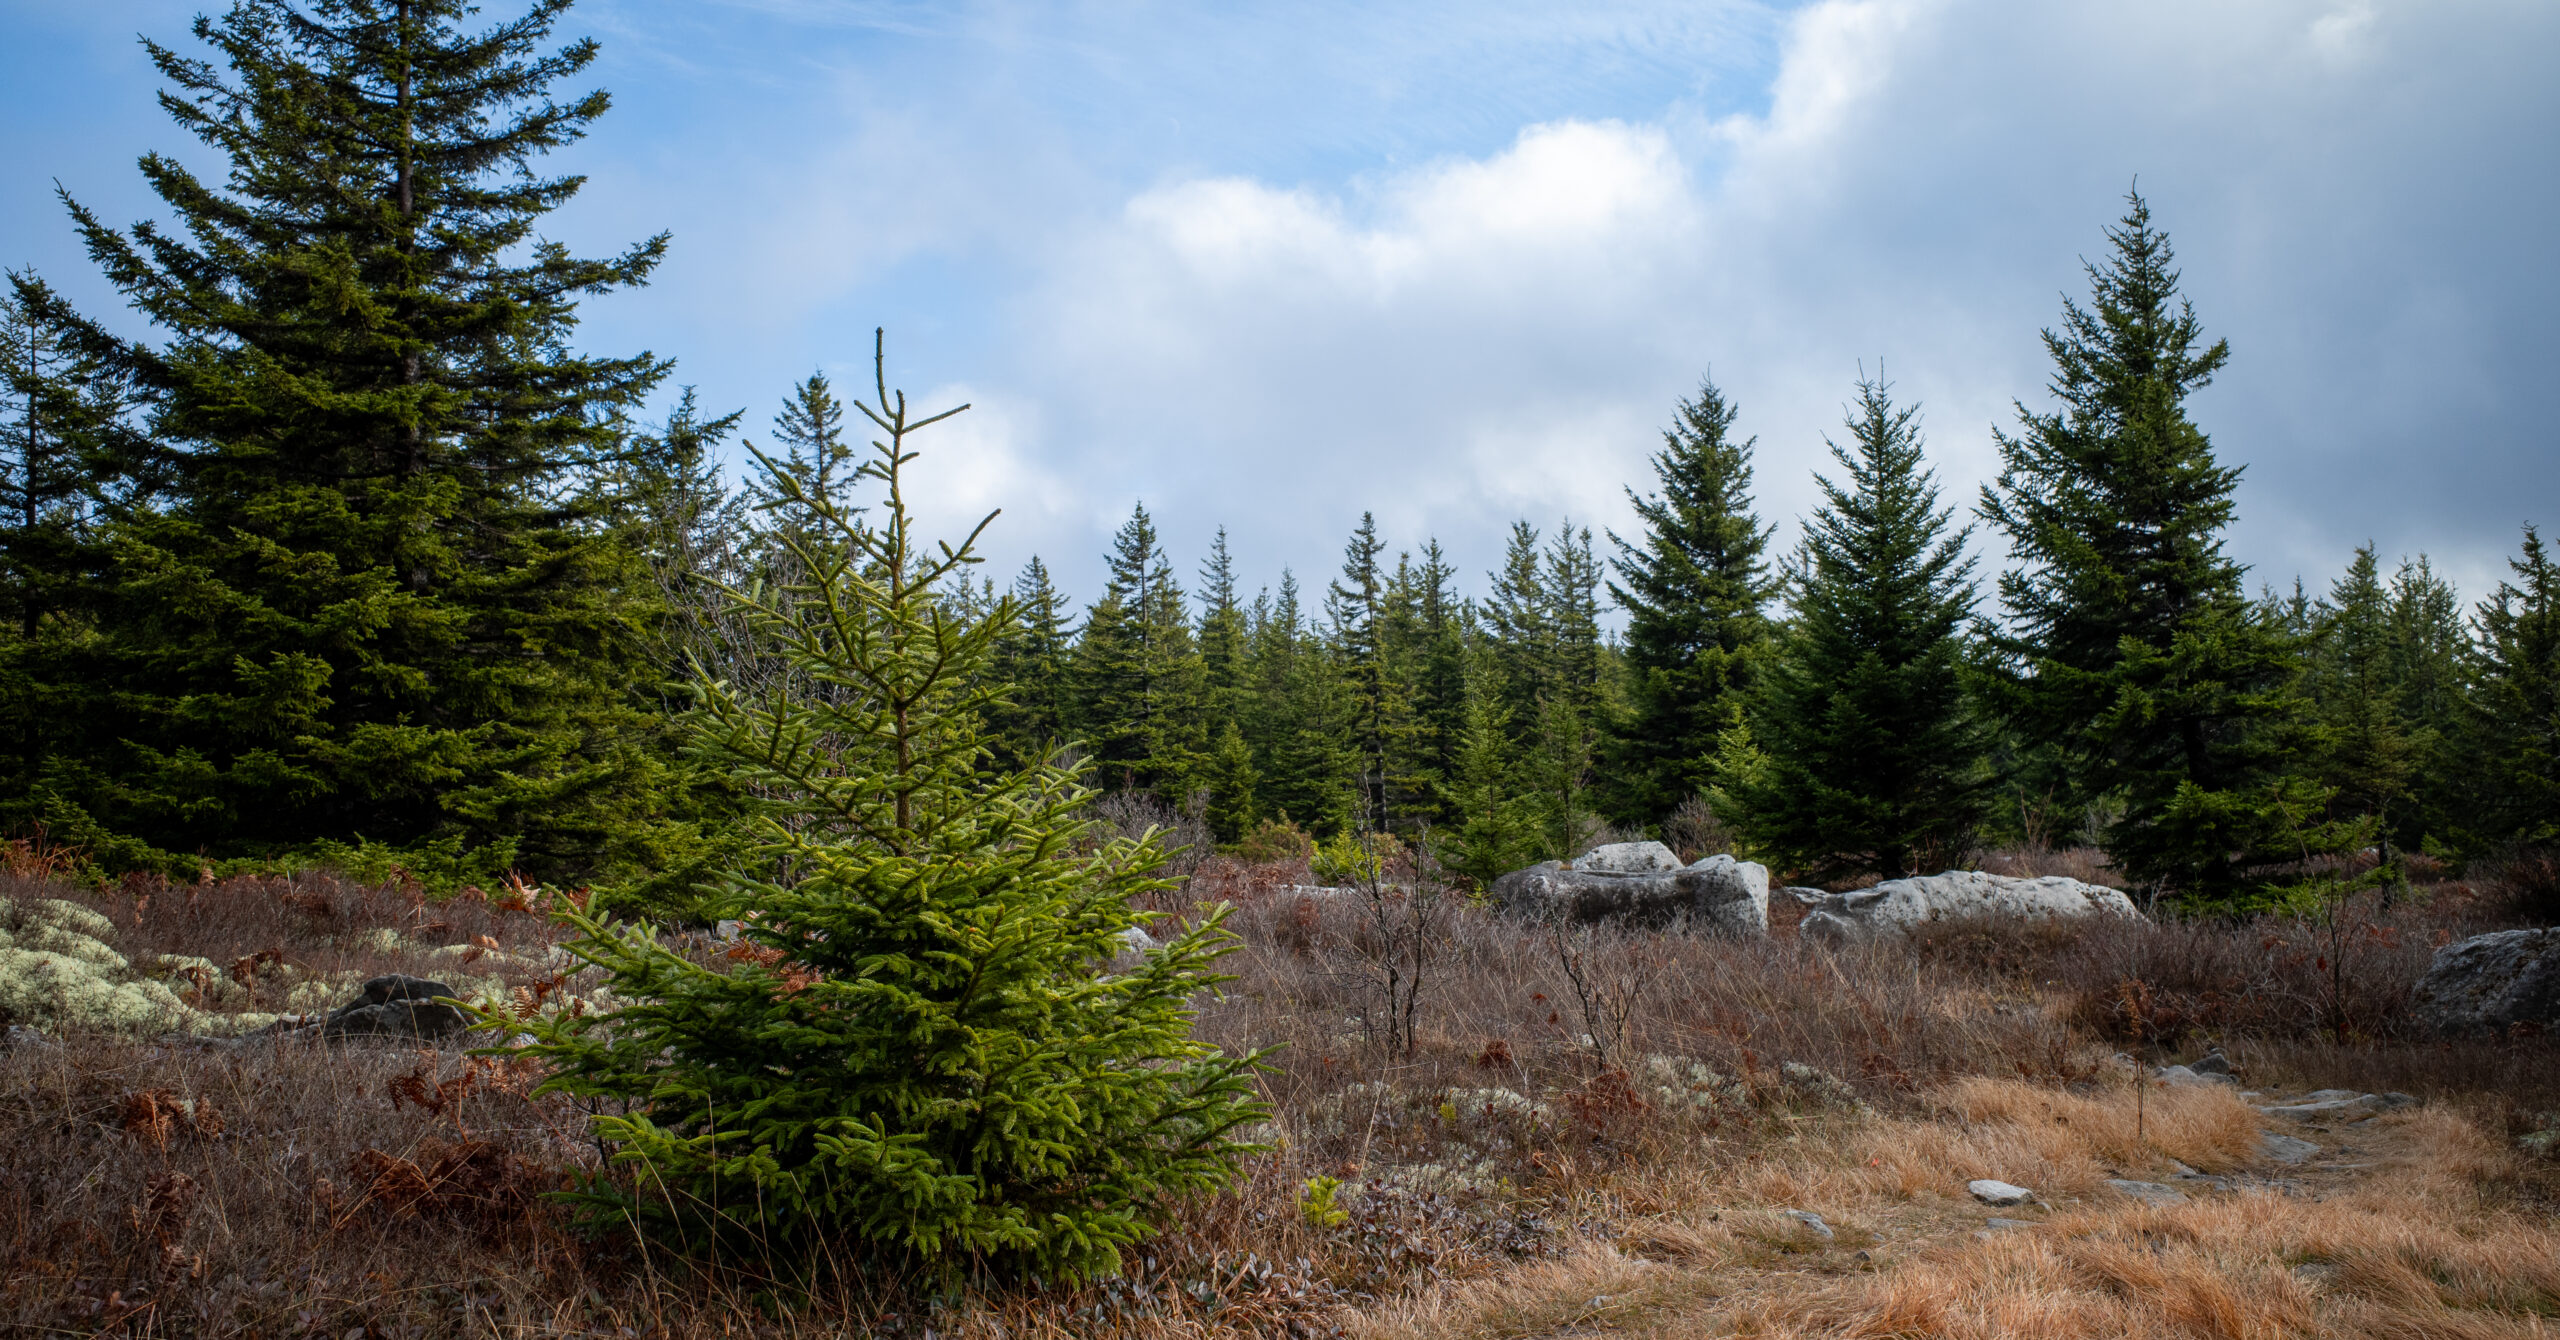
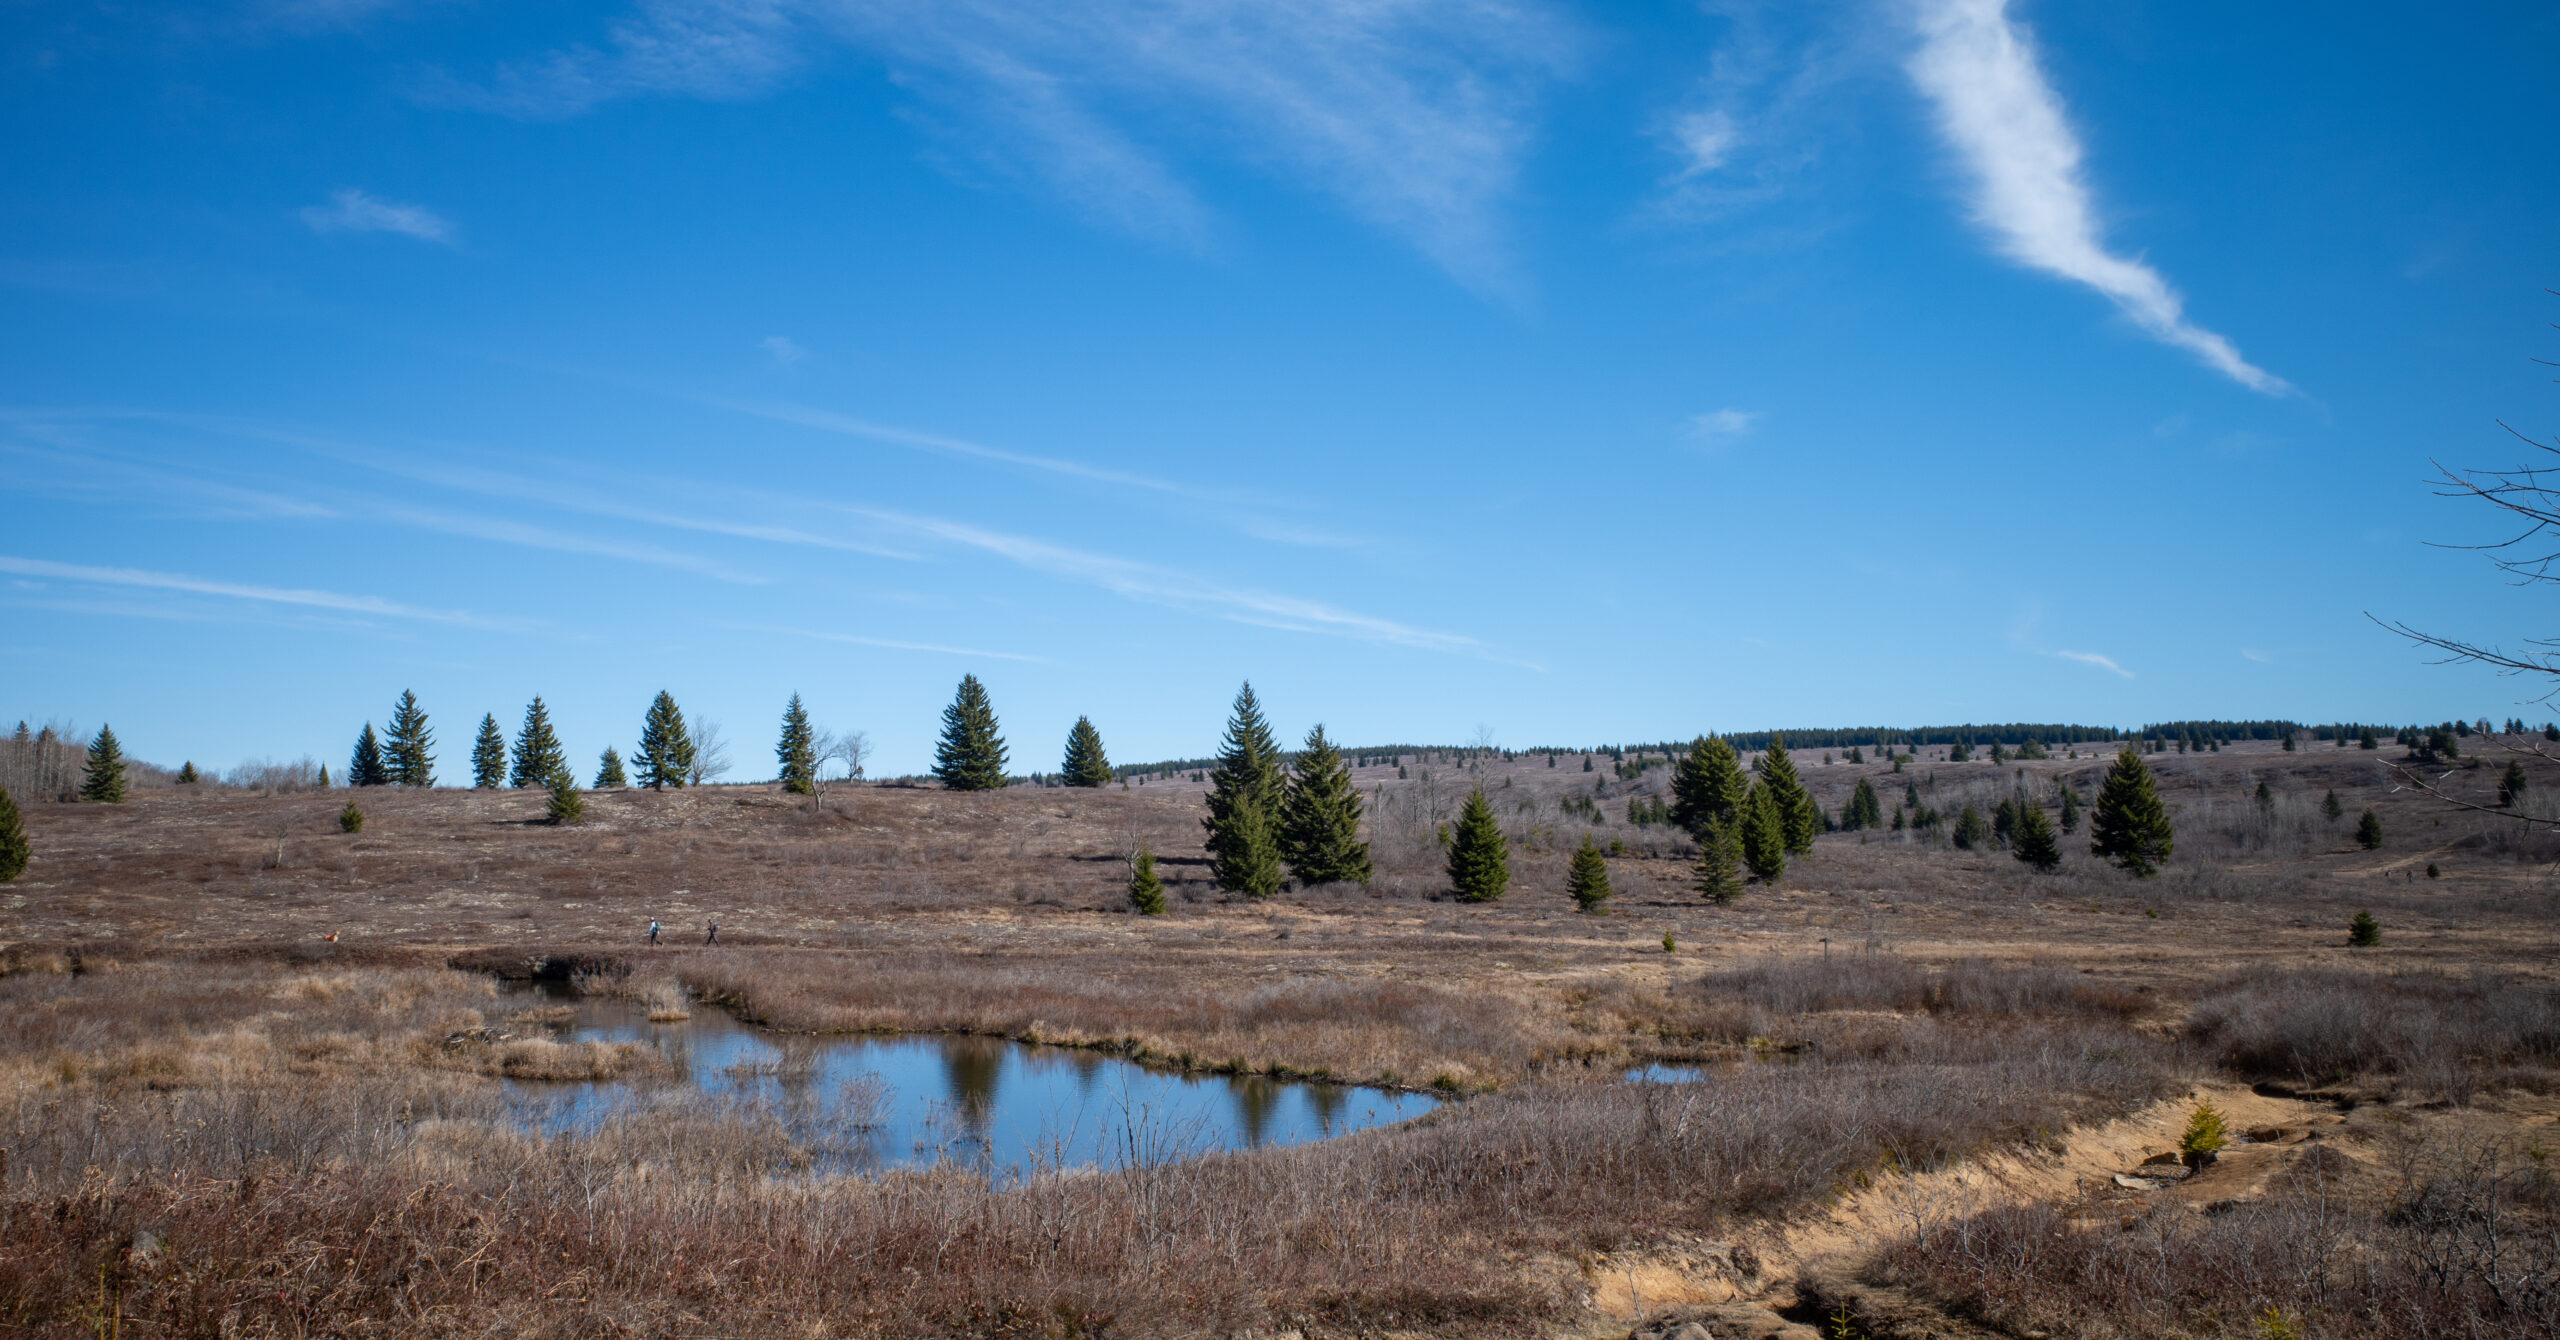
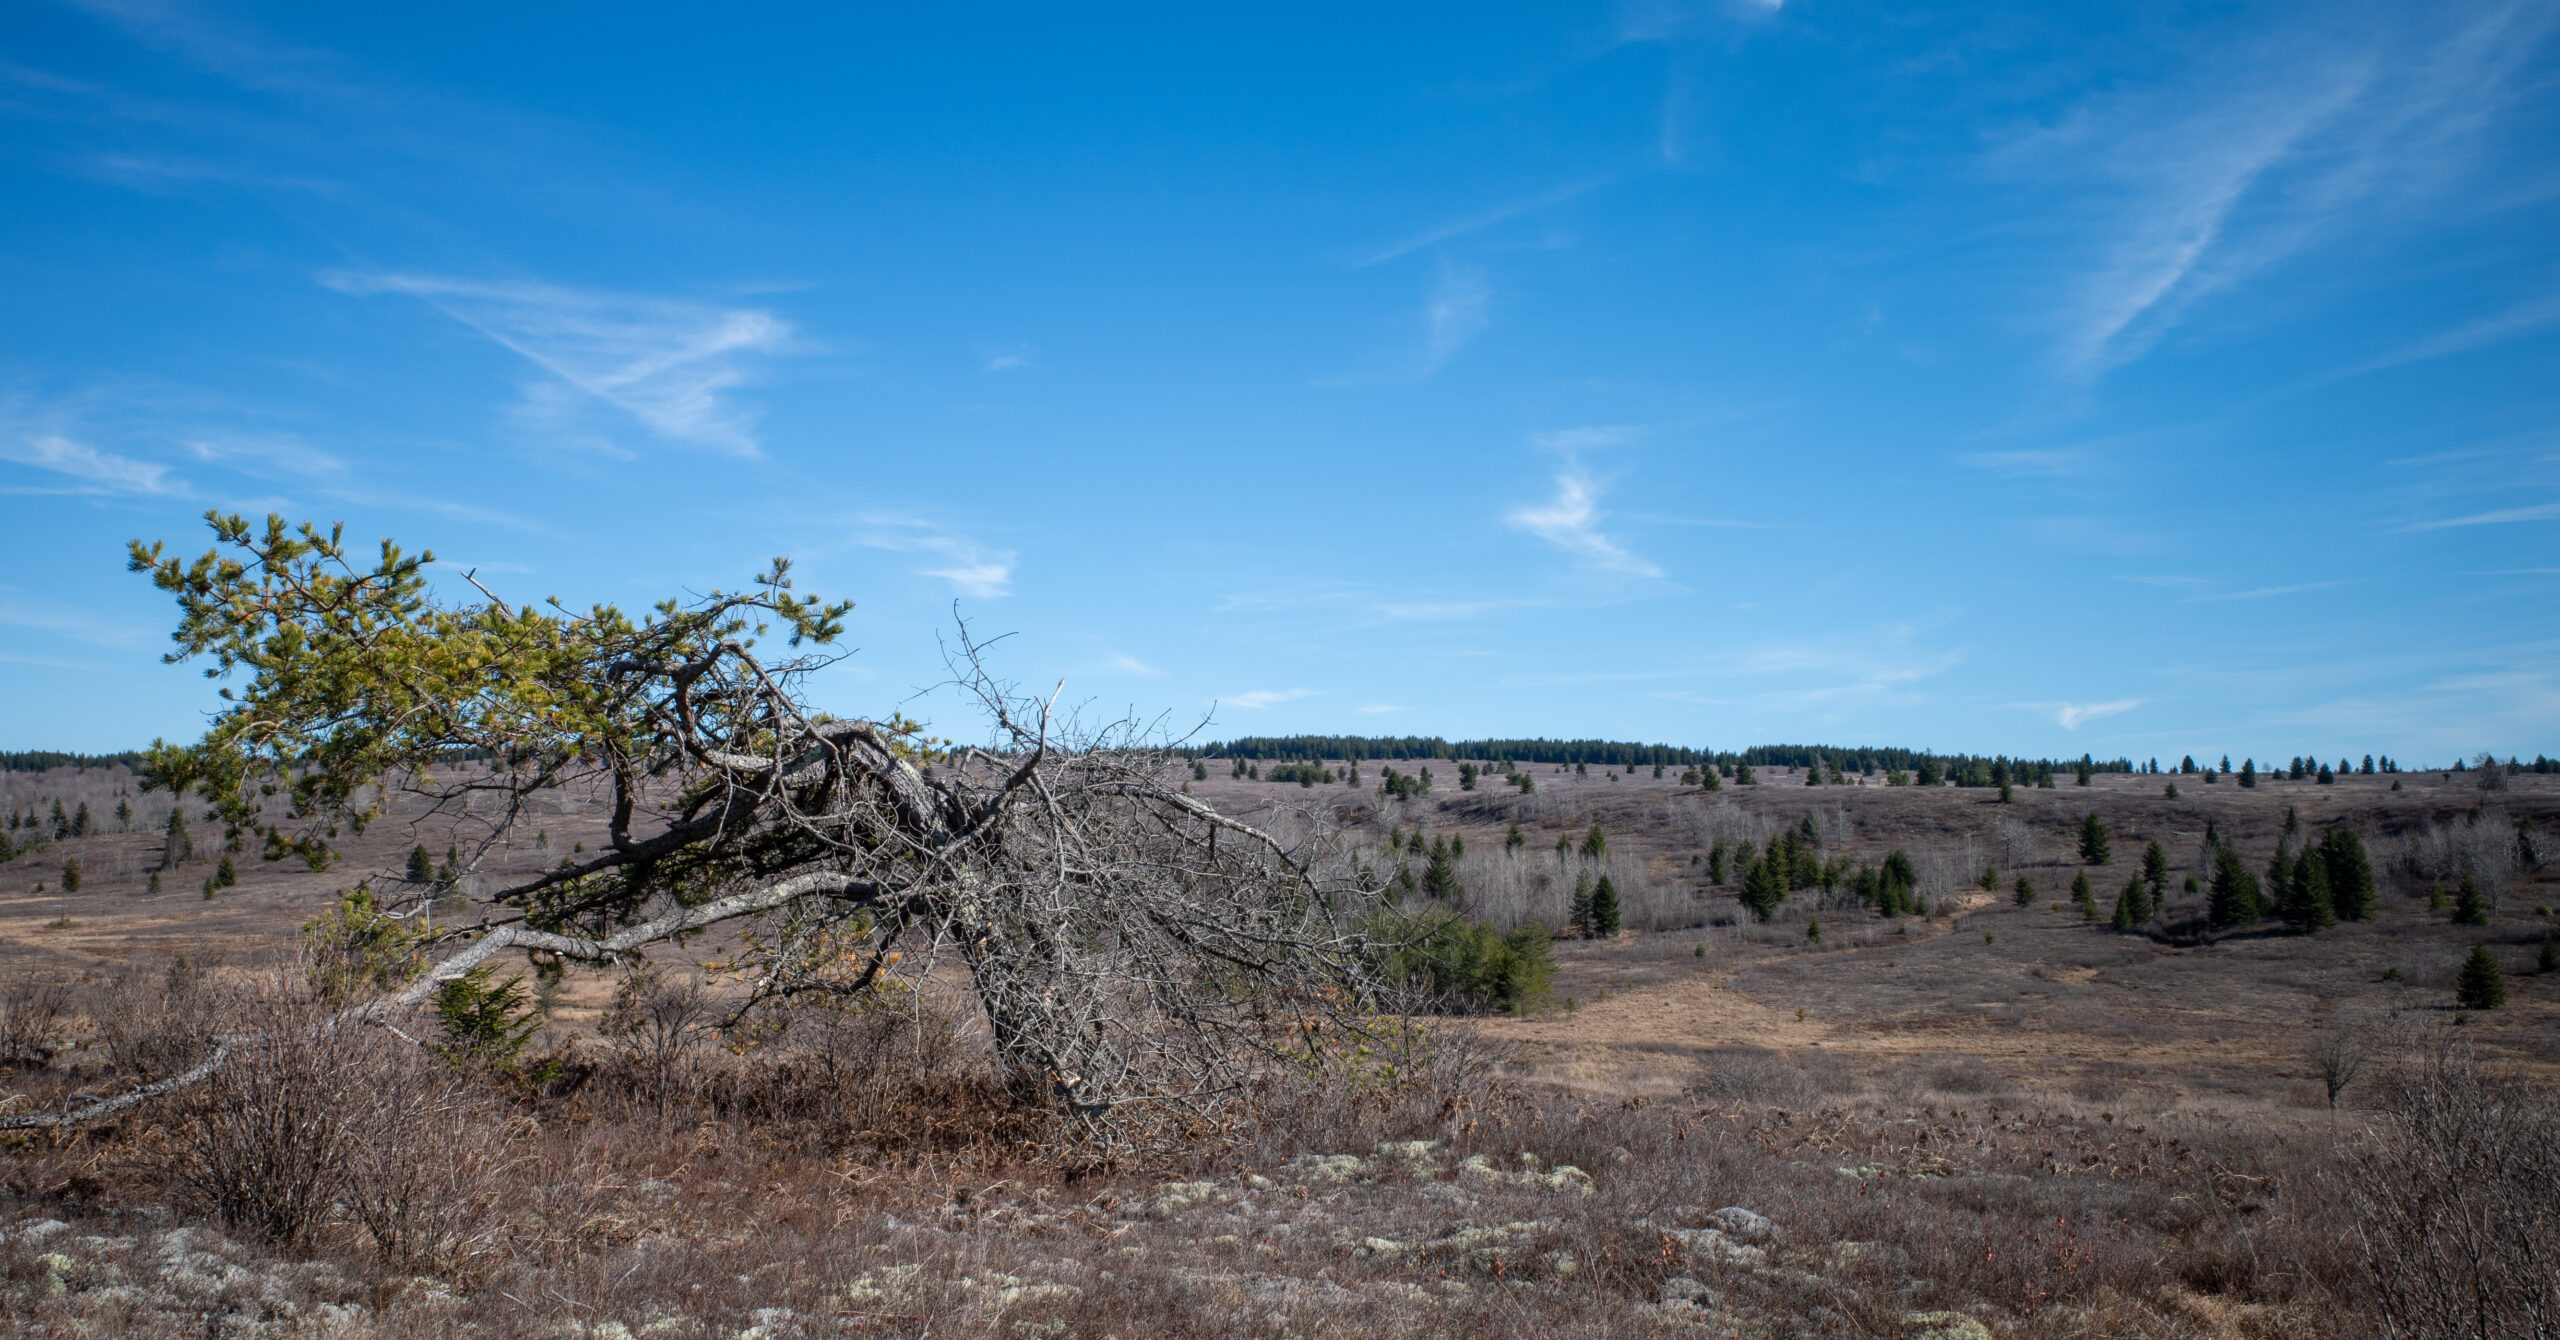
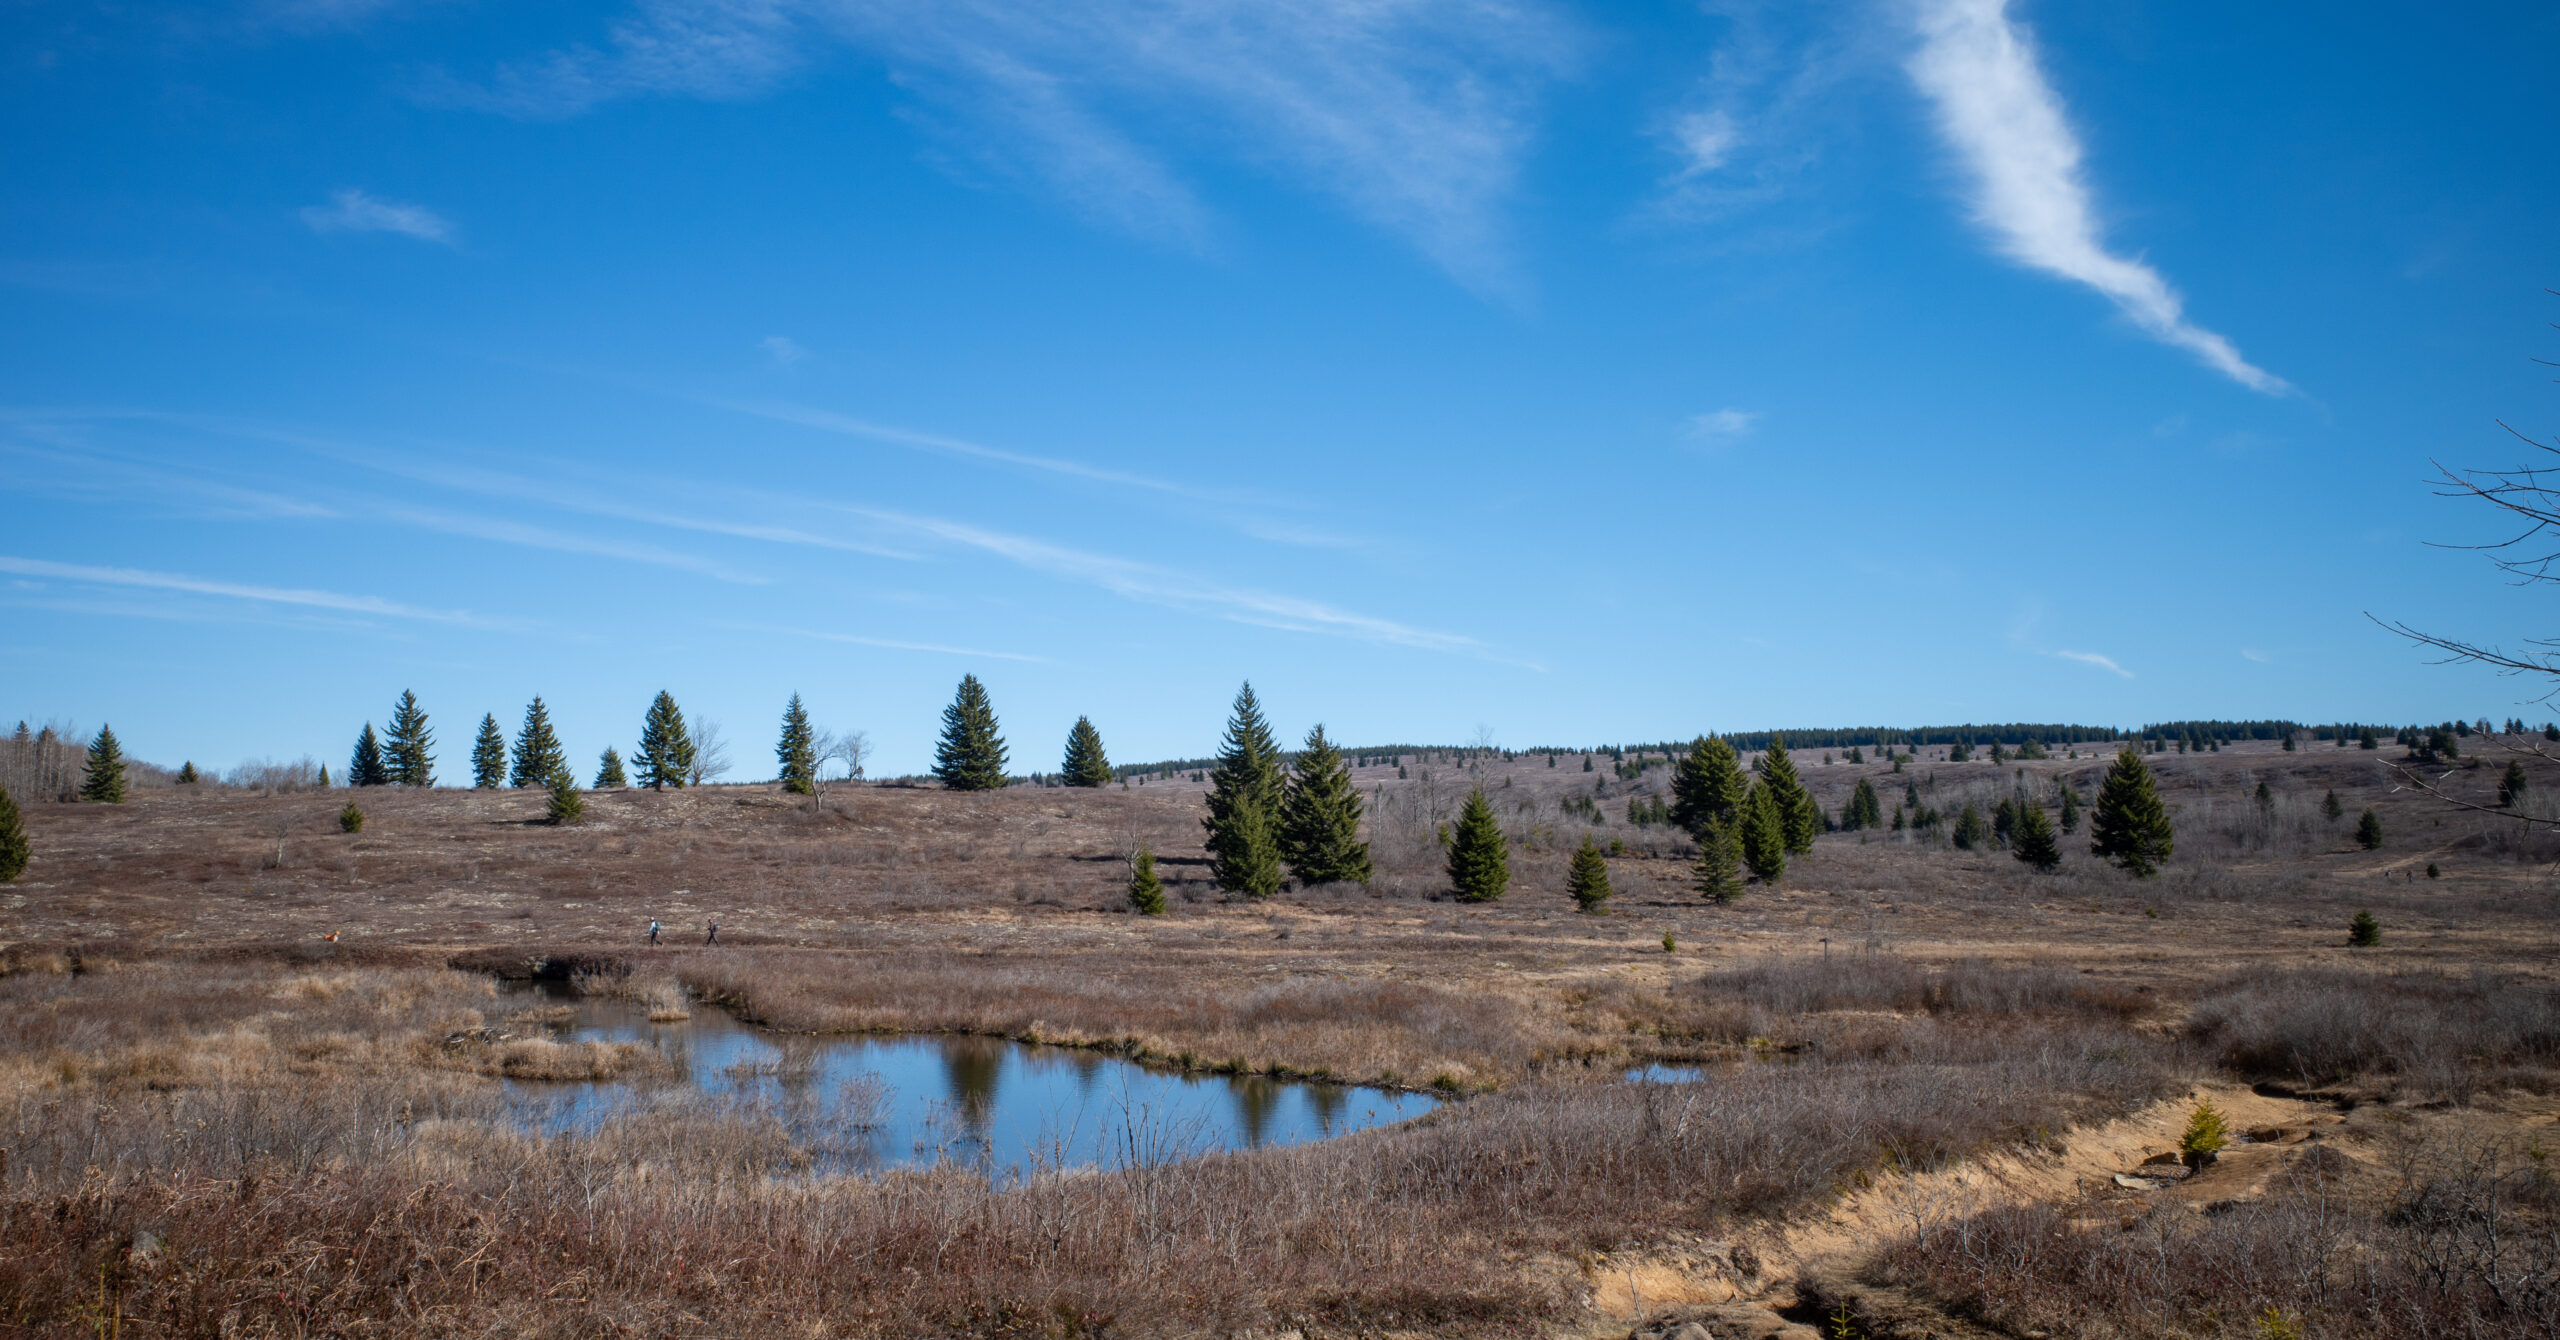
Day 3 was sunny, clear, and windy on the open ground. The plateau held scattered trees, broad plains, and an enormous amount of sky. Returning through terrain similar to Day 1 in clear weather revealed views the fog had hidden and gave the final miles a different character.
Difficulty note: With 1,680 feet of gain, Day 3 contains the most climbing and should not be treated as an entirely easy walk back to the car. The profile trends uphill from Red Creek to the high plateau, though the clear views made the work rewarding.
Campsites and Water
Established sites and frequent low-elevation water made the itinerary flexible, but neither should be treated as guaranteed.
Campsites
Obvious established backcountry sites appeared throughout the loop, including beside creeks and on dry upper ground.
Most sites we passed had established fire rings, but a visible ring does not by itself prove that a fire is legal under current restrictions. The number of sites allowed flexibility in daily mileage; even so, popular areas can fill on weekends, so plan around several campsite zones rather than one exact clearing.
I preferred camping near water because it simplified cooking, dinner, breakfast, and hydration. Both sites we selected were close to reliable water during the trip. The upper sites near Lion’s Head were dry and would require carrying enough water for camp.
Low-impact camping: Use established durable sites when possible, avoid sensitive vegetation, pack out all waste, and follow current Forest Service guidance for campsite location and fires. I would default to a stove rather than assuming an existing fire ring is legal to use.
Check current wilderness rules: Before leaving, review the official wilderness restrictions and newer forest alerts for group size, campfires, food storage, waste, and equipment rules. This guide dates what I observed rather than treating the rules or conditions from one trip as permanent.
Water
The high opening miles were the driest; creeks and tributaries became frequent after the descent toward Big Stonecoal.
Carry adequate water from Bear Rocks rather than depending on an exposed-plateau source. Red Creek and its tributaries offered abundant opportunities later in this November trip, but backcountry flow changes with season and recent precipitation. Filter or treat every source. In below-freezing weather, protect filters that can be damaged by freezing and expect water treatment to be less convenient.
Navigation Notes
The loop demands moderate navigation: major junction signs help, but unblazed trail, leaves, fog, and imperfect signage make an offline map essential.
Most major intersections had wooden signs, though not every junction was equally clear and the Big Stonecoal–Dunkenbarger sign was misoriented. The Forest Service states that wilderness trails are not blazed and signs are generally limited to junctions. We relied mainly on an offline map and GPS when uncertain, with an offline Avenza map available. A paper map and basic topographic literacy remain useful backups.
November leaves obscured Red Creek Trail enough for us to drift off tread briefly. Fog reduced long-distance visibility on Day 1 but never became a whiteout, and open plateau travel remained visually manageable. Download maps before reaching the area and do not expect cellular service. This loop is not ideal for someone unwilling to navigate between imperfectly marked intersections.
Official map: The Forest Service Dolly Sods Wilderness Trails map confirms the route’s formal trail names and trail numbers. Carry a current field map in addition to this guide.
Mud and Creek Crossings
Mud slows the wooded connectors, while the first Red Creek ford is the route’s most consequential conditions-dependent obstacle.
Mud
Dunkenbarger held the most sustained mud; the short Dobbin Grade connector was boggy and harder to read underfoot.
Trekking poles helped test depth and footing. Boots or trail runners may become wet and muddy; I prefer boots, while trail runners are viable for hikers comfortable with wet feet. Avoid widening the tread by walking far into vegetation. Mud depth and extent vary with season and recent rain.
Red Creek
The first crossing was nearly knee-deep with moderate flow and a rocky bottom; the second was noticeably shallower.
Sandals or water shoes were useful at the deeper ford, and trekking poles improved balance. Unbuckle the pack’s hip belt and sternum strap before entering, move deliberately, and remember that a loaded pack raises the consequences of a fall. Conditions can change quickly after heavy rain. Check recent precipitation, current reports, and official alerts, and turn around if the crossing is unsafe.
Seasonal Considerations
Mid-November delivered solitude, no memorable bugs, fog, stars, and clear plateau views at the cost of short days, cold water, and freezing nights.
Day 1 was cool, windy, and foggy without rain. The fog cleared overnight for excellent stars. Day 2 stayed mostly in the forest, and the second night dropped below freezing. Day 3 was clear, sunny, and windy on the plateau. Leafless woods opened some sight lines, but fallen leaves also hid the Red Creek tread.
A 40-degree sleeping bag was marginal on the colder night; extra layers made it manageable, but I would bring my 15-degree bag for another November trip. That is a personal adjustment, not a universal temperature rating. Choose a sleep system from the actual mountain forecast, expected lows, shelter, clothing, and how warm you sleep.
Peak fall color would likely make the plateau visually striking, and I would consider returning then, but parking, popular camps, and trail traffic may be much more competitive. Avoid relying on fixed foliage dates. At any time of year, exposed weather can change quickly, and snow, ice, mud, road damage, or gates can alter access.
Before leaving home: Check the mountain forecast, the current Forest Service alerts and fire status, and the exact approach to Bear Rocks. Forest roads are not reliable year-round, and a normal sedan handling dry, snow-free November 2024 conditions does not guarantee suitability after snow, ice, rain, damage, or maintenance.
Practical Gear Notes
Navigation, wet-foot management, creek-crossing balance, and cold-weather layers matter more than specialized technical equipment.
Carry an offline map, paper backup, trekking pole or poles, sandals or water shoes, footwear suitable for mud, warm insulation, hat and gloves, rain gear, a water filter, and a sleeping system appropriate for the forecast. Trekking poles were especially useful for testing boggy ground and balancing in Red Creek. Keep all food and scented items secured from wildlife using a method that complies with the rules in effect for your dates.
Is This Worth Backpacking?
Yes, especially for hikers who value landscape variety, atmosphere, and accessible East Coast wilderness more than a single enormous summit view.
The loop repeatedly changed character, and that variety kept it engaging even when the views disappeared into fog. Lion’s Head at sunrise was a genuine high point, the first-night stars were excellent, and Day 3’s clear plateau gave the return its own payoff. Once away from the popular entry areas, the wilderness felt quieter and more self-contained than its drive-to access suggests.
This is a strong three-day destination for East Coast backpackers who are comfortable with mud, imperfectly marked trail, creek crossings, and exposed weather. Hikers seeking western-scale relief or continuous overlooks may find the scenery understated. Dunkenbarger was useful for completing this loop, but I would not deliberately repeat it if a verified alternative served the same goal.
For comparison, the Pemi Loop is a more strenuous East Coast objective with much more climbing, while the Superstition Wilderness loop offers another three-day wilderness circuit in a radically different desert environment.
What I Would Do Differently
The completed route worked; my changes would focus on warmer sleep gear, better access preparation, and considering a map-based alternative to Dunkenbarger.
- Bring a 15-degree sleeping bag for a similar November forecast instead of stretching a 40-degree bag.
- Download the exact driving route before losing service and verify forest-road closures immediately before departure.
- Start with enough water for the dry high-plateau stretch.
- Keep sandals and trekking poles readily accessible for the deeper Red Creek crossing.
- Retain the Lion’s Head sunrise out-and-back; it was the best experience of the trip.
Map-based alternative, not firsthand advice: Looking at the map, one reasonable way to avoid Dunkenbarger would be to descend partway from Lion’s Head, take the sharp left onto the continuation of Big Stonecoal Trail, and follow it to the Red Creek crossing, where it rejoins this loop. I have not hiked that variation, so treat it as a planning idea rather than a tested recommendation. It would shorten Day 2, making it reasonable to continue beyond my second-night campsite and camp farther along the route. That would either shorten Day 3 or leave room for a separately researched spur or extension. Confirm the trail connection, crossing, mileage, water, camping options, and current conditions independently before using it.
Photo Highlights
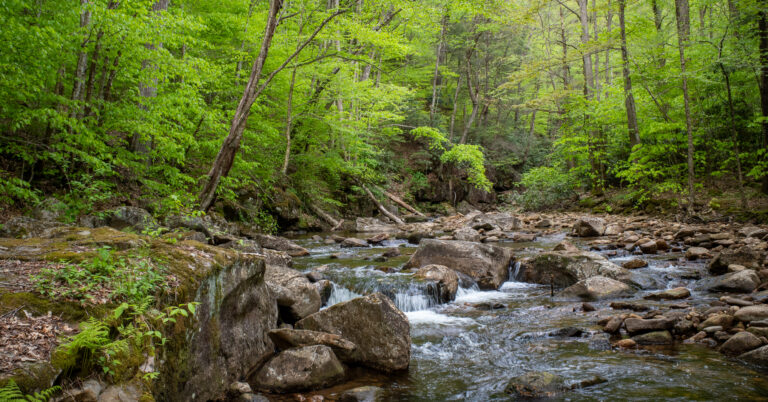
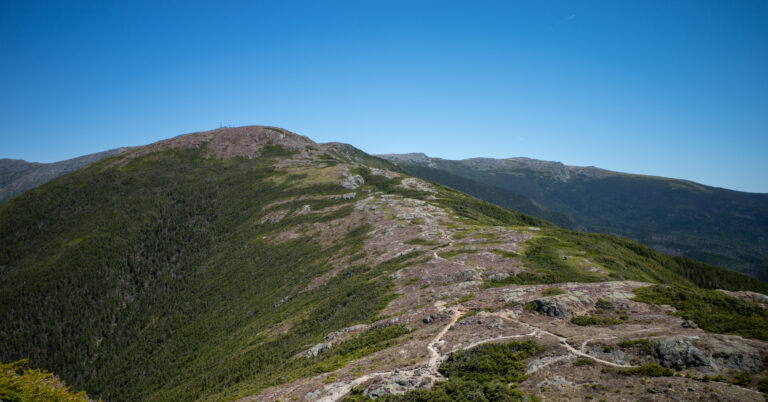
Eight frames show the route’s contrast: fog and spruce on Day 1, sunrise at Lion’s Head, then creeks and clear open plateau on Day 3.