3-Day Jotunheimen Backpacking Route: Torfinnsbu to Fondsbu
Trip Snapshot
| National Park | Jotunheimen National Park |
|---|---|
| Country | Norway |
| Route Type | Point-to-Point with ferry connections |
| Distance | ~26.4 miles |
| Days | 3 |
| Nights | 2 |
| Elevation Gain/Loss | ~5,760 ft gain / ~5,770 ft loss |
| Difficulty | Strenuous |
| Trip Date | Late June 2026 |
| Trip Timing | Very early season; quieter, but with extensive snow and slower travel |
| Best Season | July to early September generally offers more typical summer conditions; transportation dates vary |
| Start | Torfinnsbu |
| Finish | Fondsbu at Eidsbugarden |
| Camping | Wild camping |
| Water | Frequent running water and lakes |
| Permit | No traditional backcountry permit used |
| Solo Safety | Reasonable for experienced solo backpackers with a planned route and satellite communicator; hidden postholes in rotten snow were the main concern during this trip. |
Scope of this guide: This guide documents what I experienced in late June 2026. Buses, ferries, huts, access rules, water, snow, and trail conditions can change. Check the linked operators and land managers for your dates and make your own conditions assessment before relying on any operational detail.
Overview
A 3-day wild-camping route across Jotunheimen National Park from Torfinnsbu to Fondsbu, via Svartdalen, Gjendebu, Gjendetunga, and the Olavsbu area.
This trek felt like progressively leaving the ordinary world behind. It started in Oslo with a direct bus to Bygdin Hotel, continued by ferry across Lake Bygdin, and then stepped off at Torfinnsbu into a landscape of huge alpine valleys, isolated peaks, frozen lakes, rock, snow, and running water. By the time the ferry reached Torfinnsbu, the transition from city travel to remote backpacking felt complete.
On foot, the route climbs away from Lake Bygdin into Svartdalen, drops to Gjendebu, crosses Gjendetunga, reaches its most remote terrain near Olavsbu, and then descends to Fondsbu at Eidsbugarden. Ferry connections at both ends make the point-to-point route work without a rental car.
For an American backpacker, especially one used to routes like the Pemi Loop in the White Mountains, Jotunheimen feels dramatically different. The mountain masses are larger and more isolated, the valleys are broader and rockier, snow lingered far deeper into early summer, and the difficulty came less from constant steep gain and more from rocks, rotten snow, stream crossings, weather, and staying oriented when the marked trail disappeared under snow.
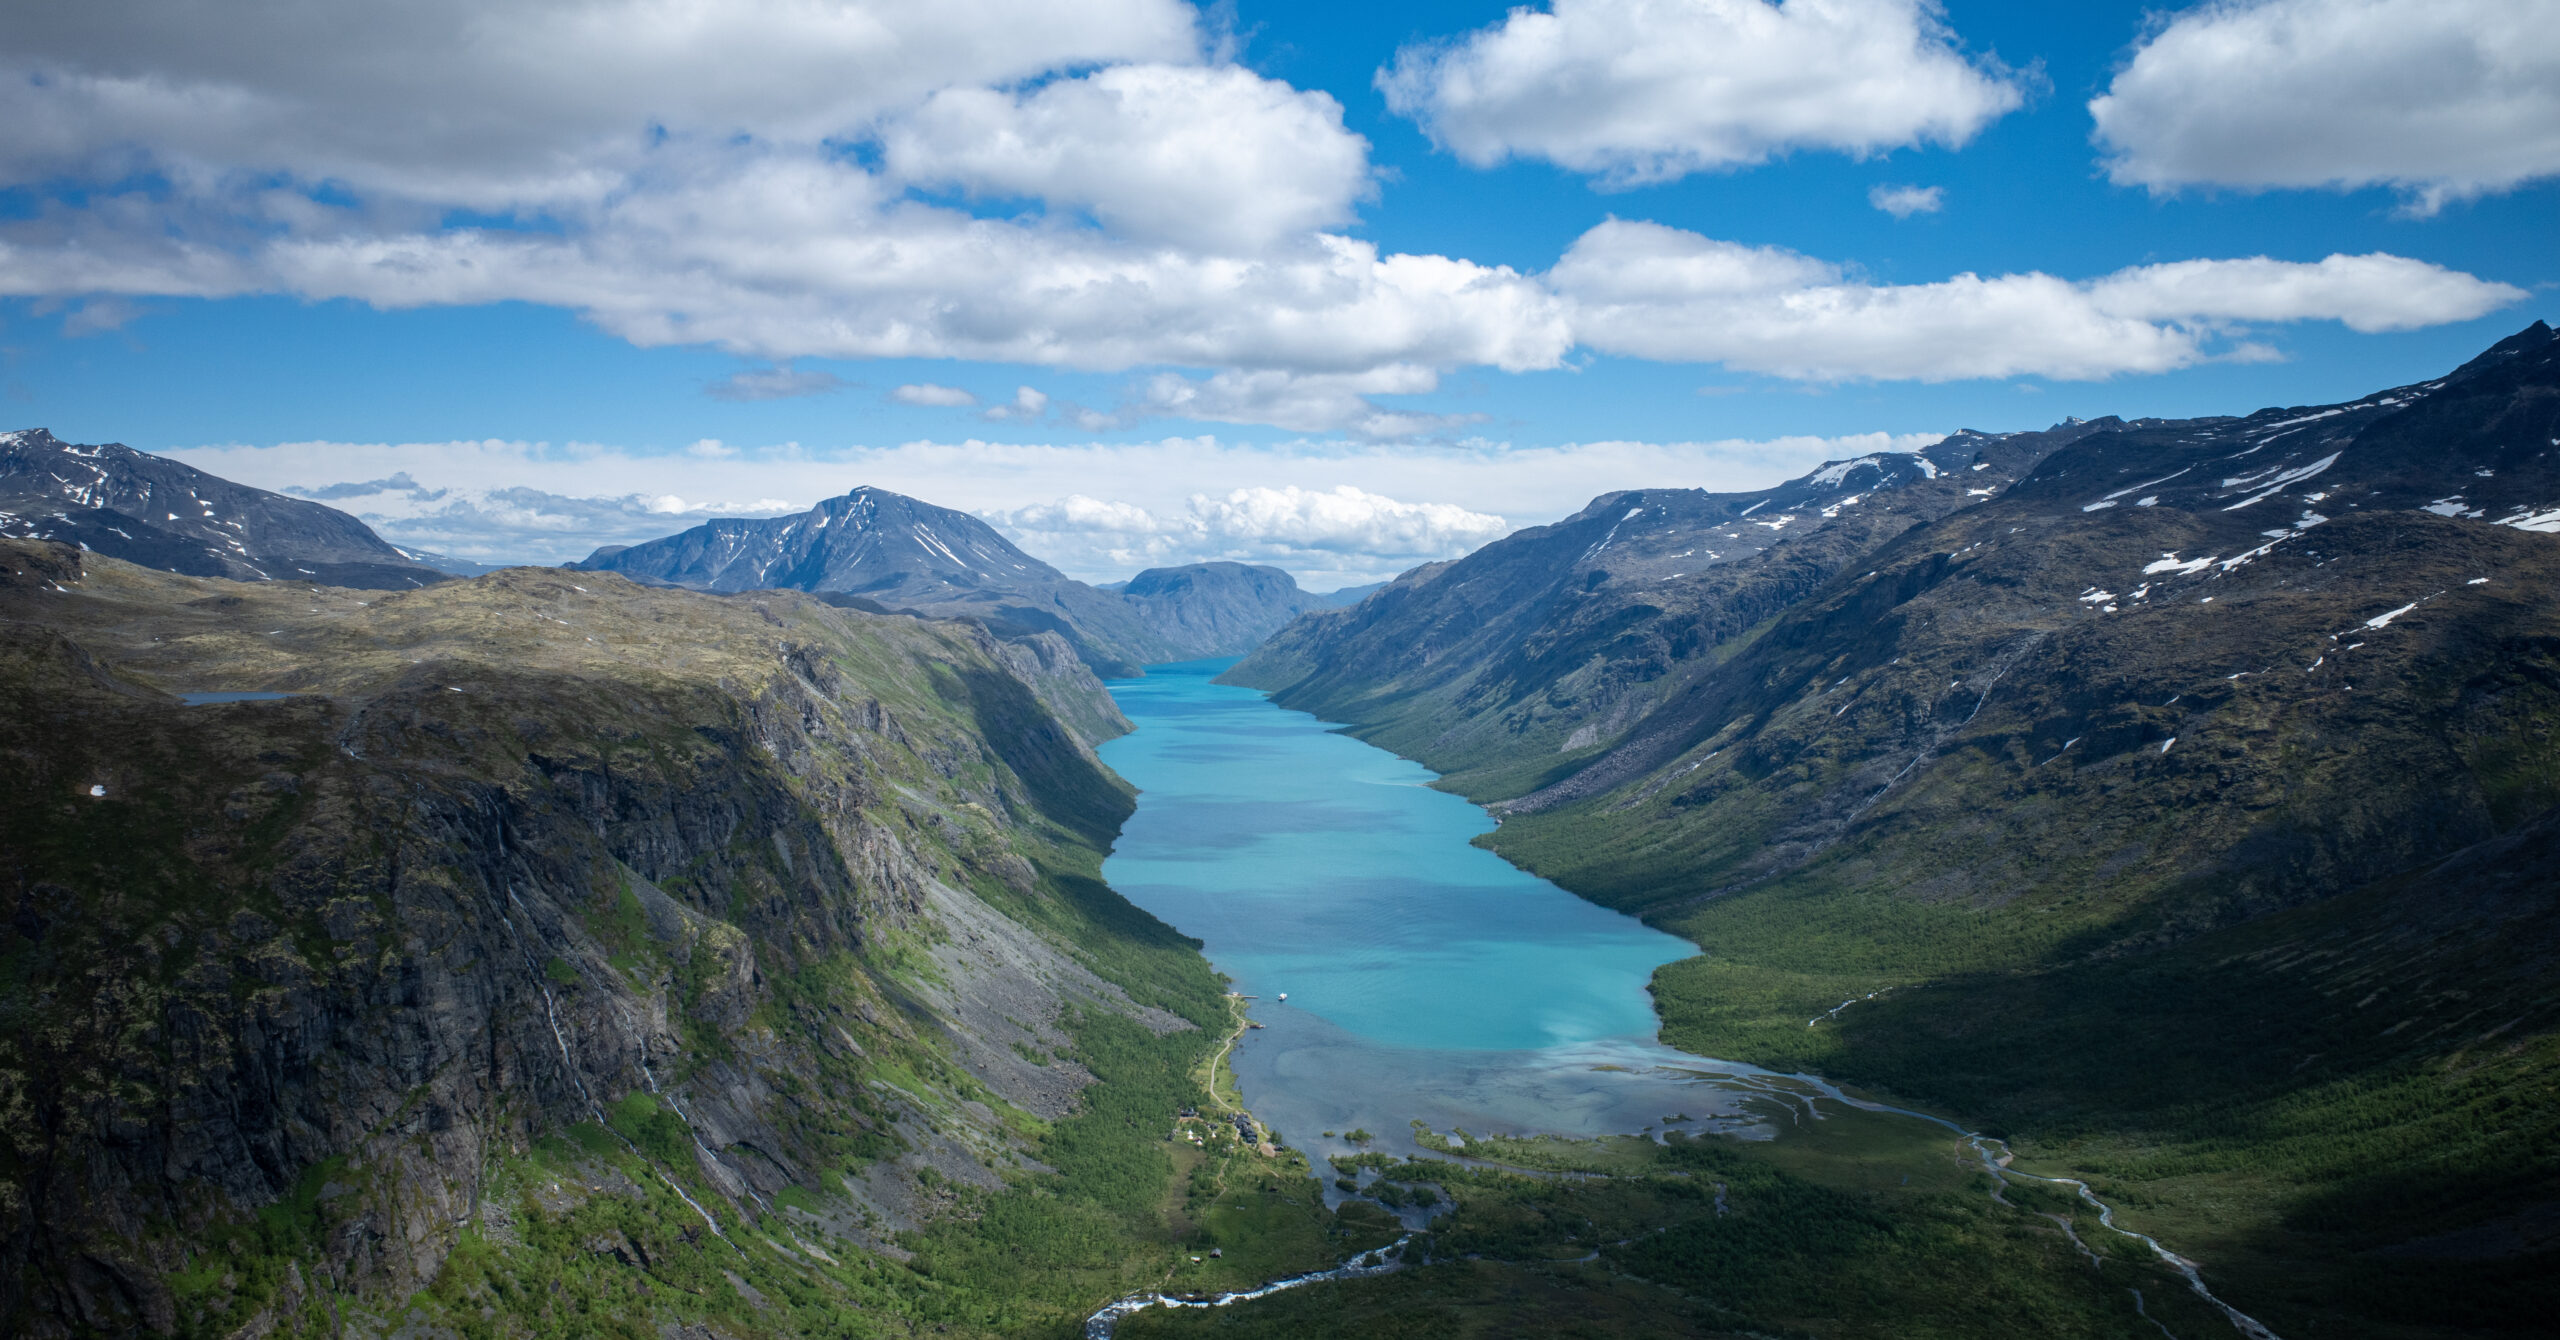
The first view down toward Lake Gjende after leaving Svartdalen was one of the most striking moments of the trek. Gjendetunga was probably the best viewpoint overall, and the second campsite near the Olavsbu approach had the strongest sense of remoteness. The ferries at the beginning and end gave the whole trip a rhythm that felt both practical and strangely cinematic.
The huts also change the feel of the trip. Gjendebu and Fondsbu make the region more approachable by offering food, shelter, bathrooms, and landmarks, but this itinerary did not rely on sleeping indoors. It stayed firmly in backpacking mode, using wild camps while keeping the hut network as useful context.
Route Map
Use this CalTopo map as the main route reference for trail context, terrain, campsites, and planning. Open the map in CalTopo for the best full-screen experience and to inspect layers more easily.
GPX note: The route and waypoint descriptions record planning notes and observations from this trip. They are not a current report on transport, huts, water, snow, or trail conditions.
Quick Itinerary
| Day | Route | Details |
|---|---|---|
| Day 1 | Bygdin ferry → Torfinnsbu → Svartdalen → Gjendebu | Distance: ~8.6 mi Gain/Loss: +1,660 ft / -1,900 ft Camp: Wild camp near Gjendebu, outside the immediate signed no-camping area |
| Day 2 | Gjendebu → Gjendetunga → northern descent → Olavsbu approach | Distance: ~9.9 mi Gain/Loss: +2,990 ft / -1,480 ft Camp: Sheltered wild camp near the trail junction before Olavsbu |
| Day 3 | Olavsbu-area camp → high rocky/snowy terrain → Fondsbu at Eidsbugarden → ferry to Bygdin | Distance: ~7.9 mi Gain/Loss: +1,120 ft / -2,390 ft Camp: Finish |
Trailhead & Access
| Starting Trail Access | Torfinnsbu ferry landing |
|---|---|
| Ending Trail Access | Eidsbugarden ferry landing, near Fondsbu |
| Primary Transport Hub | Oslo |
| Pre/Post Trek Base | Bygdin Hotel |
| Route Type | Point-to-Point route connected by ferry |
| Camping Style | Wild camping |
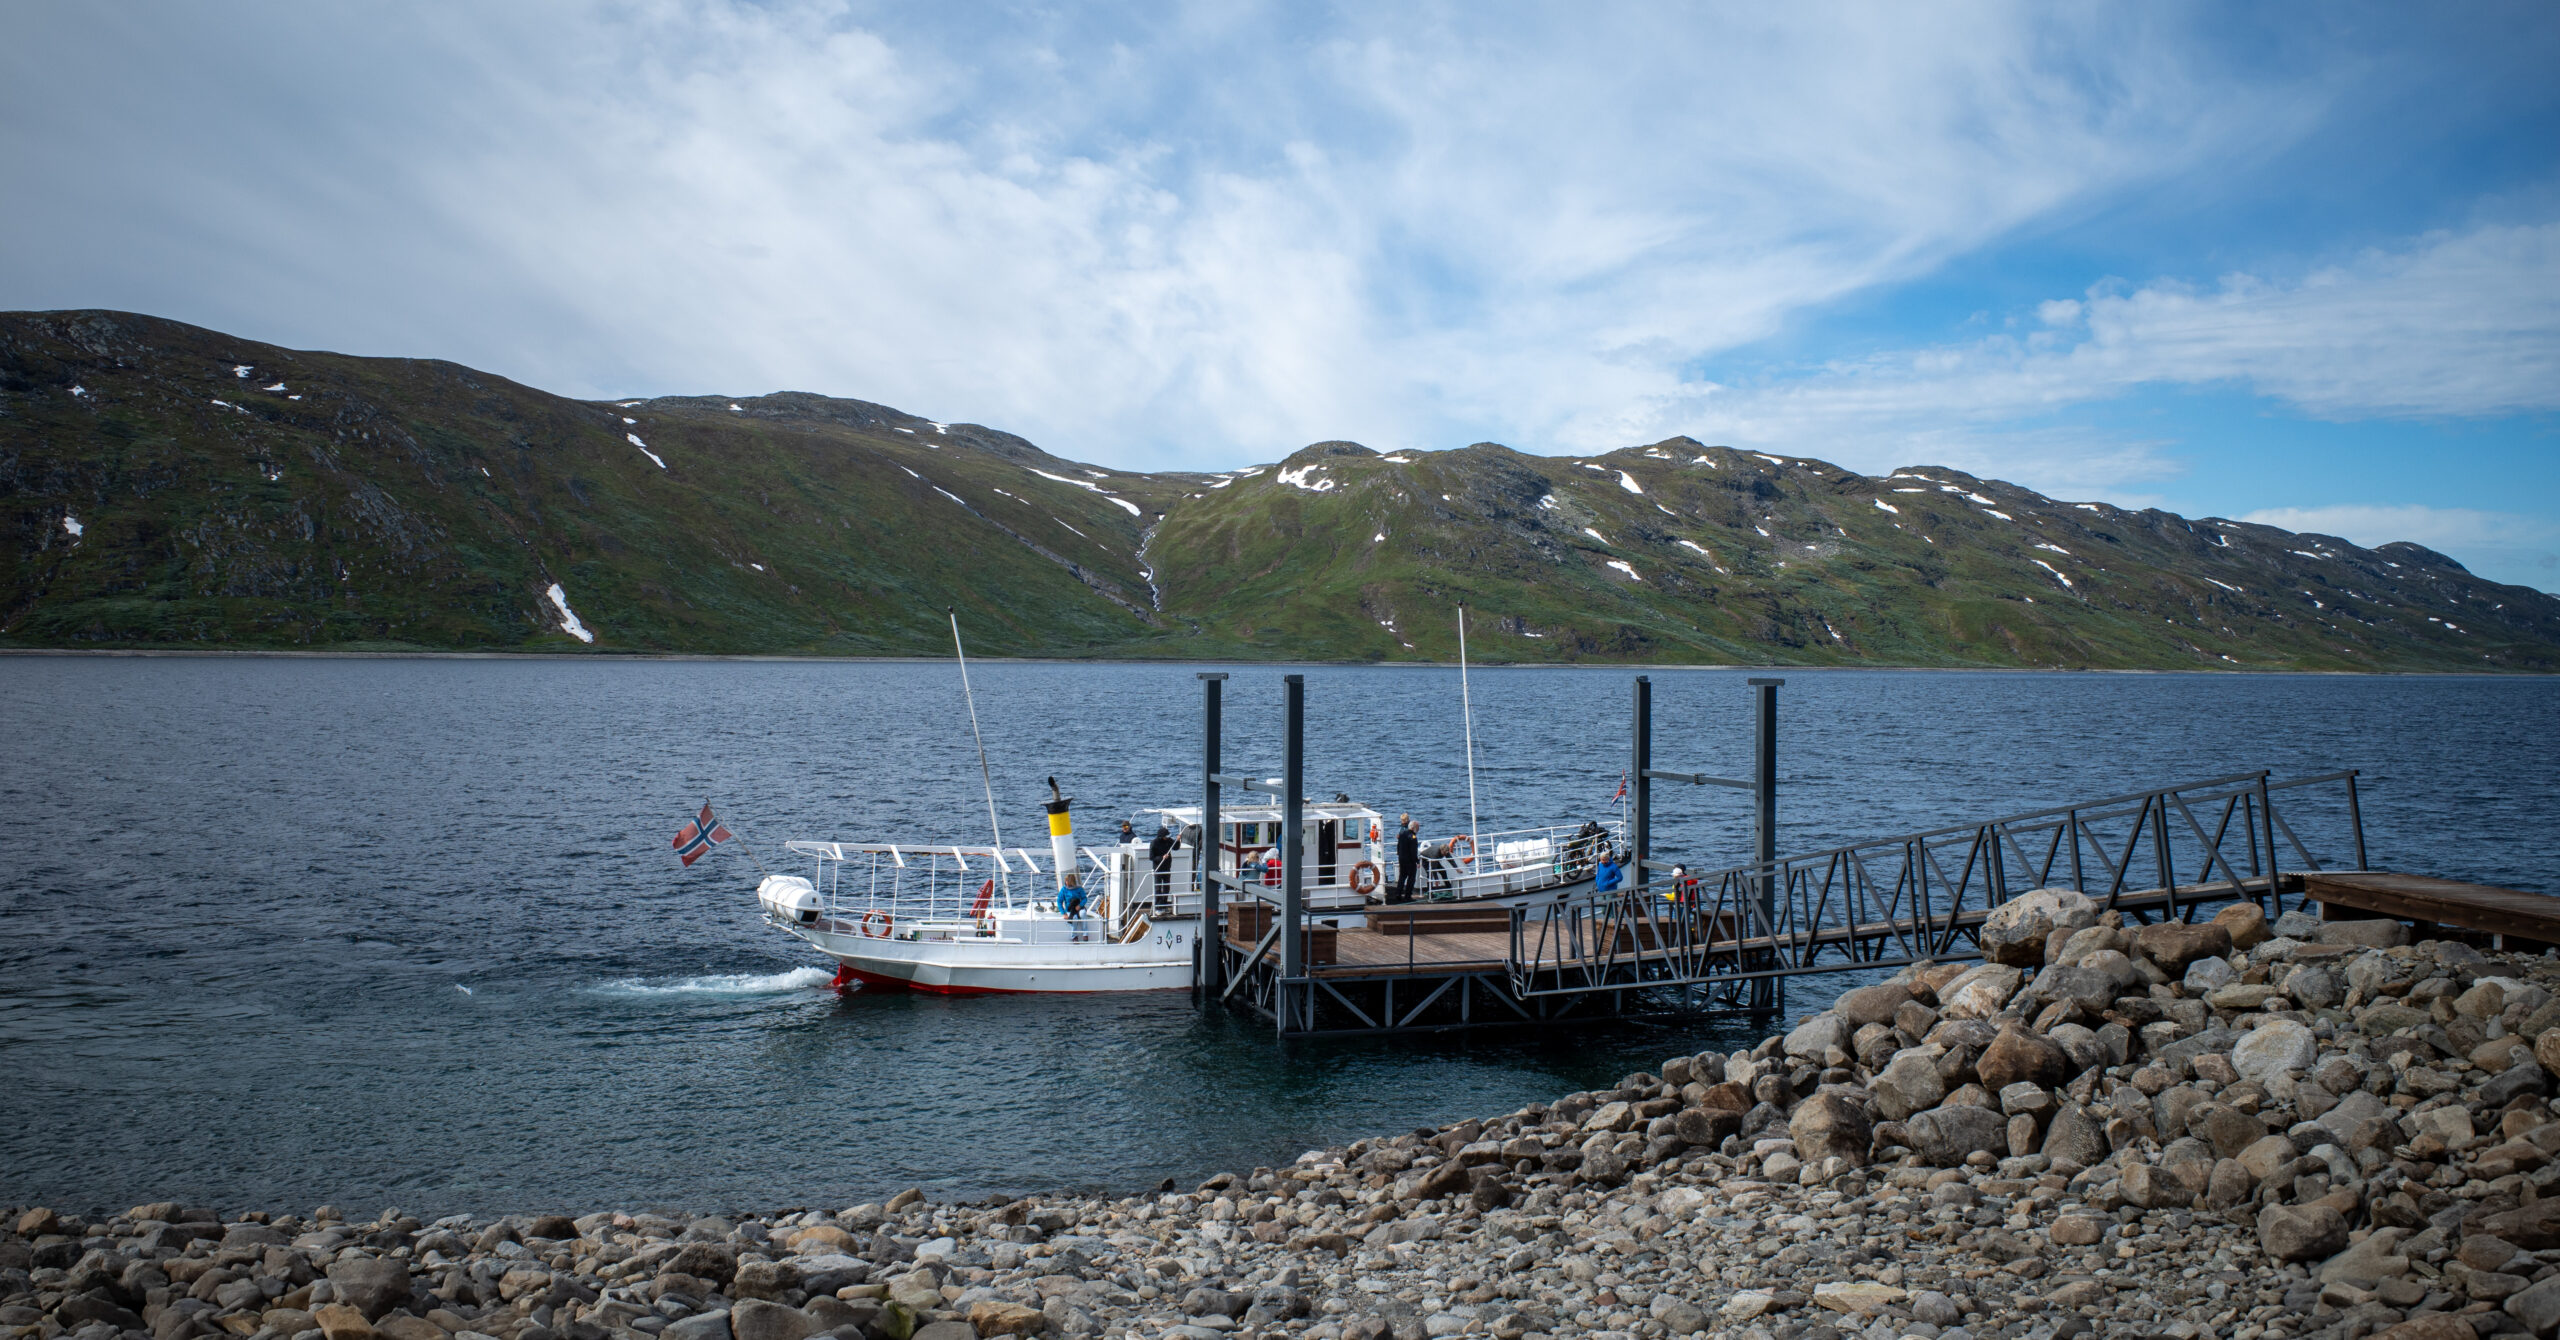
| Ferry / Boat Logistics | M/B Bitihorn links Bygdin, Torfinnsbu, and Eidsbugarden during its summer season. |
| Access Note | This itinerary was completed without a rental car. Verify current bus, ferry, hut, and trail information before planning around these logistics, especially early in the season. |
Getting There from Oslo
The route felt surprisingly easy to access from Oslo, especially for an international backpacking trip.
The approach began with a direct bus from Oslo to Bygdin Hotel. I found several available departures through both Vy and NOR-WAY, and we ended up taking a bus at around 2 PM, which I believe was the latest departure that day. The ride took roughly four hours, made several stops, and did not require a transfer. Despite the stops, it was exceptionally smooth and almost empty.
The outbound bus was a modern double-decker, and the driver suggested sitting upstairs in the front row. With the panoramic front window, the ride felt like part of the trip rather than just transportation. The scenery changed gradually from Oslo to farmland, hills, lakes, mountains, and increasingly small towns. For the return, we took the earliest bus we found from Bygdin Hotel, at around 8 AM. It was a normal coach rather than a double-decker, but it also went directly to Oslo without a transfer.
The road infrastructure was one of the most unexpectedly impressive parts of the journey. Even far into sparsely populated mountain country, the roads were excellent. Long tunnels cut directly through mountains to connect small communities, and the entire ride made traveling deep into the Norwegian countryside feel remarkably easy.
Bygdin Hotel made the logistics simple. It sits in a scenic location on Lake Bygdin, and it worked well as a pre- and post-trek base. The hotel held non-backpacking luggage while the trek was underway, which made it much easier to travel internationally with both town clothes and backpacking gear.
The hotel breakfast was an excellent pre-trek meal, with meats, cheeses, oatmeal, fresh bread, smoked salmon, and similar foods. Dinner was a high-quality three-course meal. It was not cheap, but it felt reasonable in the context of an international vacation, especially coming from New York City prices. During this early-season visit, the hotel guests skewed older and the whole place felt calm.
From Bygdin, the route continued aboard M/B Bitihorn. The ferry to Torfinnsbu left around 9:05 AM during this trip and took roughly 45 minutes. At the end, the ferry from Eidsbugarden, beside Fondsbu, back to Bygdin took roughly 1.5 hours.
Taking the ferry back to Bygdin was a deliberate logistics choice. While planning, we looked for a bus from the Eidsbugarden/Fondsbu area directly to Oslo but did not find a convenient no-transfer option. Current routes may differ, but returning to Bygdin meant we could recover the luggage stored at the hotel, spend a comfortable night there, and take a direct morning bus to Oslo after we were rested. It also let Bygdin Hotel serve as the transportation start and finish even though the backpacking route itself remained point-to-point.
Planning note: The times above describe this trip, not a permanent schedule. Search your exact travel dates through Vy, NOR-WAY, or Entur, and use the M/B Bitihorn timetable for the ferry dates and departure times that apply to your trip.
Route Guide
A 3-day point-to-point route from Torfinnsbu to Fondsbu at Eidsbugarden, with wild camps near Gjendebu and the Olavsbu approach.
Day 1: Torfinnsbu through Svartdalen to Gjendebu
~8.6 mi, +1,660 ft / -1,900 ft
Route
- Take the ferry from Bygdin to Torfinnsbu.
- From Torfinnsbu, climb steeply away from Lake Bygdin.
- Continue into Svartdalen as the route begins to flatten into broader valley travel.
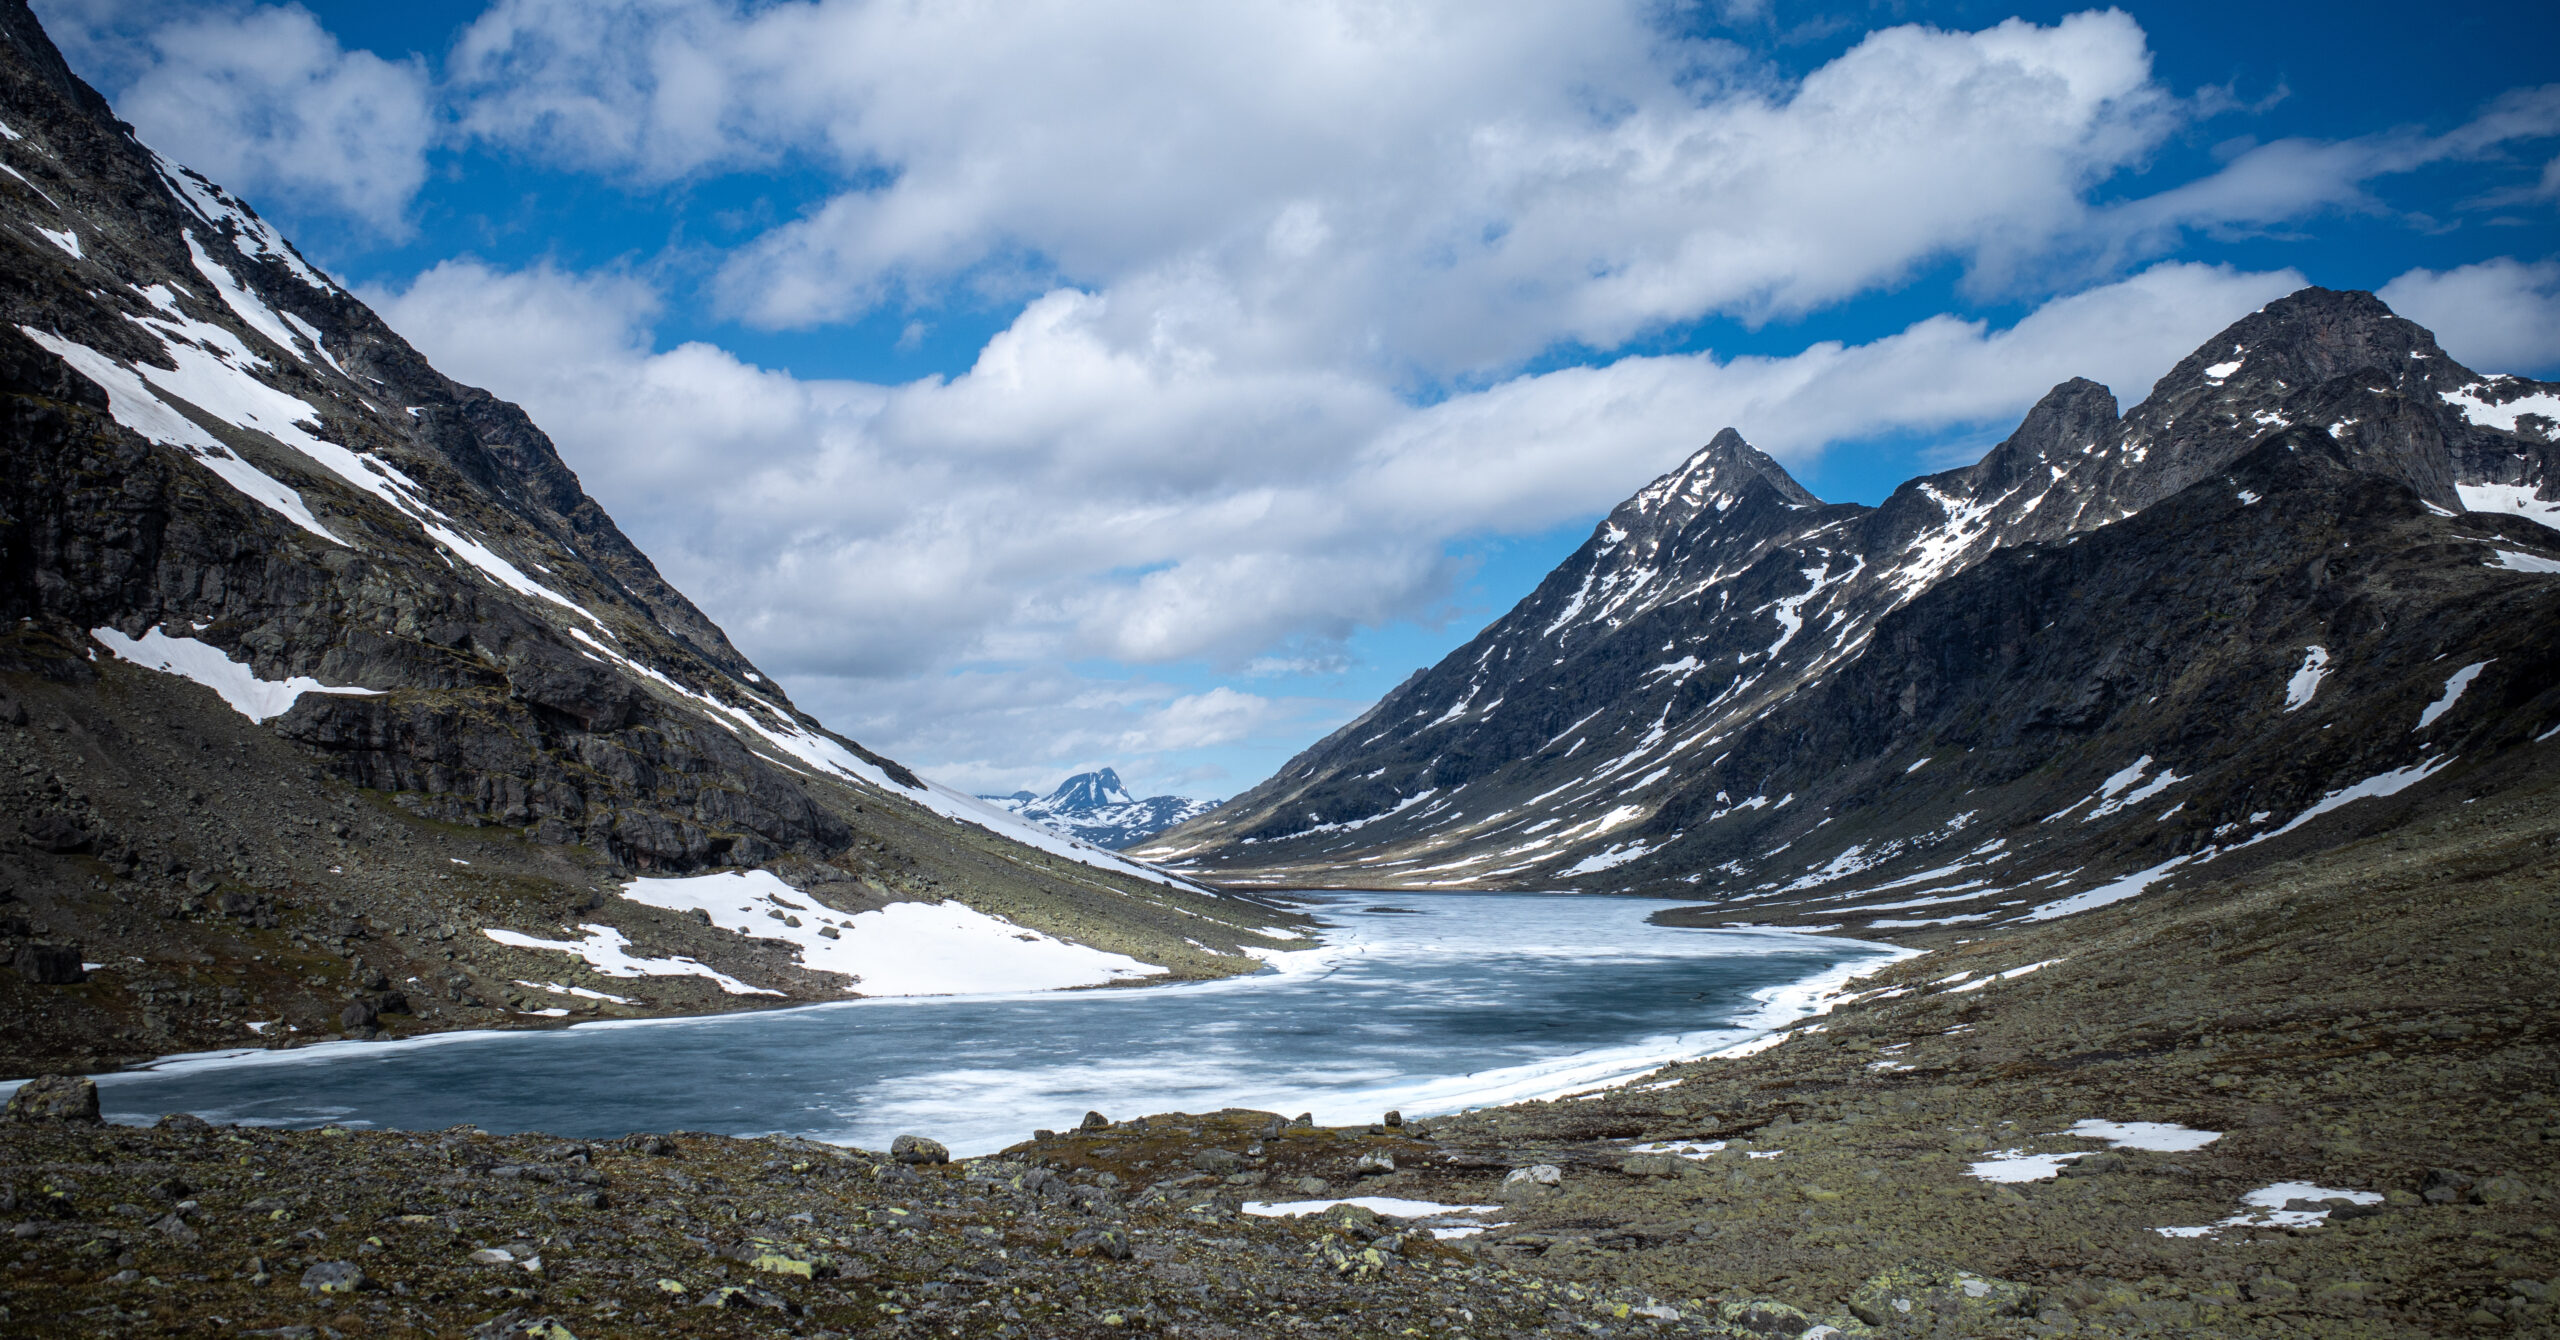
- Travel alongside a large lake that was still frozen during this early-season trip.
- Continue through rocky terrain, boulder sections, snow patches, and high mountain walls.
- Climb toward the crest overlooking Lake Gjende, Gjendebu, and the surrounding mountains.
- Descend steeply toward Gjendebu and the greener terrain near the lake.
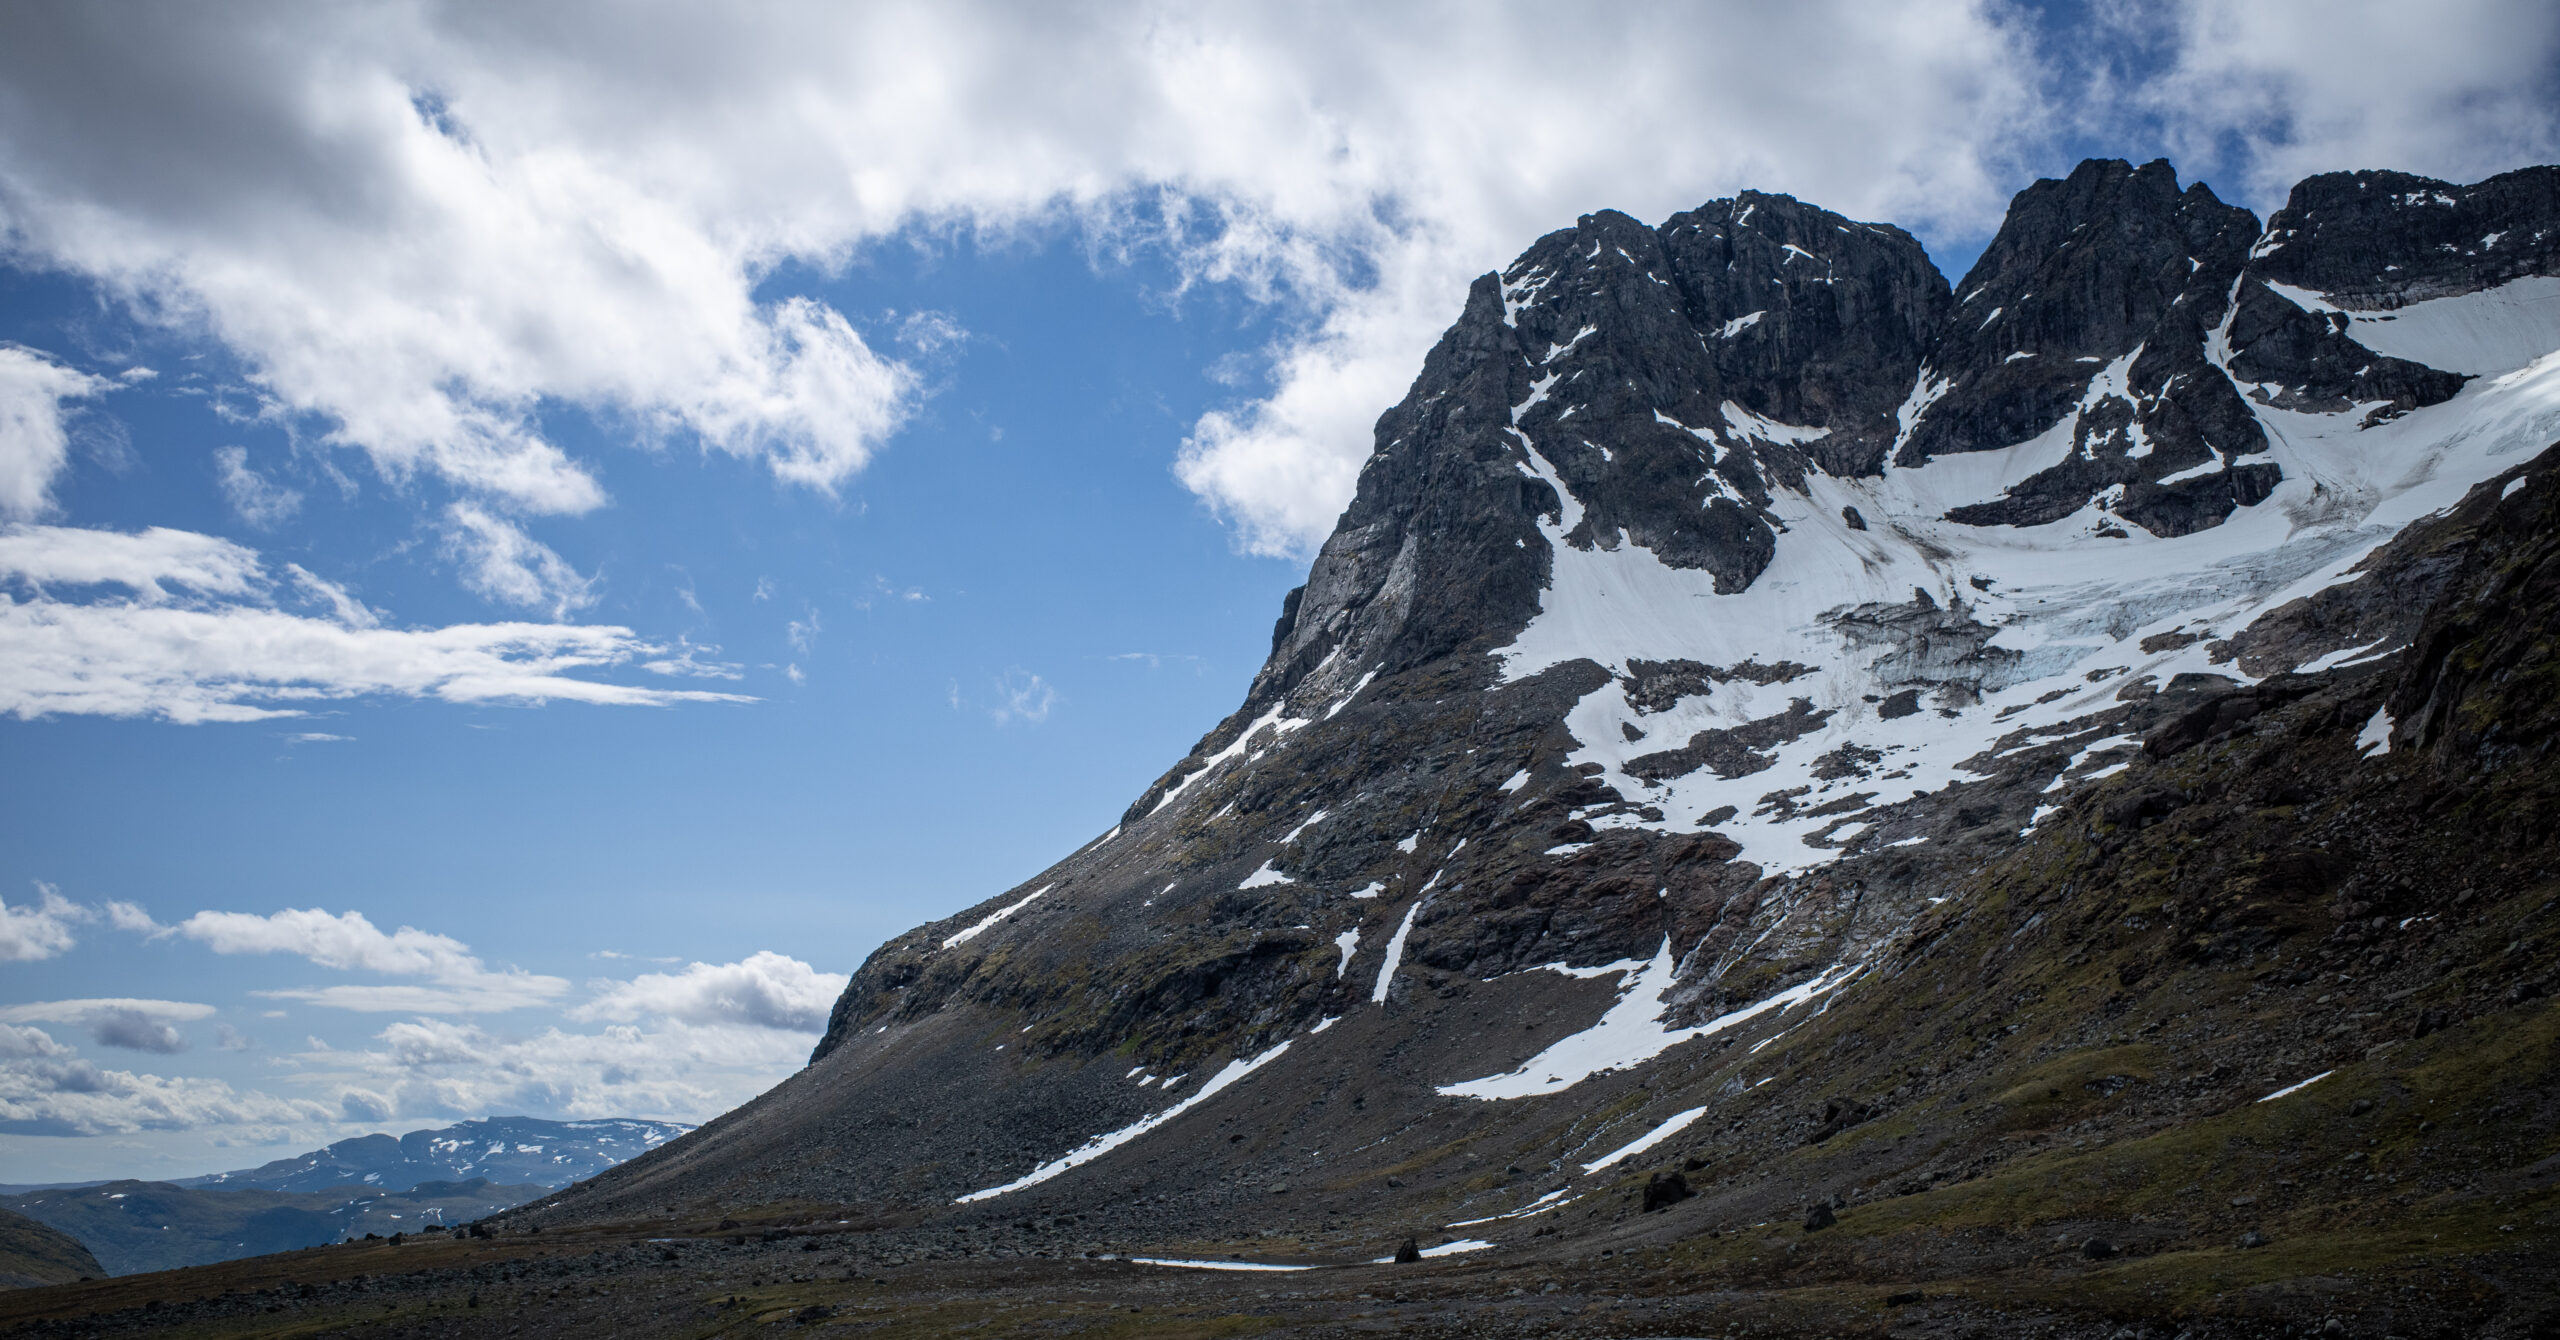
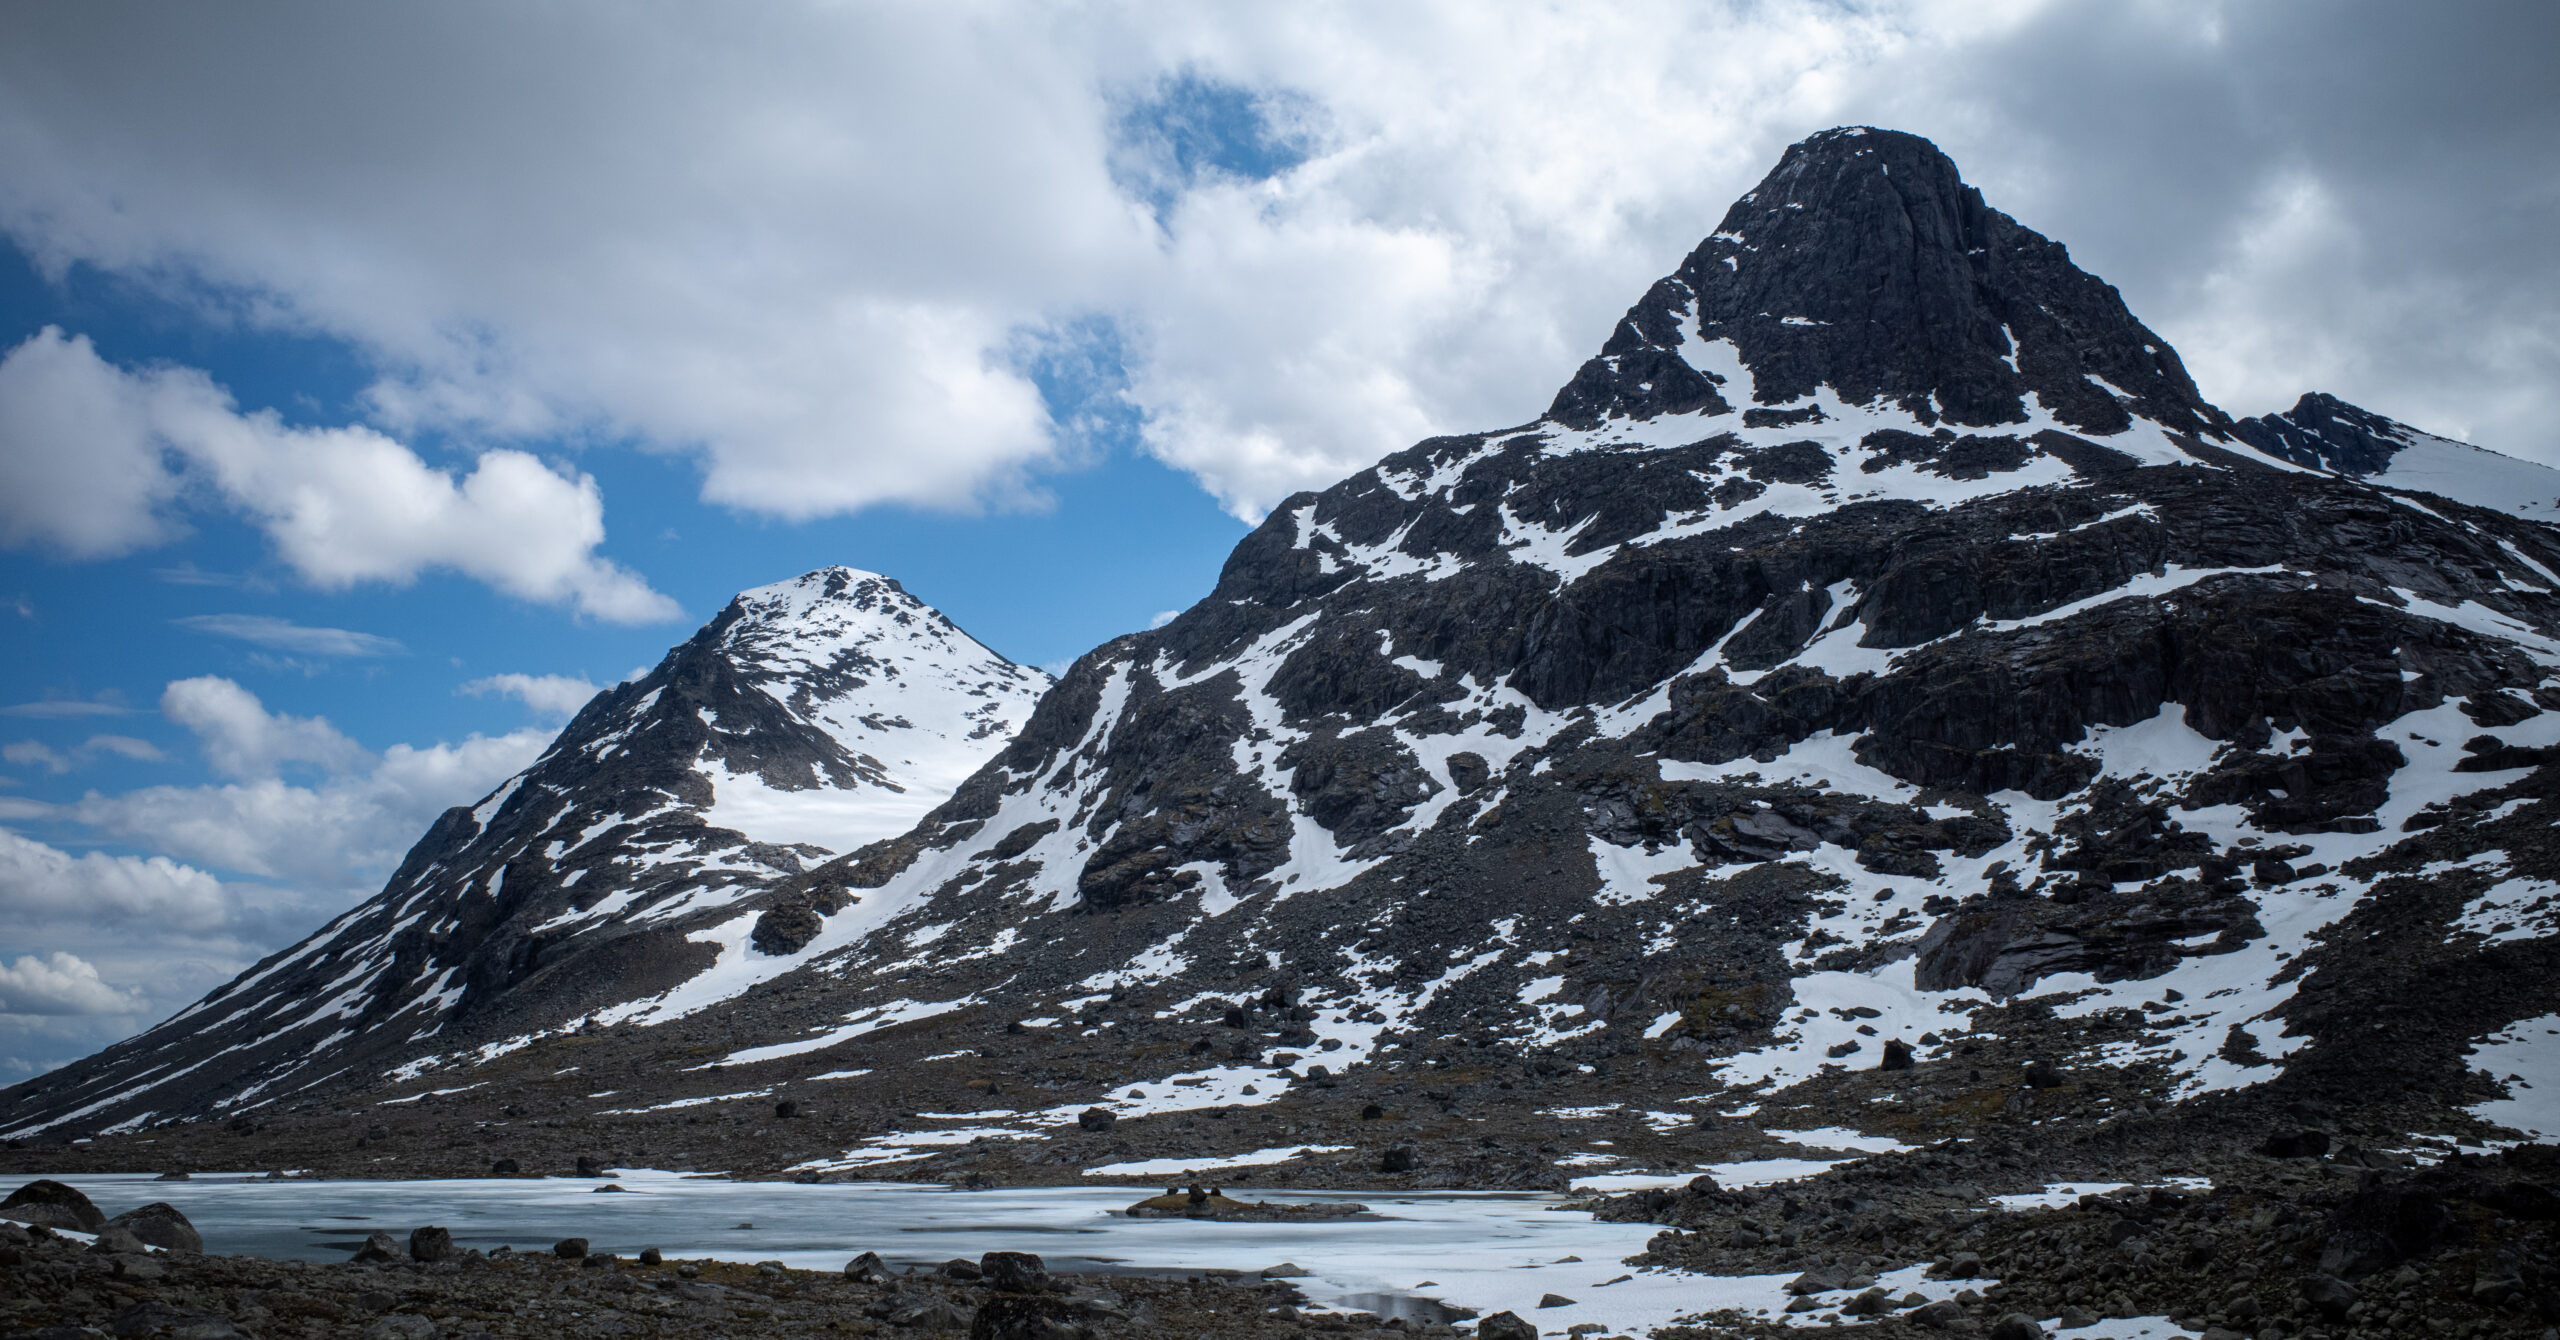
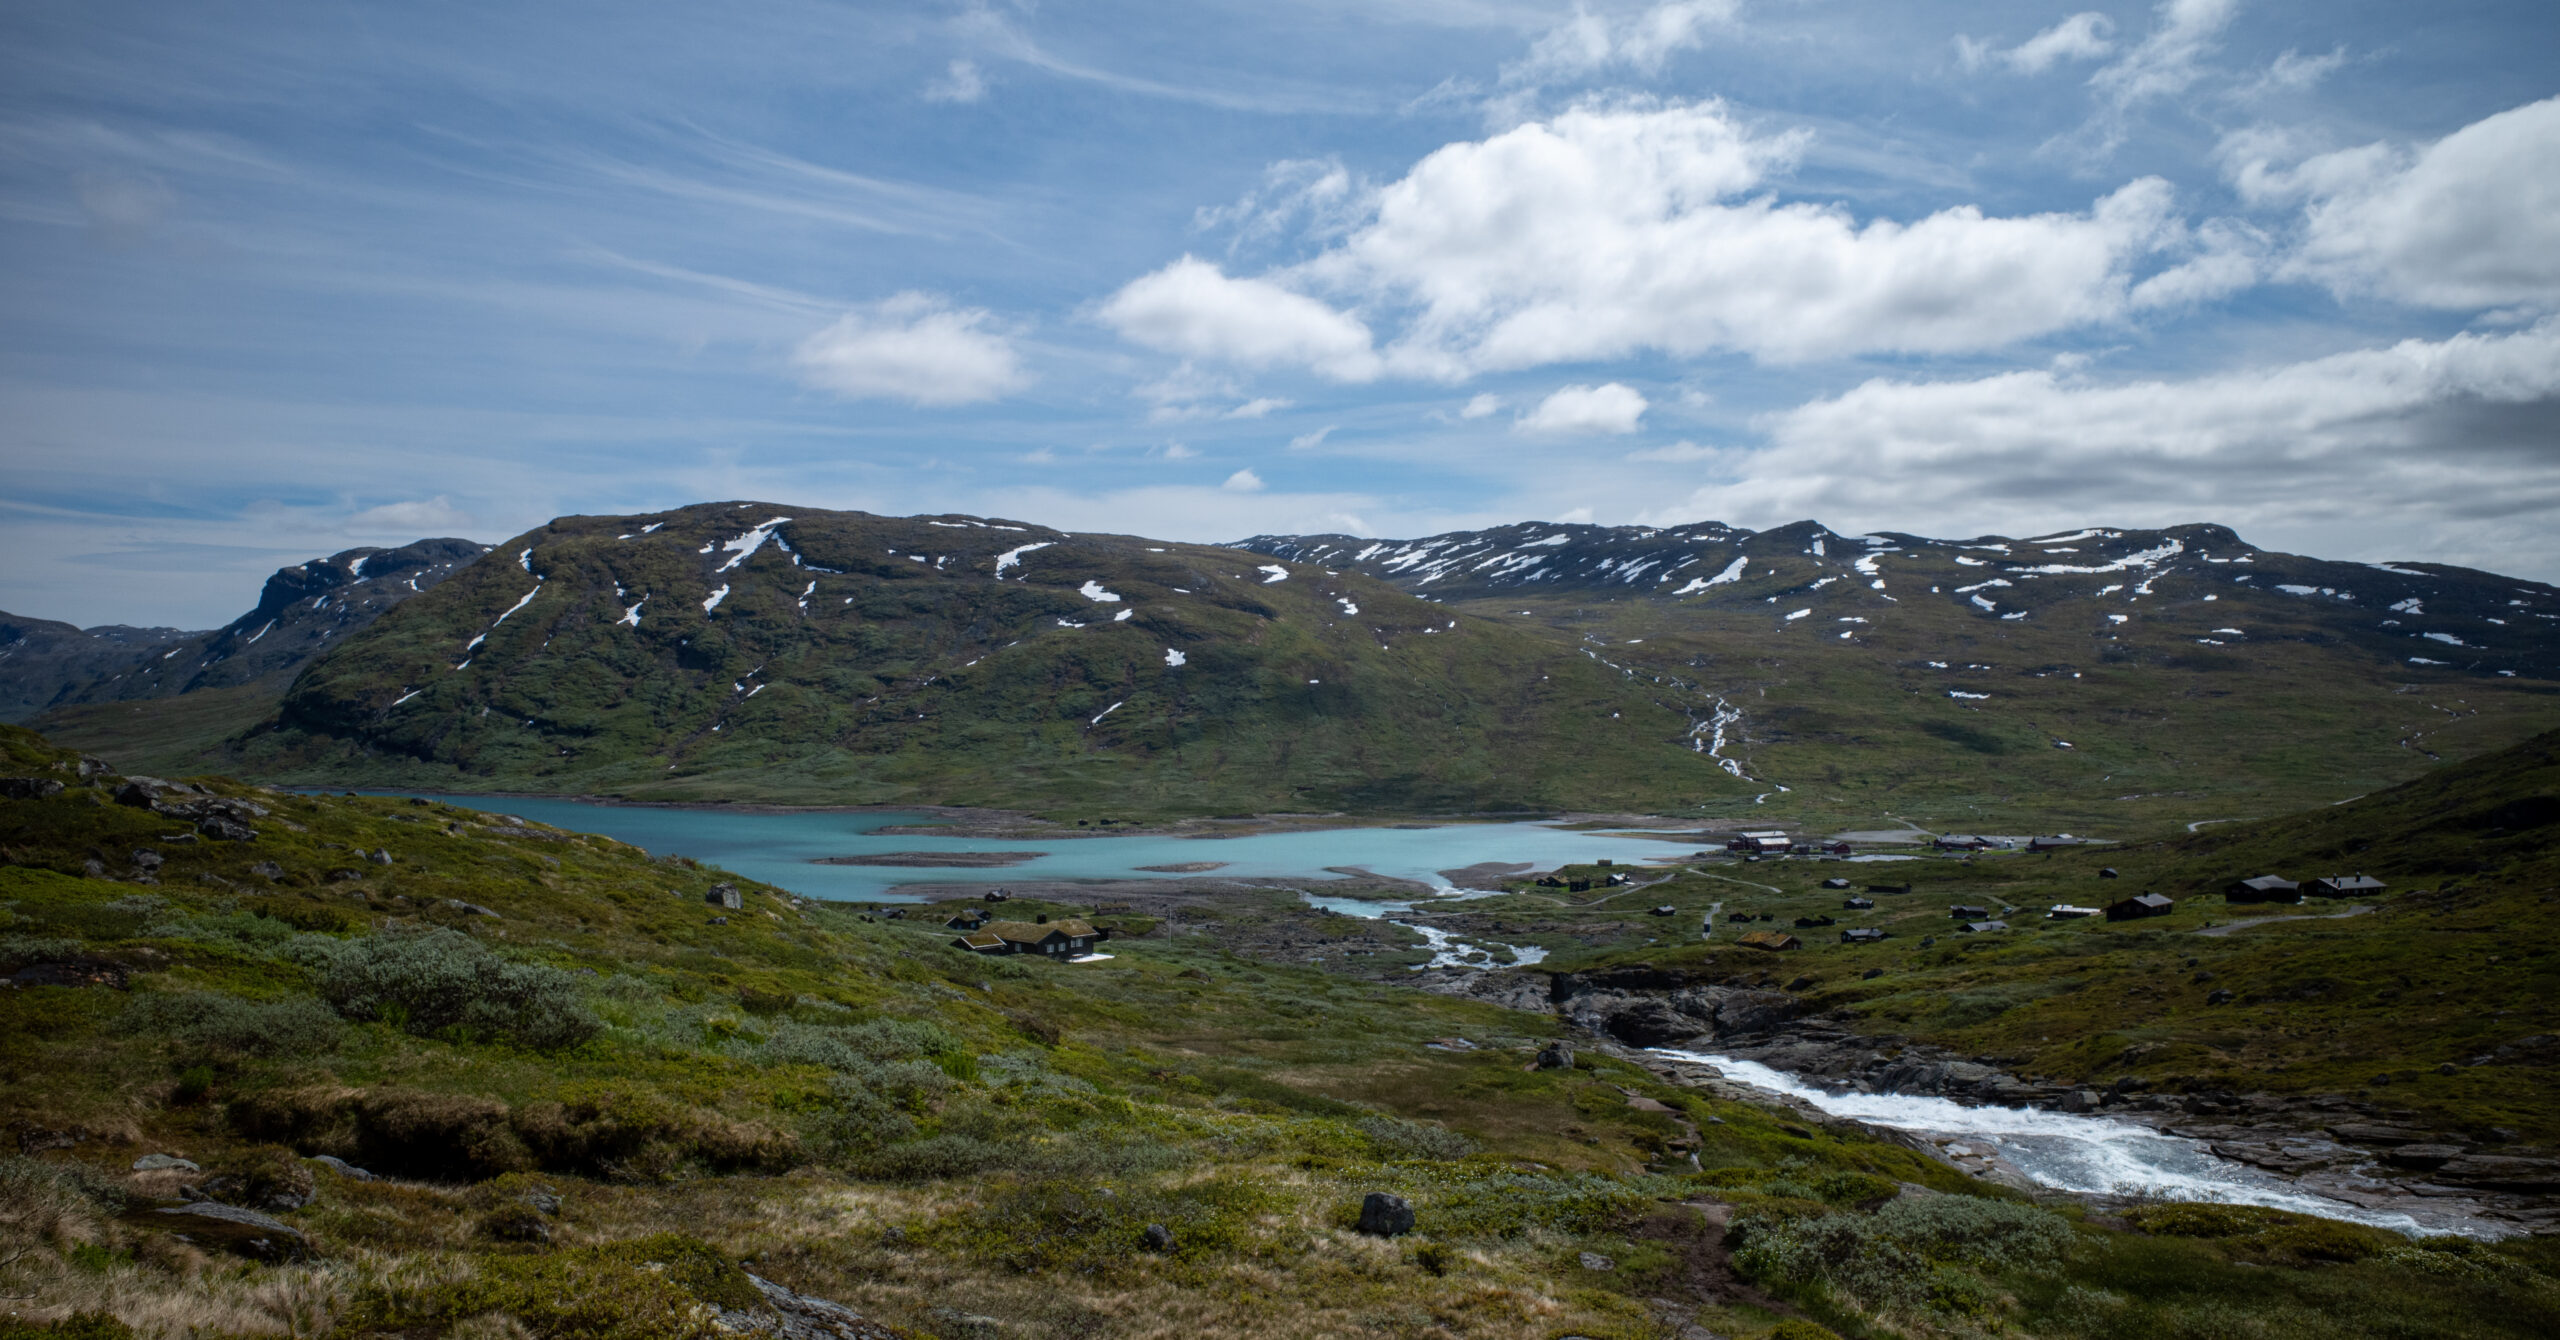
The 45-minute ferry from Bygdin lands at Torfinnsbu, where the hiking begins. From the landing, climb steeply away from Lake Bygdin before the grade eases into Svartdalen. The trail passes below huge mountain walls and isolated peaks, with sections of large boulders, rockfall debris, lingering snow, and a lake that was still frozen during this early-season trip. This was one of the first places where the scale of Jotunheimen really landed.
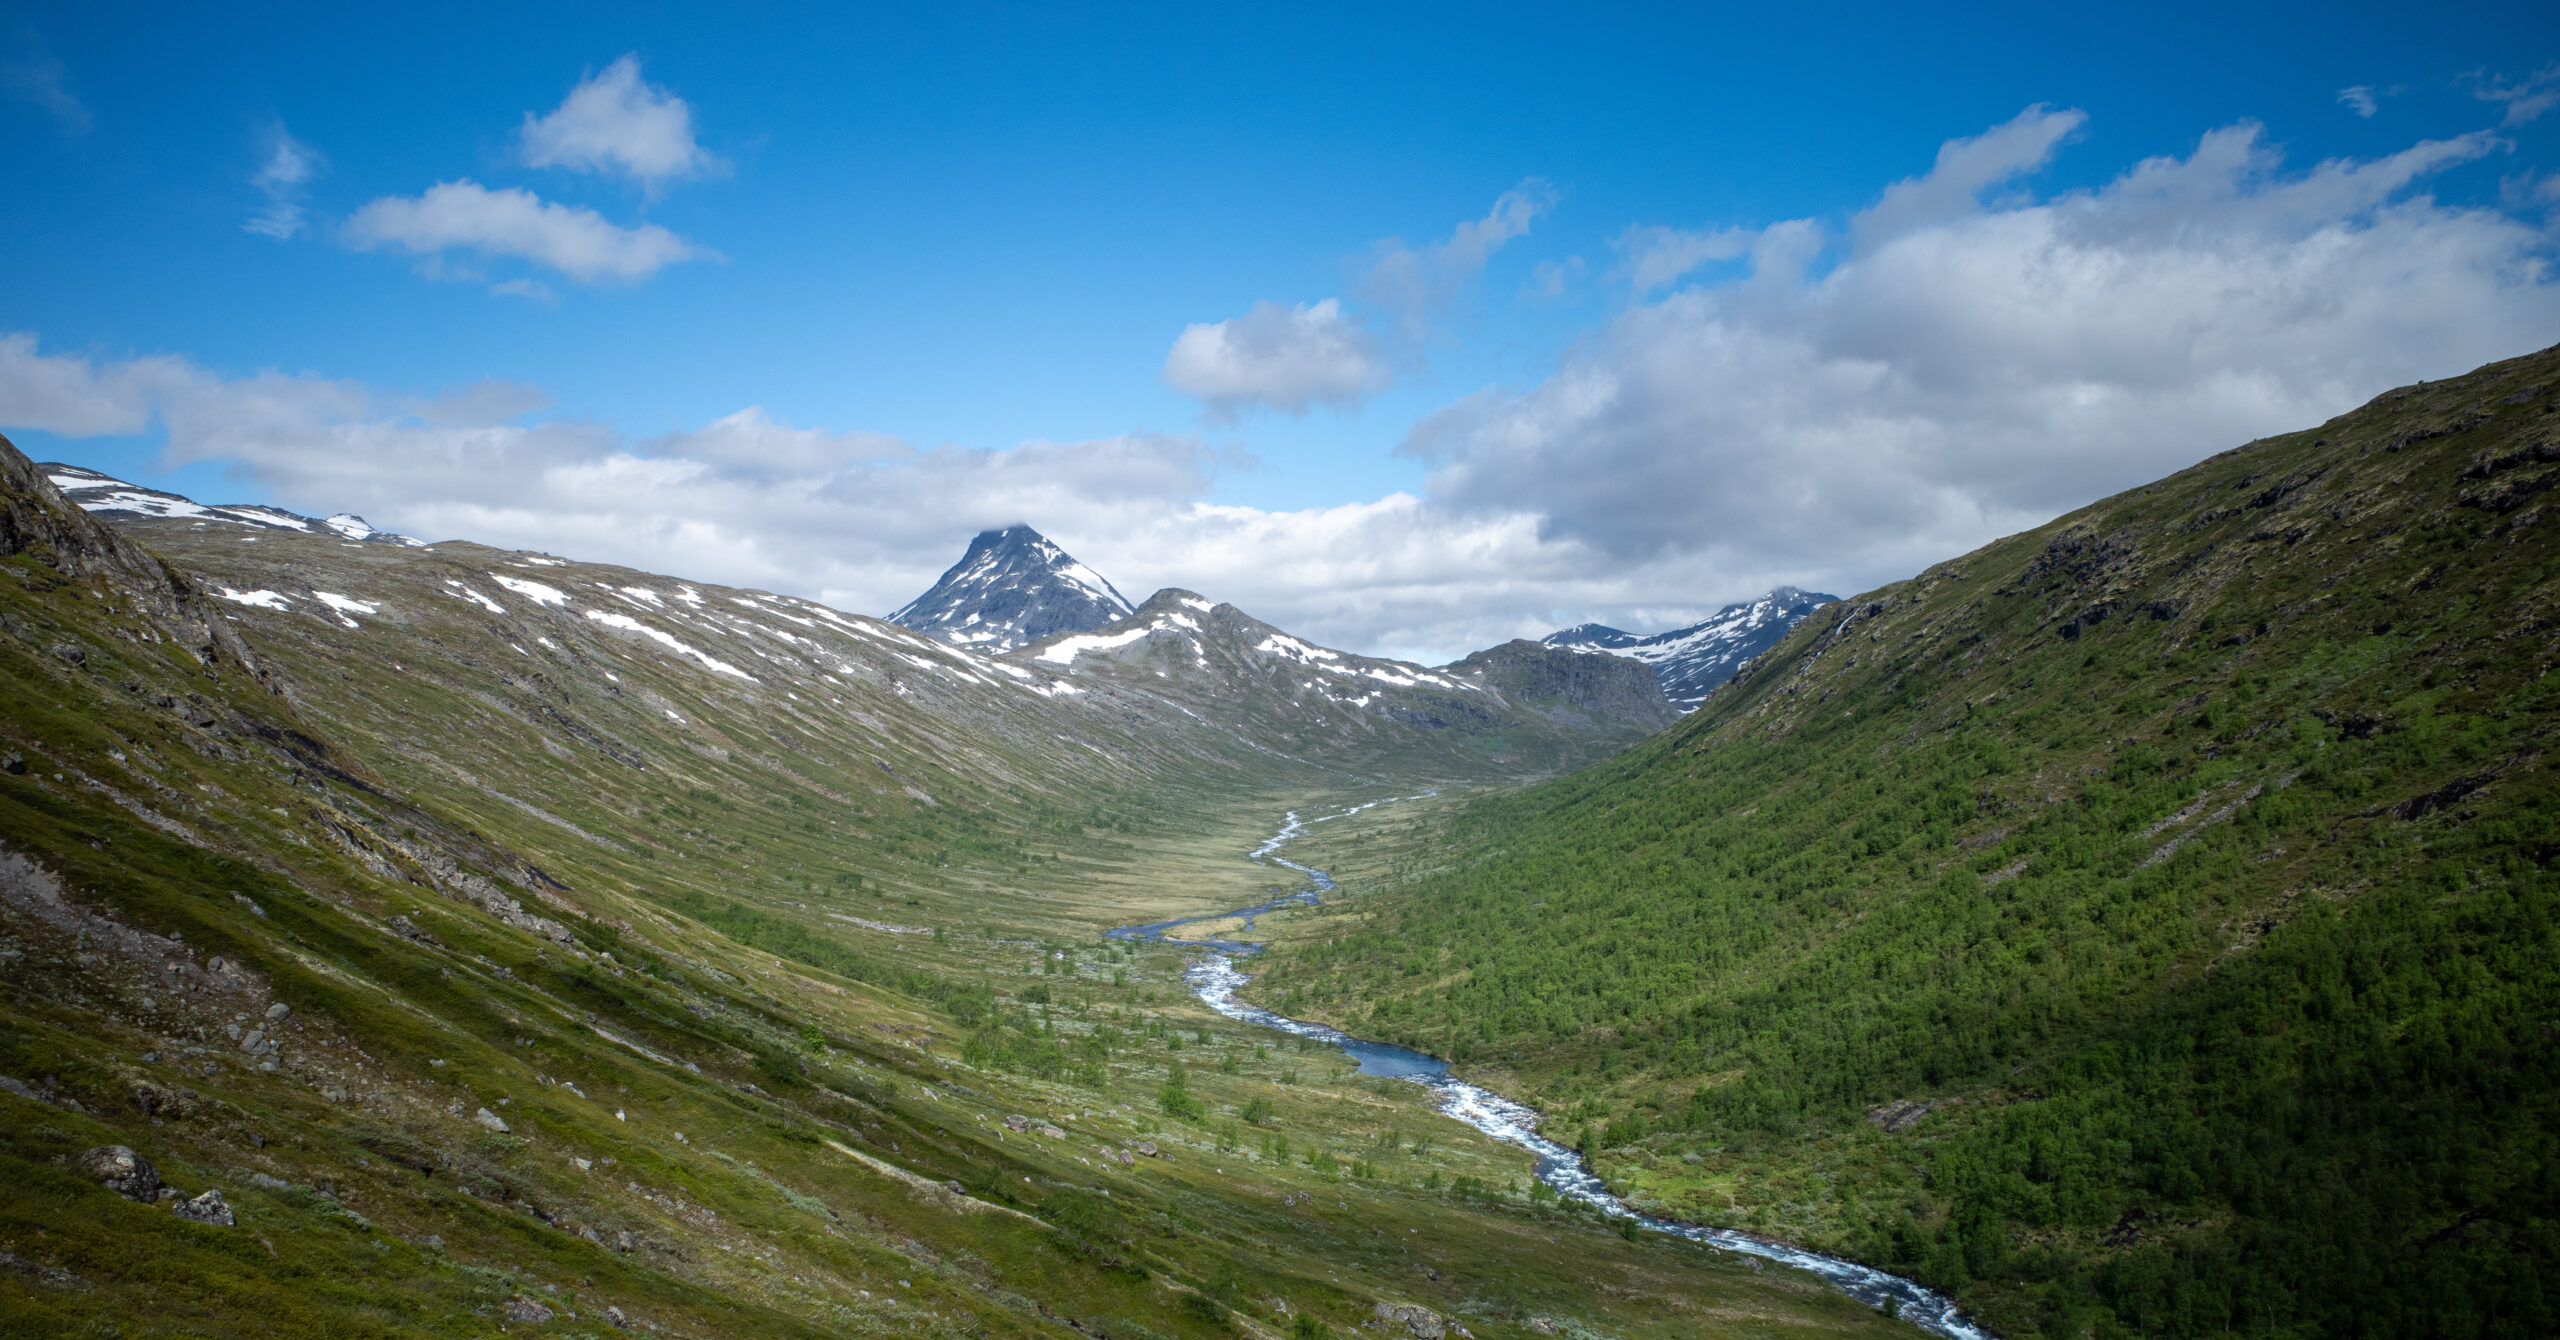
After traveling through Svartdalen, climb toward the crest overlooking Lake Gjende. The first view down toward Lake Gjende, Gjendebu, and the surrounding mountains was a standout moment of the trip. The descent then drops steeply toward Gjendebu and transitions into a greener, more forested environment near the lake. After the rock, snow, and alpine severity of Svartdalen, it felt like entering a new biome.
Water
Running water was abundant during this early-season trip. A local at Bygdin Hotel told us that clear, flowing water was commonly consumed directly, and we did so without issue. Water-treatment choices are personal, and conditions can vary.
Lakes and streams were common, but still water was treated more cautiously than clear running water. Active snowmelt likely contributed to the amount of flowing water and to the number of stream crossings.
Camping
Gjendebu had a visible signed no-camping area immediately around the hut. We asked hut staff how camping worked, and after walking a short distance beyond the signed restriction, numerous existing campsites were visible. Several other people were camping in the area.
We found a campsite along the trail toward Gjendetunga. There was an existing fire ring, though we did not make a fire. The site was scenic, with the hut still visible in the distance, but it did not feel especially remote compared with the second night.
Note: This describes the camping experience on this trip, not a full legal guide to camping in Norway. Verify current outdoor-access rules, local restrictions, and hut-specific no-camping zones before going, and follow Leave No Trace practices.
Day 2: Gjendebu over Gjendetunga toward Olavsbu
~9.9 mi, +2,990 ft / -1,480 ft
Route
- Leave the Gjendebu area and climb toward Gjendetunga.
- Pause at the overlook before the final summit spur.
- Continue to the summit of Gjendetunga.
- Descend north from Gjendetunga rather than returning the same way.
- Continue through less-traveled, intermittently snow-covered terrain.
- Descend toward the river, then follow the valley upstream toward Olavsbu.
- Reach the trail junction before Olavsbu and find a sheltered campsite.
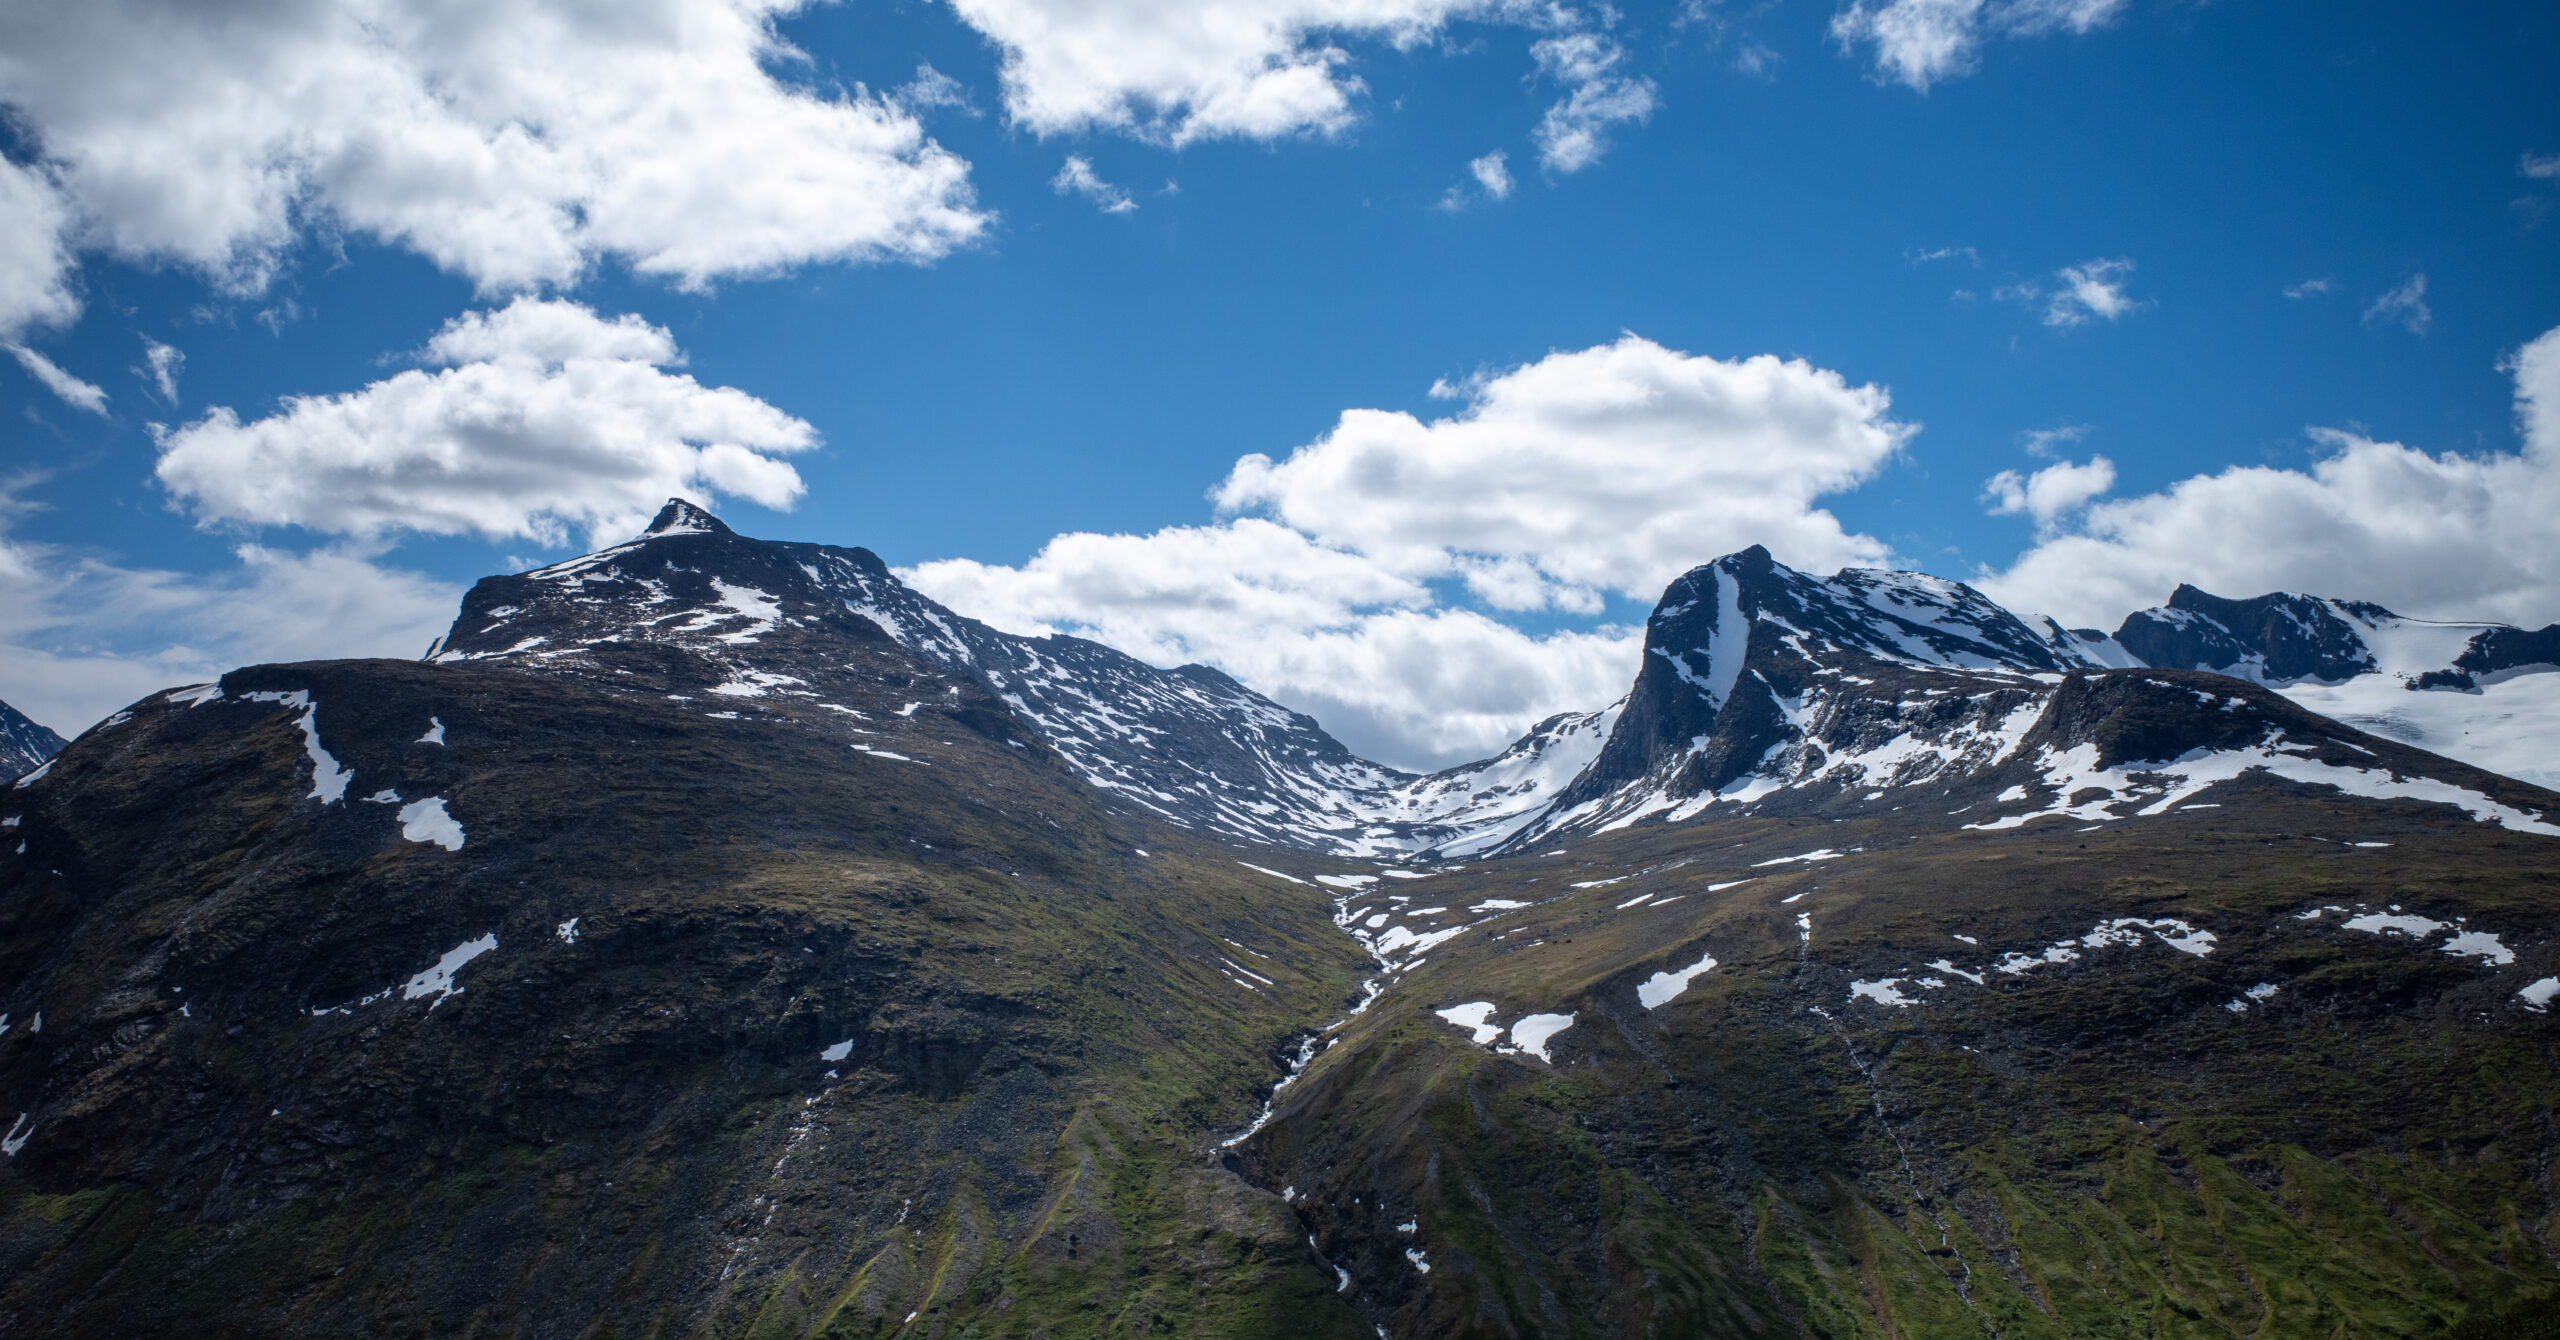
Day 2 starts by climbing Gjendetunga. Before the final summit spur, there is an excellent rock viewpoint looking down toward Lake Gjende, Gjendebu, and the river and wetland system below. This was one of the best photo locations of the trek.
Continue to the summit of Gjendetunga for broader views over Lake Gjende and the surrounding mountains. From there, descend north rather than returning the same way. This side of the route felt less frequently traveled, and snow obscured portions of the trail. The exact tread was occasionally difficult to follow, though the general direction remained clear.
The descent became steep, rocky, and muddy in places before dropping toward the river. From there, continue upstream toward Olavsbu. The terrain becomes increasingly rocky and snowy, and during this trip the weather worsened into wind, rain, and overcast skies. Travel slowed down, but it never felt unsafe.
Navigation
Trail markings were generally good, but early-season snow forced occasional deviations. We temporarily lost the exact trail in places and then regained it by watching the terrain and staying aware of the general direction. This was not technically complex navigation, but it also was not an effortless marked-path experience in these conditions.
Camping
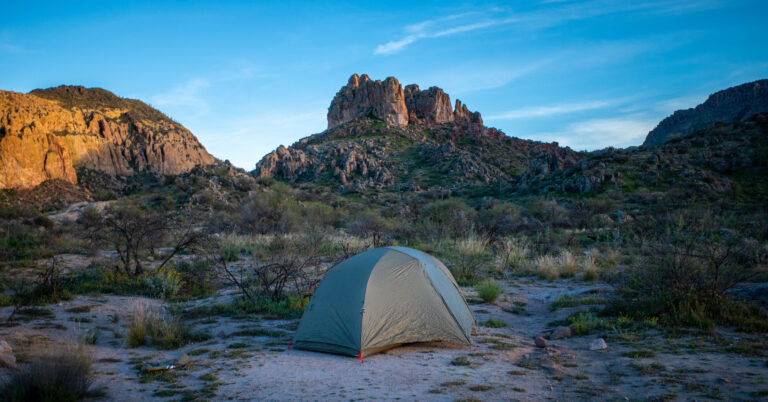
The second campsite was near the trail junction before Olavsbu. This area was windy, and campsite selection took more thought than it had near Gjendebu. We used a large flat rock as the tent platform, with another large rock providing significant wind protection.
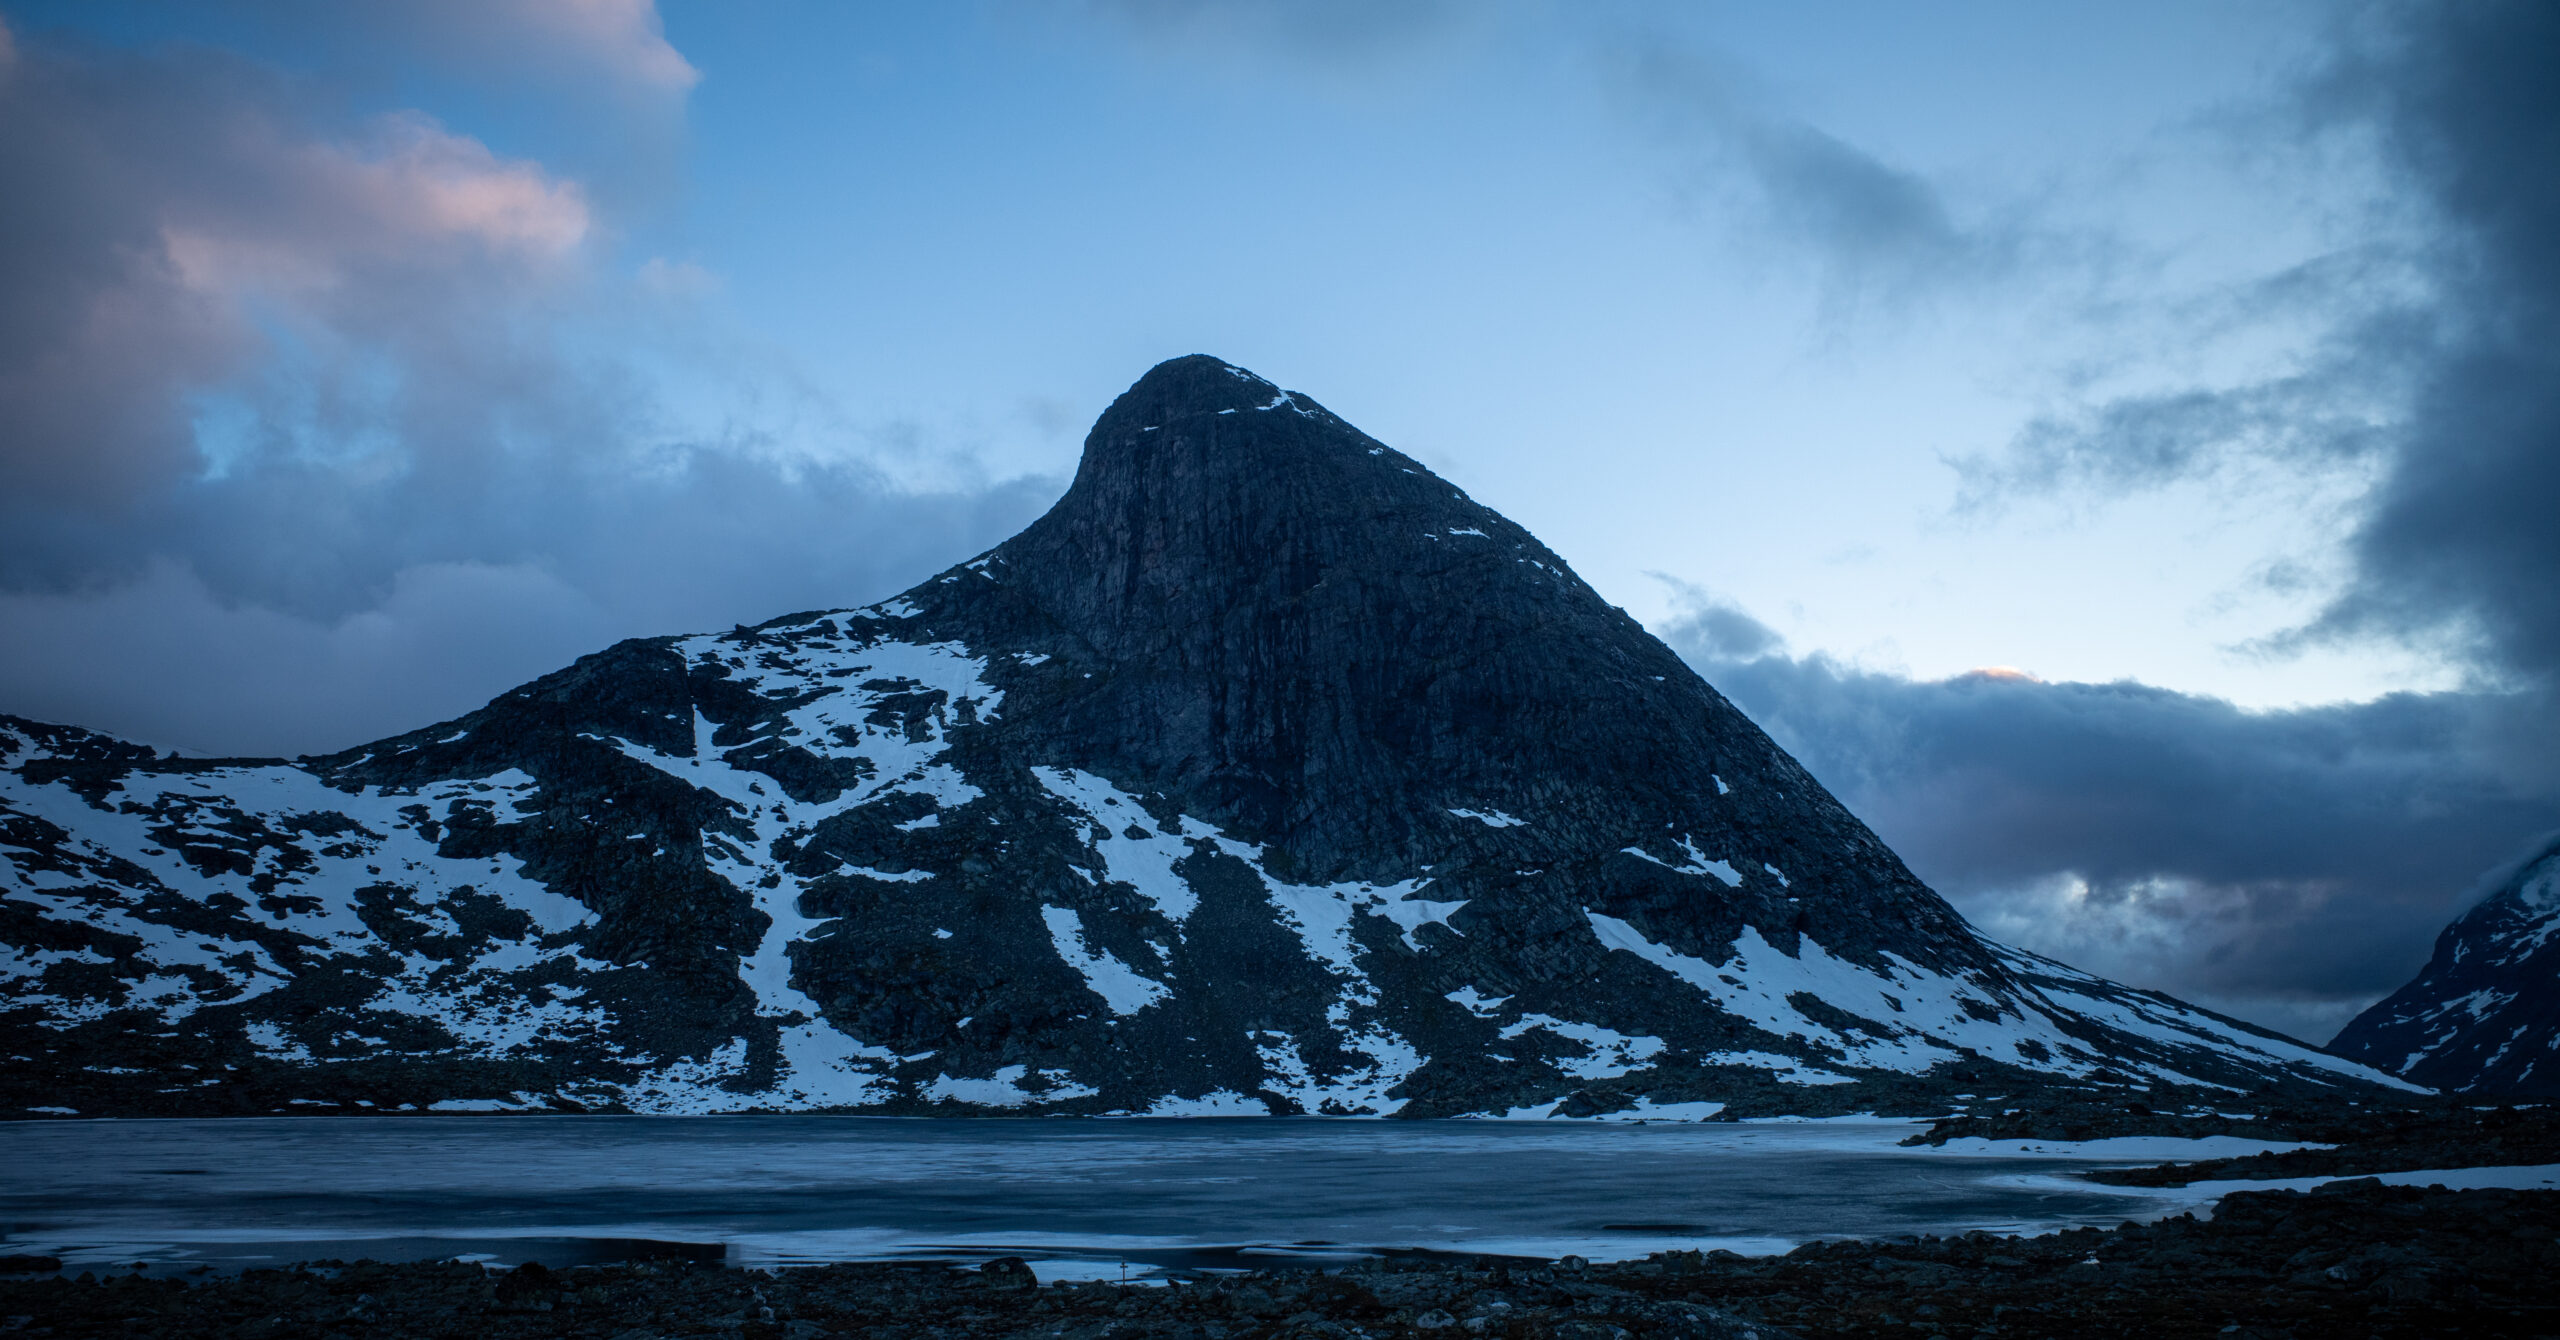
Other tents were visible near the lake, but those sites looked more exposed. Additional campsites likely existed closer to Olavsbu, though we did not continue far enough to evaluate them closely. This was the preferred campsite of the trip because it felt wild and isolated. We did not see other hikers on this stretch.
Mosquitoes were noticeable near Gjendebu, but picaridin lotion was immediately effective. Bugs were not a major problem elsewhere on the route.
Day 3: Olavsbu Area to Fondsbu at Eidsbugarden
~7.9 mi, +1,120 ft / -2,390 ft
Route
- Leave the Olavsbu-area campsite in overcast weather.
- Climb into rocky, high-elevation terrain with the most extensive snow of the trek.
- Travel around the large lake through alternating rotten snow and rocky ground.
- Climb through a snowy pass.
- Descend toward the trail junction leading toward Fondsbu.
- Continue past the junction as travel conditions improve.
- Finish at Fondsbu, then board the ferry at Eidsbugarden for the return to Bygdin.
Day 3 began overcast and climbed into rocky, high-elevation terrain. This section had the deepest and most extensive snow of the trek. Progress was slow because the snow was frequently unstable and easy to sink through. Locals referred to this deteriorating snowpack as "rotten snow," which matched the experience well: weak snow that collapsed underfoot, often at the least convenient moment.
Travel around the large lake involved alternating between deep snow and very rocky terrain. After climbing through a snowy pass, the route descended toward the trail junction leading toward Fondsbu. Before reaching that junction, we met another couple traveling the opposite direction toward Olavsbu.
After the junction, conditions improved substantially. Snow remained, but it was shallower and less difficult, the rocky sections became easier, elevation gradually decreased, the weather improved, and the pace picked up. Finish at Fondsbu, then board the ferry at Eidsbugarden for the trip back across Lake Bygdin to Bygdin Hotel.
Ferry Deadline
The ferry deadline added real time pressure on Day 3. During this trip, M/B Bitihorn departed Eidsbugarden around 3:30 PM, and the difficult early conditions made us wonder whether we would make it. We treated missing it as a logistics problem rather than an emergency because the expected fallback was an unplanned night at Eidsbugarden, potentially at Fondsbu. Once the trail conditions improved after the junction, the ferry became achievable.
Note: Do not treat 3:30 PM as a current or permanent ferry time. Verify the current schedule before planning this route.
Trail Story: Trading Footsteps
When we met the couple hiking toward Olavsbu, both groups described the trail ahead as rocky, snowy, and slow. We joked about trading footprints through the snow. After continuing toward Fondsbu, our side became dramatically easier. The other couple had no idea how much harder the Olavsbu-side terrain was about to become.
Finish
Fondsbu at Eidsbugarden felt like a gradual re-entry point rather than a sudden finish. After the remote campsite, the rotten snow, and the high rocky terrain, reaching the ferry made the route feel complete: out by boat, across the mountains, and back by boat again.
Backpacking in Norway
For an American backpacker, the logistics felt more approachable than expected, but the terrain still demanded real mountain judgment.
Wild Camping
Flexible campsites were easy to find, but signed restrictions and exposure still shaped where we stopped.
Wild camping was one of the best parts of the trip. Near Gjendebu, camping was straightforward once we walked beyond the immediate signed no-camping area. Near the Olavsbu approach, the setting was more exposed and required more careful selection around wind and surface conditions, but the campsite flexibility still felt excellent.
We saw numerous potential campsites throughout the trek. The Big Agnes Copper Spur two-person ultralight tent performed well, especially on the wind-protected rock platform near Olavsbu.
Note: Check current Norwegian outdoor-access rules and any local restrictions before relying on wild camping. This route passed near staffed huts and signed no-camping areas, so local rules matter.
Water and Stream Crossings
Water was abundant, while active snowmelt made careful stream-crossing decisions part of each day.
Frequent flowing water was one of the pleasant surprises of the trip. Snowmelt-fed streams were common, and local advice was that clear running water was commonly consumed directly. We did that without issue, while treating still water more cautiously. Readers should make their own water-treatment decision based on current conditions and personal risk tolerance.
There were numerous stream crossings, likely with flow increased by active snowmelt. Most were manageable with patience. Hiking poles were useful for balance, and waterproof mid-height boots kept feet dry through most crossings. One crossing was done in sandals, though boots might have worked. None felt genuinely unsafe, but the main concern was soaking footwear early in a long hiking day.
Huts
The DNT hut network added useful services and reassurance without defining our wild-camping itinerary.
The huts were useful landmarks and optional services, not the backbone of this itinerary. We did not stay in any of them, but we were rarely very far from a hut, which added a reassuring layer of context in an otherwise remote landscape. Gjendebu offered food, snacks, bathrooms, handwashing, and lodging. We did not inspect sleeping arrangements closely enough to evaluate hut lodging.
Planning note: Do not assume a nearby hut is open, staffed, or available as emergency lodging. Check the current DNT listings for Torfinnsbu, Gjendebu, Olavsbu, and Fondsbu, along with the DNT booking calendar, before the trip.
Daylight
Near-continuous summer light reduced sunset pressure, though weather, ferries, and fatigue still set the schedule.
Even after sunset, it stayed twilight-like rather than fully dark. That gave us more flexibility around camp, but it did not remove ferry, weather, or fatigue deadlines. Bring a sleep mask.
Transportation and Cost
Direct public transportation and wild camping kept the trip simpler and more affordable than expected.
No rental car was required for this itinerary. Once in Norway, the backpacking portion itself felt reasonably affordable: grocery food was manageable, a fuel canister was easy to buy at a sporting-goods store, and wild camping kept overnight costs low.
Bygdin Hotel and dinner were normal vacation expenses rather than shocking ones. A small trail-food detail that stuck out: inexpensive squeezable baby-food and fruit packets from a Norwegian grocery store, similar to GoGo Squeez, were surprisingly good trail carbohydrates.
Navigation Notes
The route was generally marked well, but early-season snow made navigation an active part of the trip.
Marked trails were generally easy to follow when visible. The challenge was that snow obscured the trail in places, and detours around snow sometimes separated us from the exact marked tread. In most cases, the general direction and surrounding terrain made it possible to regain the route without much drama.
The north side of Gjendetunga and the higher terrain near the Olavsbu approach required the most attention. Navigation was not technically complex, but it should not be treated casually in poor visibility, active weather, or heavy snow cover. Carry a map and GPS backup, and know how to use them.
Seasonal Considerations
Very early season gave the route solitude and drama, but it also made the hiking slower and more complex.
This trek occurred only a few days after the ferry began operating on June 26. Late June felt close enough to July that we had mentally categorized it as summer, even though the mountain travel season had barely started. That timing brought very few people, easy campsite availability, frozen lakes, snow-covered scenery, and a stronger sense of remoteness. Locals said the park becomes much busier two to three weeks later as snow melts and summer travel increases.
The tradeoff was real. Rotten snow, postholing, higher stream crossings from snowmelt, occasional trail coverage, colder and windier conditions, fickle weather, and tighter margins around ferry schedules all made the route more demanding than it would likely be later in the season. The clearest injury risk was punching through the snow into an unseen gap between rocks and twisting an ankle.
Weather changed rapidly. Sunny starts could become overcast, windy, or rainy, then improve again later. Campsites should be chosen with wind protection in mind. Layers, a wind shell, hiking poles, waterproof mid-height boots, and a flexible attitude were all useful in these specific conditions. The 15°F sleeping bags were more than adequate, though the morning near Olavsbu was chilly.
Note: Do not assume this route is advisable immediately when ferry service starts. Verify snow, ferry, hut, weather, and trail conditions before attempting an early-season itinerary.
What Surprised Me Most
The biggest surprises were logistical: this route felt easier to reach, camp, and manage than I expected.
The biggest surprise was how approachable the route felt from Oslo. The direct bus traveled deep into the mountains over excellent roads and through long tunnels; a comfortable hotel base, luggage storage, and ferry access made the rest of the logistics feel equally manageable.
I was also surprised by the abundant running water, the simplicity of wild camping, the near-continuous daylight, and how affordable the backpacking portion felt once we were in Norway. The other surprise was how quickly the weather and trail conditions could change. Early season made the route feel empty and wild, but it also made the snow and stream crossings part of the real work.
Is This Worth Backpacking?
Yes, absolutely.
This was one of the most memorable and visually impressive backpacking trips I have done. The route combines large-scale alpine terrain with surprisingly manageable public transportation, and it creates a strong sense of movement: city to hotel, ferry to trail, valley to summit, remote camp, and ferry back out.
It is best for backpackers who want rugged alpine scenery, wild camping, and a route that feels remote without requiring expedition-level logistics. The huts make the region more approachable without forcing the trip into a hut-to-hut format.
The route is not ideal for someone uncomfortable with snow travel, rocky terrain, stream crossings, fickle weather, or flexible campsite selection. Early-season conditions added challenge and solitude, but they should not be chosen casually.
I would do this exact route again. On a future trip, I would probably explore another part of Jotunheimen for variety. You really do feel like you’re in a different world.
What I Would Do Differently
I would keep the route, but think more carefully about timing, snow conditions, and ferry margins.
I would consider doing the same route slightly later for easier snow conditions, while accepting that a later trip would likely be busier. I would keep flexibility around ferry timing, continue prioritizing wind-protected campsites, and leave room in the plan for slow travel when snow or stream crossings demand it.
Photo Highlights
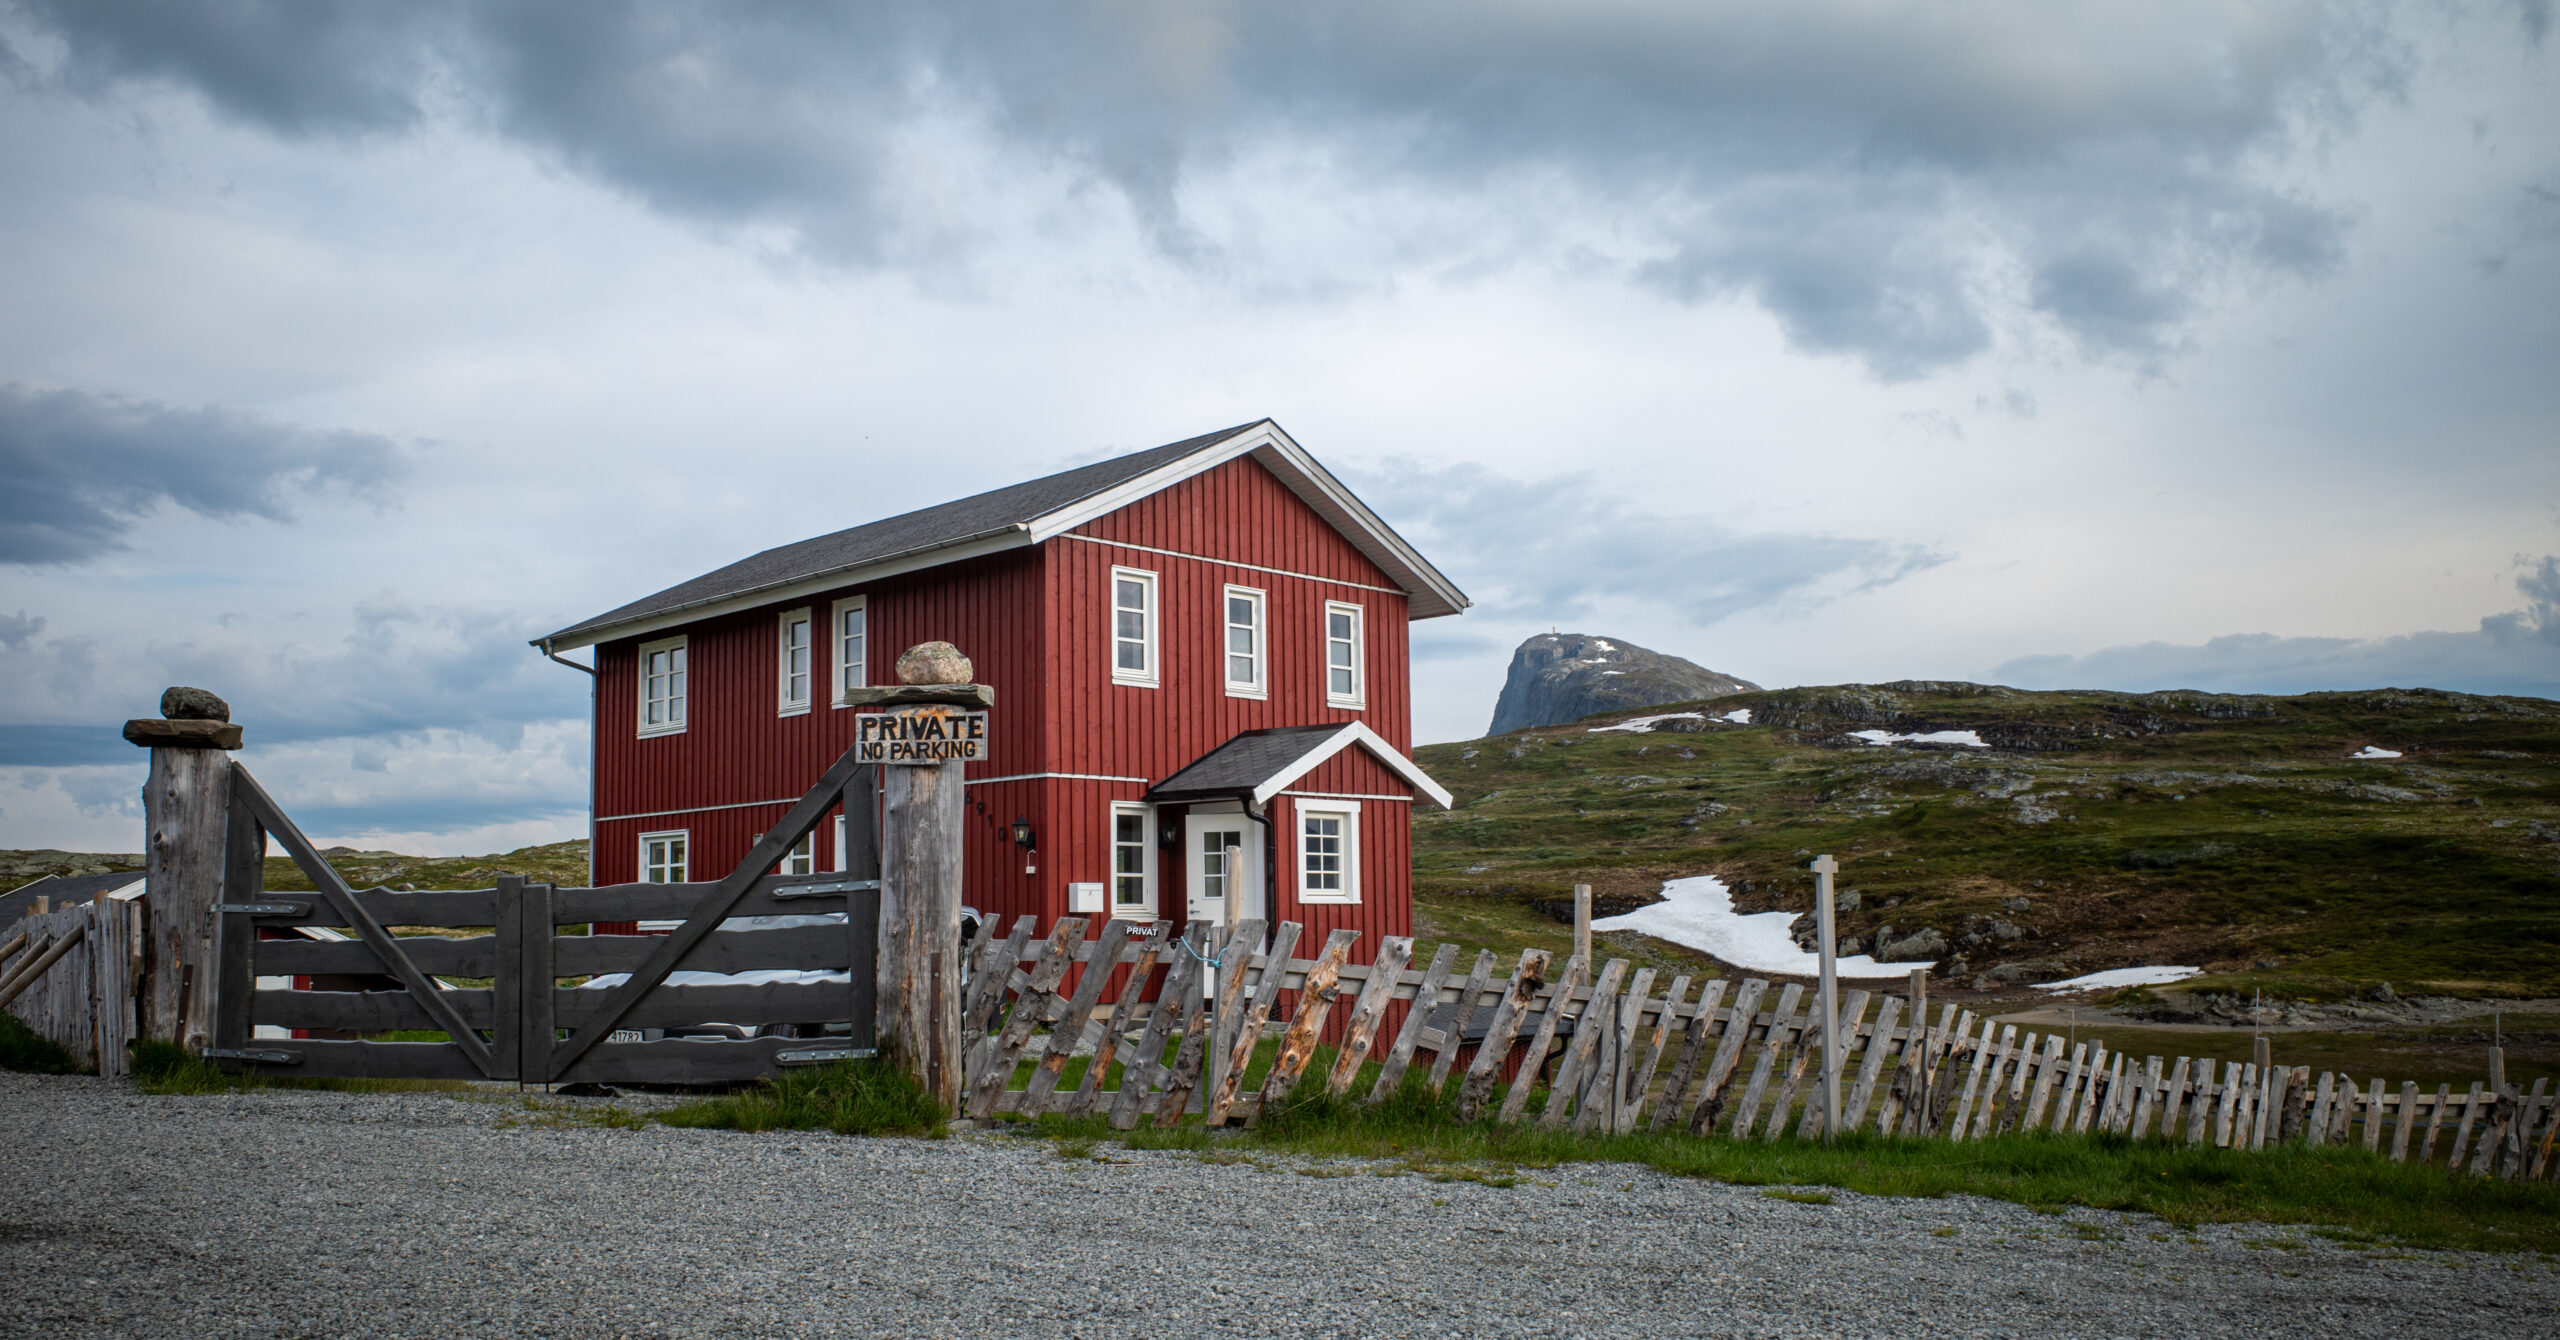
Ten frames from the trip, from the pre-trek night at Bygdin through Svartdalen, Gjendetunga, the second camp, and the final approach to Eidsbugarden.