3-Day Pemi Loop Backpacking Guide (White Mountains, NH)
Trip Snapshot
| Region | White Mountain National Forest, including sections in Pemigewasset Wilderness |
|---|---|
| Route Type | Loop |
| Distance | ~29.0 miles |
| Days | 3 |
| Elevation Gain | ~9,400 ft |
| Elevation Loss | ~9,400 ft |
| Difficulty | Very Strenuous |
| Trip Date | Mid-September 2024 |
| Best Season | Summer to early fall |
| Water | Water was available during this trip, with long dry ridge stretches |
| Permit | No backpacking permit was required during this trip; a parking fee/pass applied at Lincoln Woods |
| Solo Safety | Good for experienced solo backpackers |
Scope of this guide: This guide documents what I experienced in mid-September 2024. Parking, fees, camping rules, hut and campsite operations, water, and trail conditions can change. Check current land-manager information and make your own conditions assessment before relying on any operational detail.
Overview
A 3-day backpacking loop through New Hampshire’s White Mountains, linking Franconia Ridge, Garfield Ridge, South Twin, the Bonds, and Bondcliff.
Part of this route travels inside Pemigewasset Wilderness. I’ve included this visit on my wilderness checklist. The eight summits I climbed are also on my New Hampshire 4,000-footers checklist.
The Pemi Loop is one of the most rewarding backpacking routes in the White Mountains. Over roughly 29.0 miles and about 9,400 feet of gain and loss, the route connects a long chain of steep climbs, rocky descents, forested grind sections, and big ridge views. The payoff comes not just from the ridgelines themselves, but from looking back across the mountains already crossed and realizing how much ground the loop covers.
This is not a route I would recommend for absolute beginners. White Mountains mileage can be misleading because the terrain is steep, rocky, wet in places, and physically demanding with a loaded pack. A 10-mile day here can feel very different from a 10-mile day on smoother trail.
This 3-day version sticks to the eight core 4,000-footers directly on the main loop: Mount Flume, Mount Liberty, Mount Lincoln, Mount Lafayette, Mount Garfield, South Twin, Mount Bond, and Bondcliff. Optional spur peaks can be added, but this itinerary keeps the route focused on the main circuit.
The route is scenic in big bursts. Franconia Ridge, Mount Garfield, South Twin, and Bondcliff were the obvious highlights, with forested and more strenuous connecting sections between them. Do not start this trip expecting solitude, especially on a nice weekend or during peak season. It is popular for a reason, and it is still absolutely worth backpacking.
I hiked the loop clockwise and enjoyed that direction. There is no universal right answer on clockwise versus counterclockwise; people have strong opinions both ways, and it is worth researching the tradeoffs. Next time, I would try it counterclockwise to compare the experience.
Route Map
Use this CalTopo map as the main route reference for trail context, terrain, and planning. Open the map in CalTopo for the best full-screen experience and to inspect layers more easily.
GPX note: The downloadable track includes the optional out-and-back Liberty Spring water spur; that extra distance is not included in the approximately 29.0-mile main-loop total. Waypoint descriptions record this trip rather than current conditions.
Quick Itinerary
| Day | Route | Details |
|---|---|---|
| Day 1 | Lincoln Woods → Osseo Trail → Franconia Ridge → Garfield Ridge → Garfield Pond area | Distance: ~12.1 mi Gain/Loss: +5,700 ft / -3,000 ft Camp: Garfield Pond area |
| Day 2 | Garfield Pond → Mount Garfield → Galehead Hut → South Twin → Guyot Shelter/Campsite | Distance: ~6.3 mi Gain/Loss: +2,800 ft / -2,600 ft Camp: Guyot Shelter/Campsite |
| Day 3 | Guyot → Mount Bond → Bondcliff → Bondcliff Trail → Lincoln Woods | Distance: ~10.6 mi Gain/Loss: +900 ft / -3,800 ft Camp: Finish at Lincoln Woods |
Trailhead & Access
| Start / End | Lincoln Woods Trailhead |
|---|---|
| Nearest Town | Lincoln, New Hampshire |
| Route Type | Loop |
| Parking Note | Parking was fine around 8:30 AM on a Thursday morning. By the time I finished on Saturday, the lot was completely full and cars were parked far down the road. |
| Access Note | The route is drivable from NYC, but it is a long drive. For future trips, flying into a regional airport such as Portland, Maine or another nearby New England airport, then driving to the trailhead, could be worth considering. |
Note: No wilderness/backpacking permit was required for this trip, but Lincoln Woods parking required a parking fee or pass. Verify current White Mountain National Forest parking, fee, camping, and trail condition information before going. For weekend starts, arrive very early.
Route Guide
Clockwise 3-day Pemi Loop from Lincoln Woods, with overnights near Garfield Pond and at Guyot Shelter/Campsite.
Day 1: Lincoln Woods Trailhead to Garfield Pond Area
~12.1 mi, +5,700 ft / -3,000 ft
Route
- Start from Lincoln Woods Trailhead and follow Lincoln Woods Trail for a relatively flat warmup.
- Turn onto Osseo Trail and climb toward Mount Flume.
- Continue over Mount Flume and Mount Liberty.
- Continue onto Franconia Ridge and cross Mount Lincoln and Mount Lafayette.
- Descend from Lafayette and continue along Garfield Ridge toward the Garfield Pond area.
The beginning of the day is not the most scenic part of the route, but the flat approach makes it easier to settle into the trip. Osseo Trail changes that quickly, climbing more seriously toward Mount Flume and including ladder/stair sections that feel more consequential with a backpack.
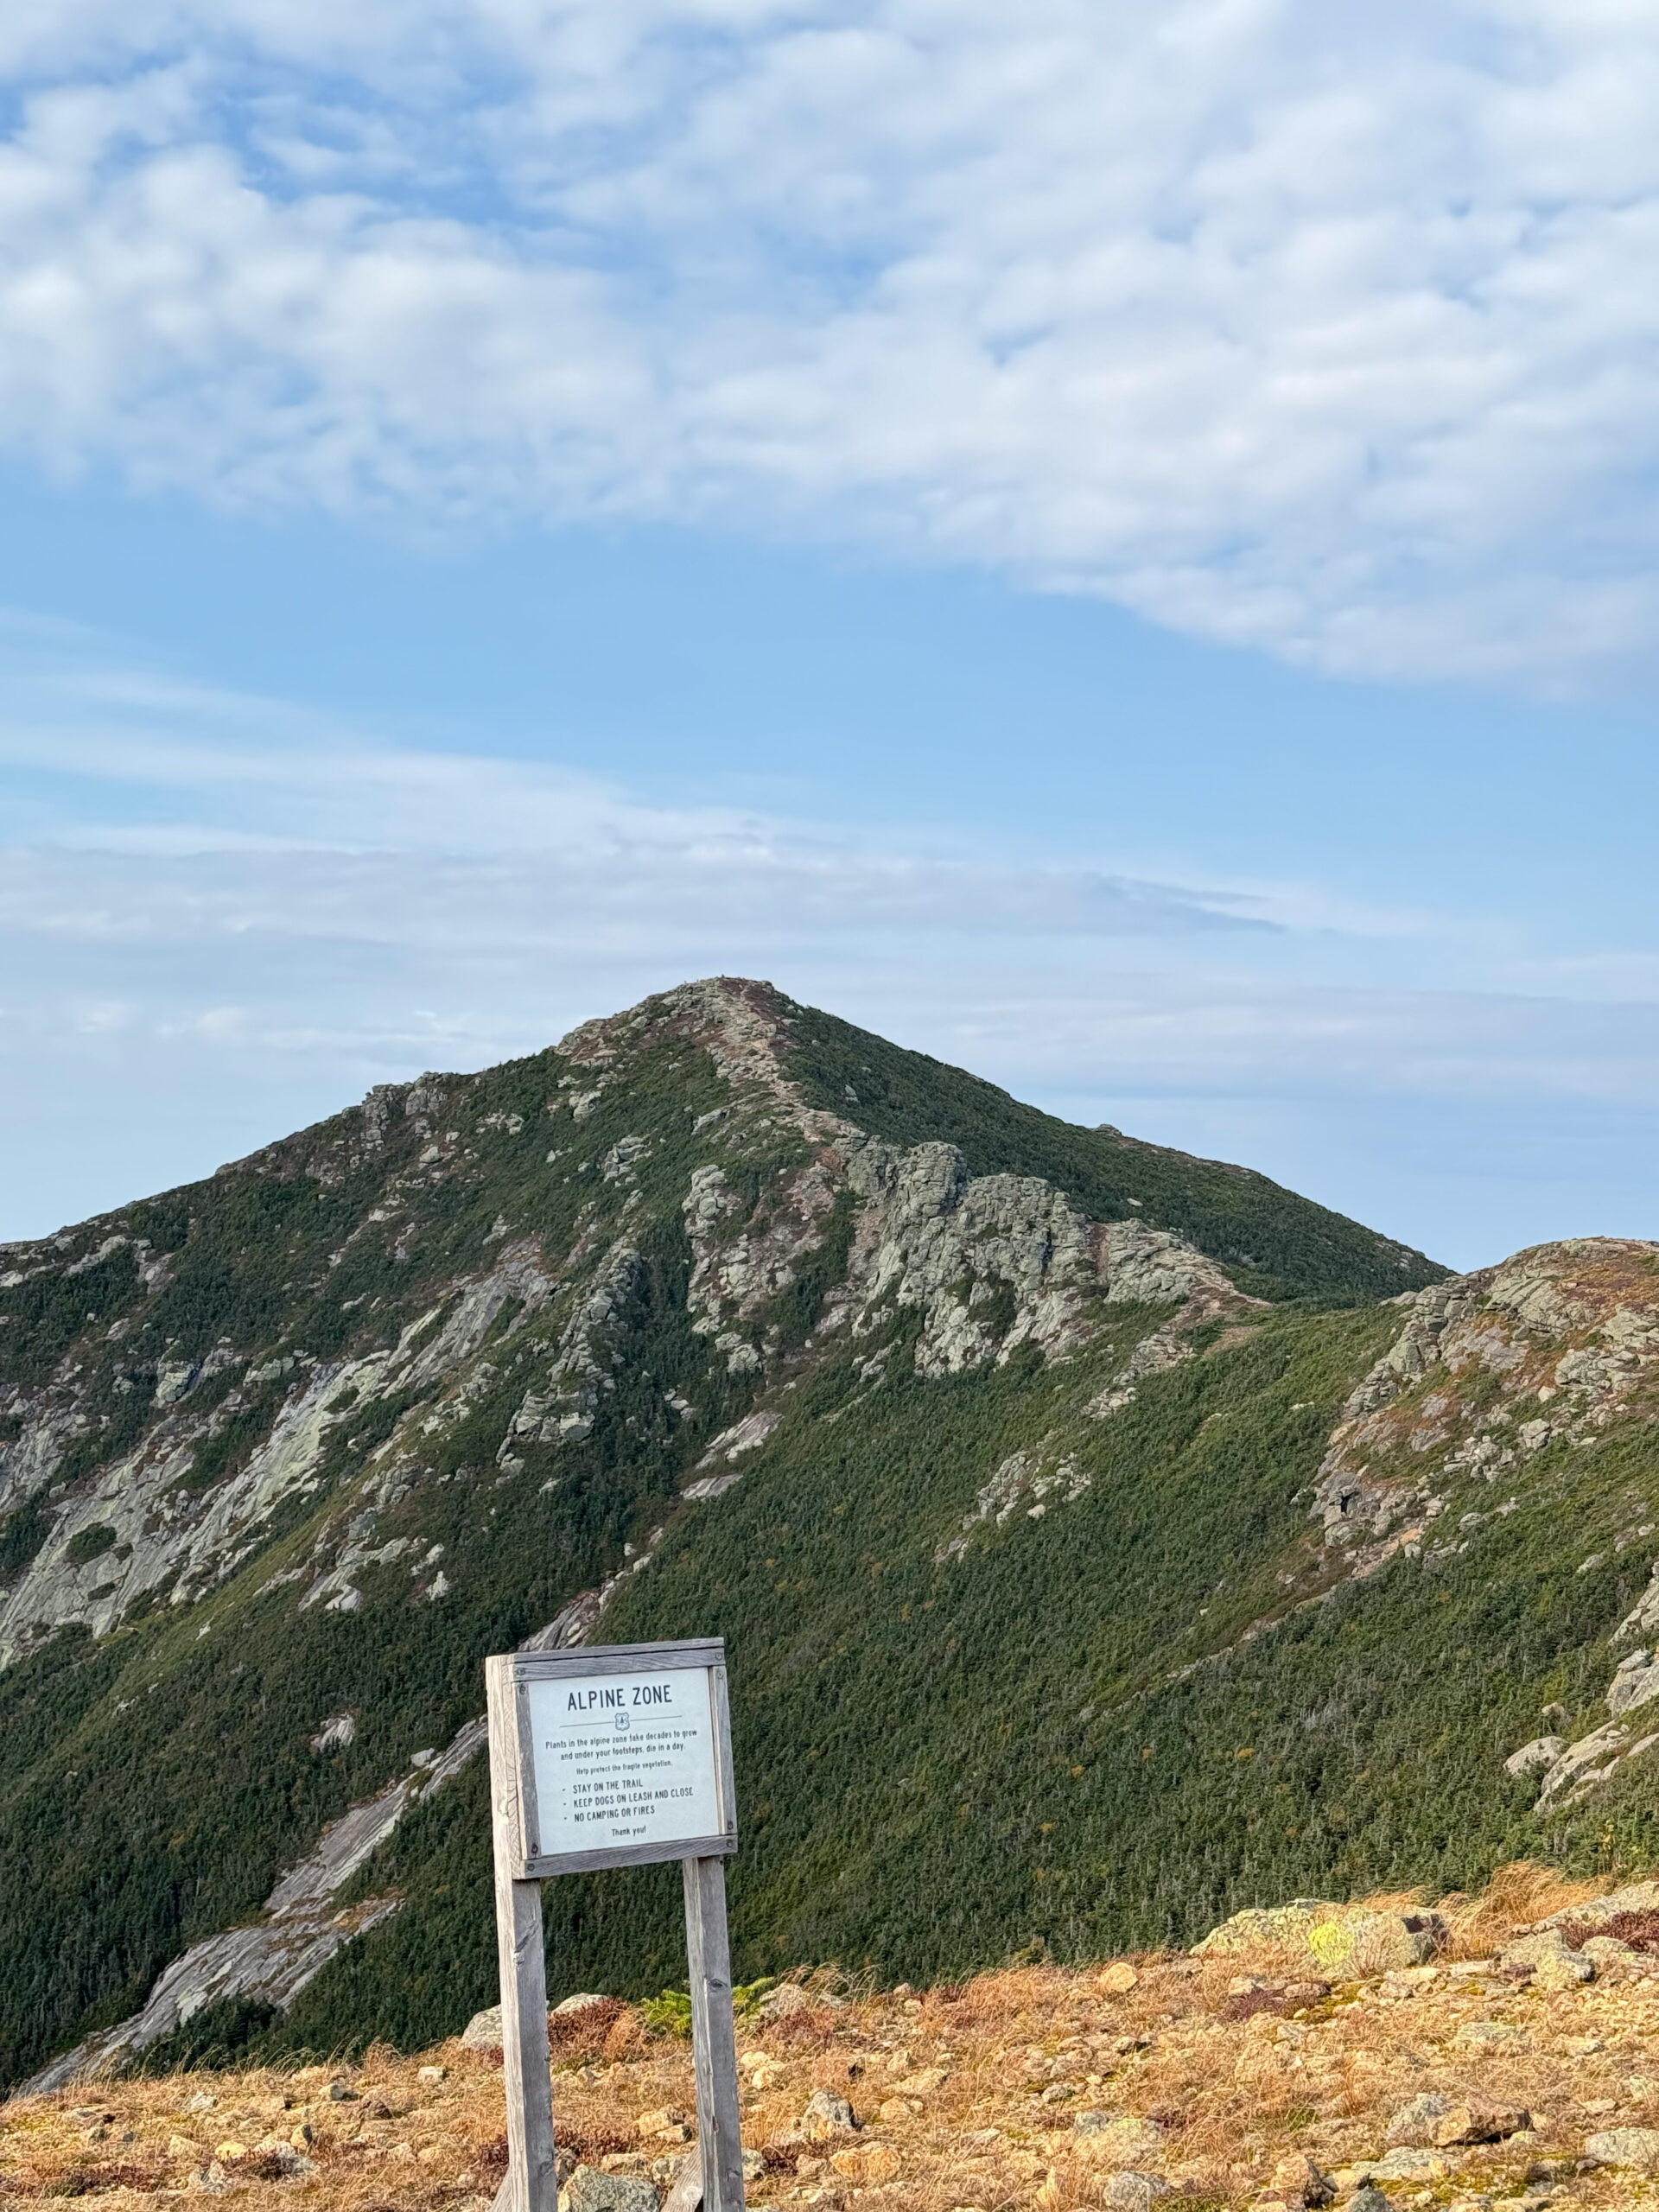
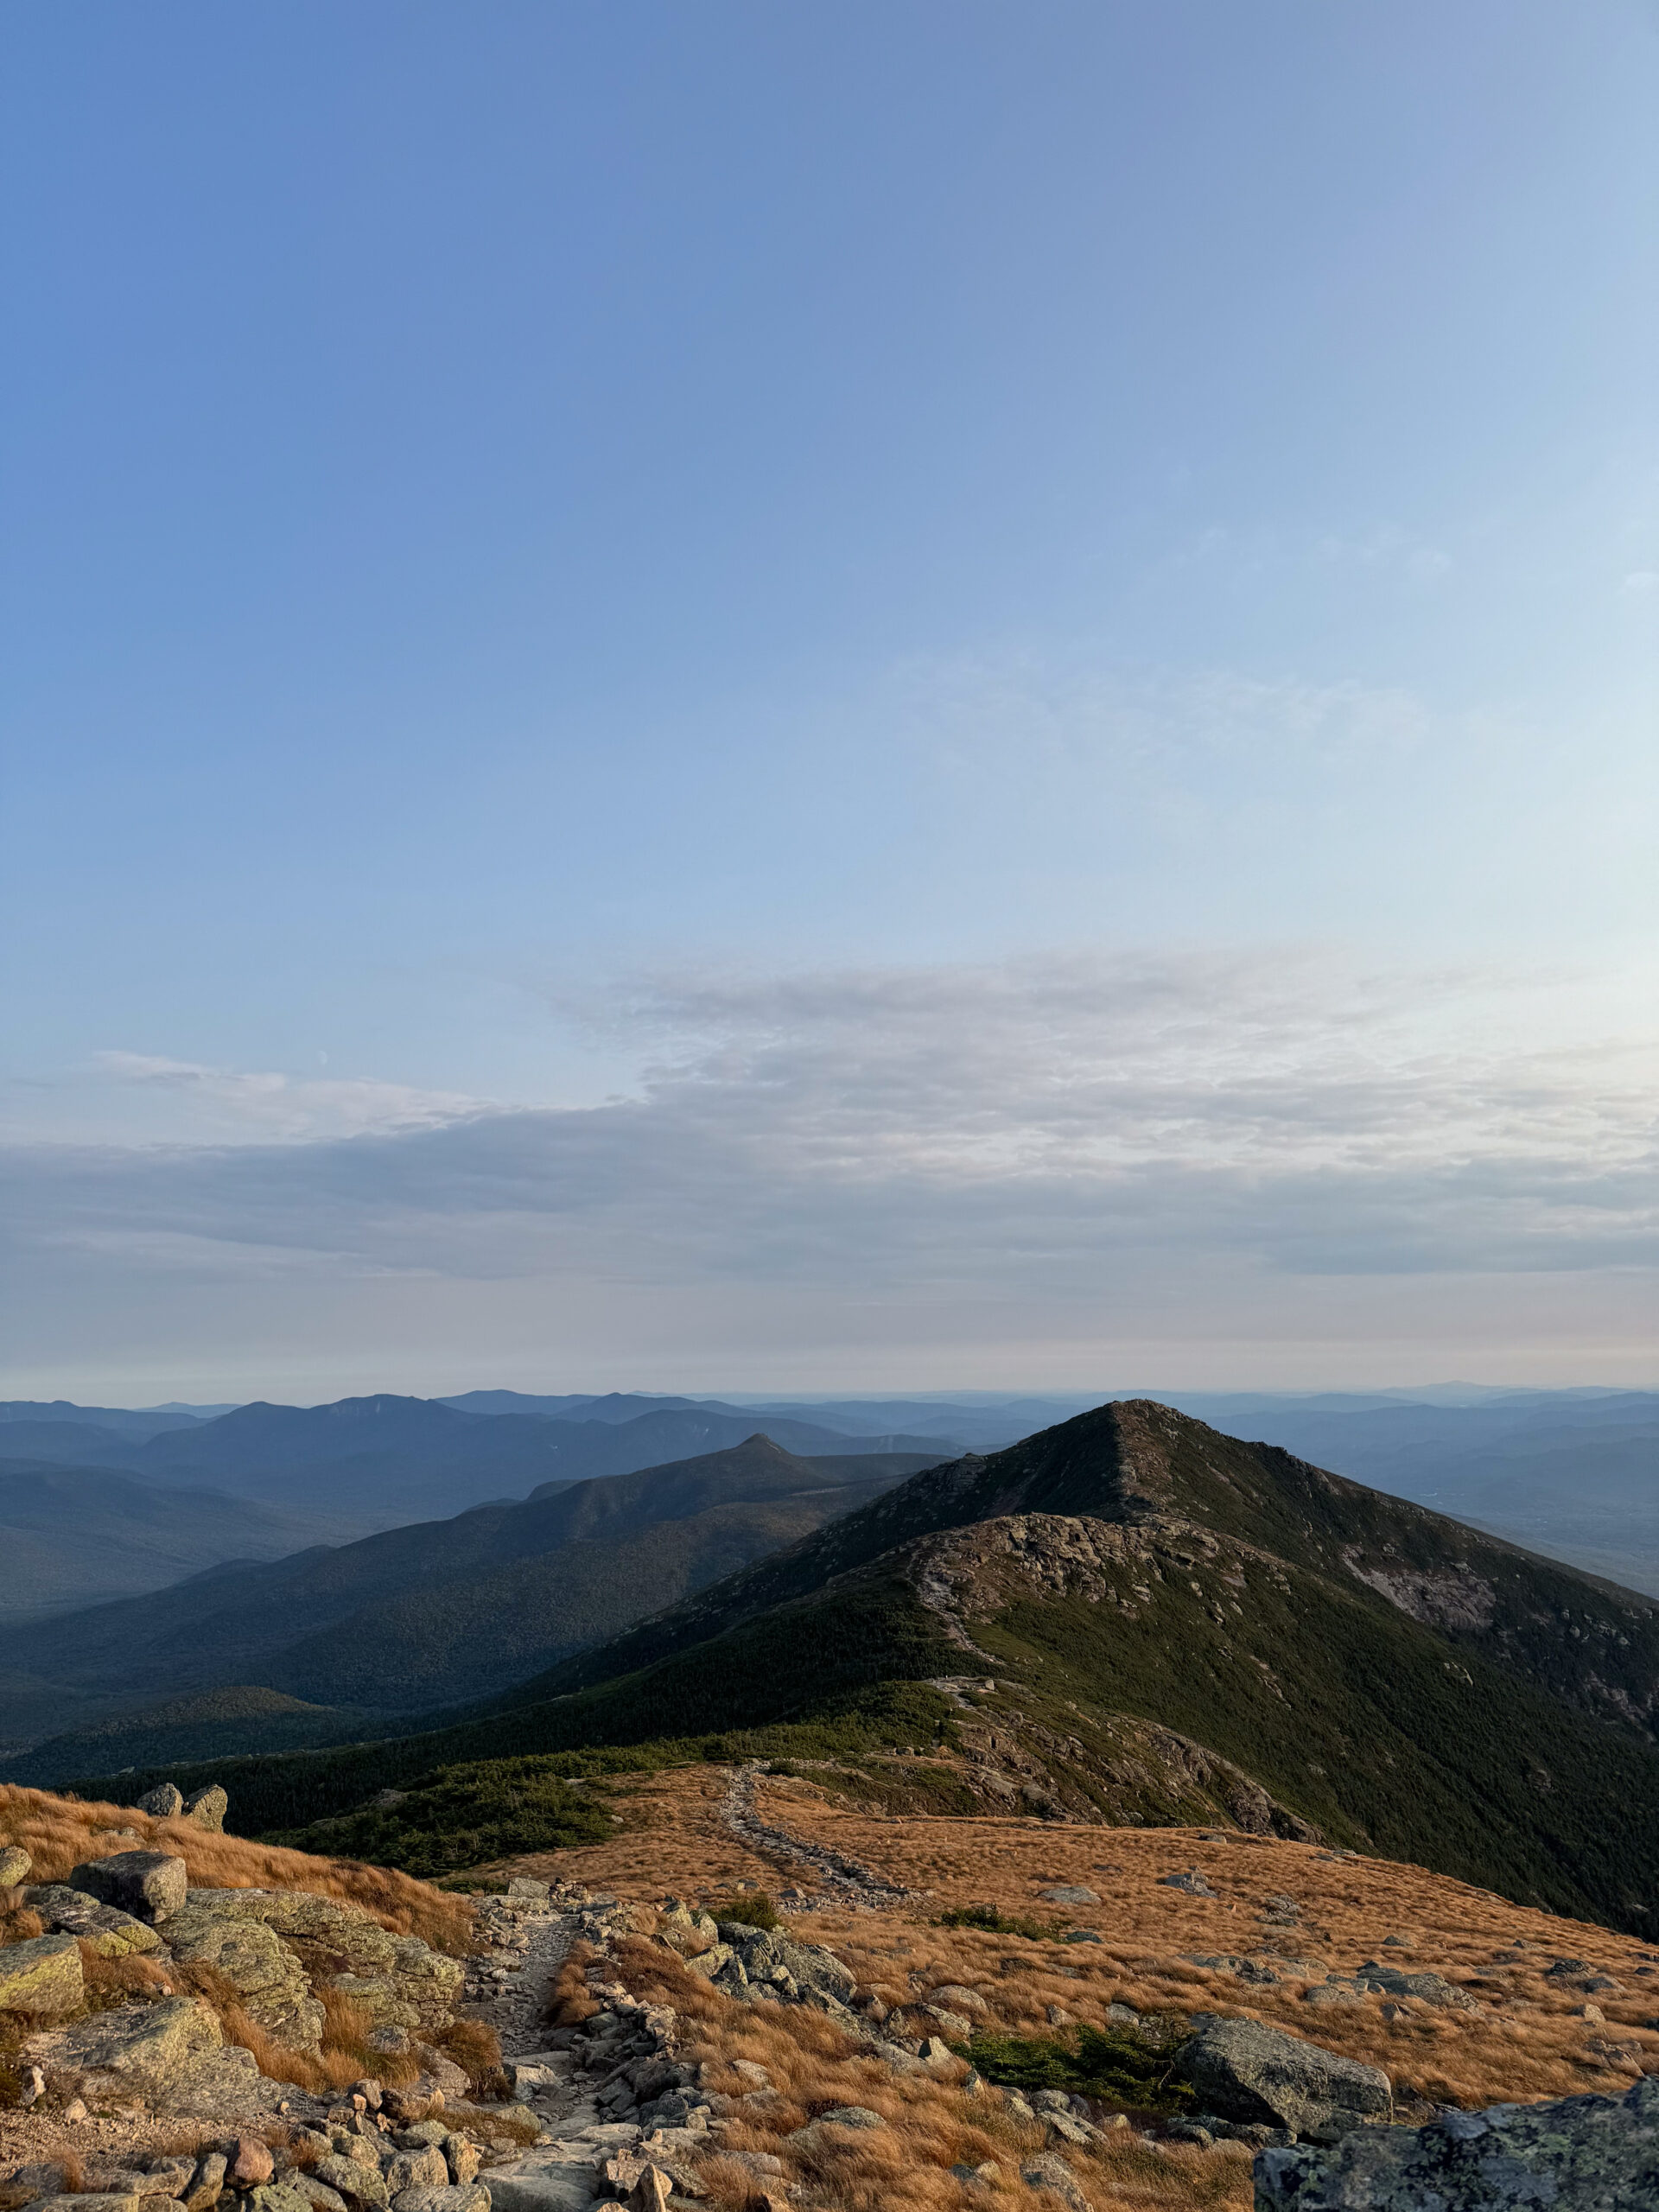
Franconia Ridge was the first major standout section of the trip, with big views and classic White Mountains ridge walking. Lafayette was a major highlight, but daylight was starting to run out by that point.
Descending after Lafayette and continuing along Garfield Ridge in the dark was stressful. In the trees, darkness made it easier to lose the trail in a few spots, and reaching Garfield Pond felt like a huge relief.
Water
The key water source on Day 1 was Liberty Spring. At the Liberty Spring Trail / AT junction, I dropped my pack and hiked down with just water bottles, which was worth it because the detour felt manageable without a full pack.
Liberty Spring is popular with AT hikers, so there may be a wait if people are filtering. Fill up well here, especially in warm weather.
Note: After Liberty Spring, there is a long dry stretch across Franconia Ridge and toward Garfield Pond. If you are really running low on water or need to bail off the ridge for any reason, Greenleaf Hut is available as a spur down from Mount Lafayette via Greenleaf Trail.
Camping
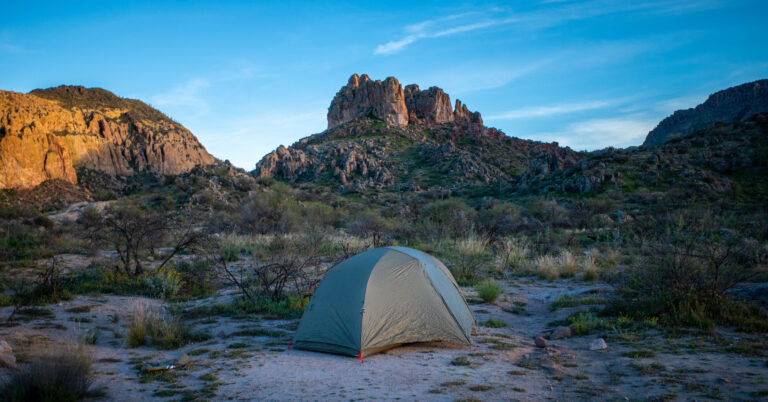
I camped near Garfield Pond. It appeared to be a common spot for thru-hikers and backpackers during my trip, with several other tents already in the area and another flat spot nearby.
Garfield Pond was algae-covered and not especially appealing, but with a filter it provided the water needed. The pond sits slightly off trail and was easy to almost miss in the dark.
Note: Check current camping regulations before relying on Garfield Pond as a planned overnight spot. Do not treat it as an official campsite.
Day 2: Garfield Pond Area to Guyot Shelter/Campsite
~6.3 mi, +2,800 ft / -2,600 ft
Route
- Leave the Garfield Pond area and continue toward Mount Garfield.
- Climb steeply to the Mount Garfield summit.
- Descend from Garfield and continue toward Galehead Hut.
- Climb South Twin, one of the hardest climbs of the loop.
- Continue toward Guyot Shelter/Campsite for the second night.
Day 2 started on tired legs, but the climb up Garfield came early enough that it still felt manageable. Mount Garfield had one of the standout views of the trip.
The descent off Garfield was one of the more challenging sections. The trail was steep, wet, and had running water flowing down parts of it. Take this section slowly with a loaded pack.
Galehead Hut was a major morale boost: water refill, snacks, and an indoor break before the next climb. The climb up South Twin was one of the hardest parts of the loop. It felt brutally steep and never-ending. White Mountains mileage does not tell the full difficulty story.
South Twin was worth the climb. From there, continue toward Guyot Shelter/Campsite. We arrived around 6:30 PM on a busy weekend, which was too late for a tent platform. The platforms had reportedly been full for hours, and we were placed in the shelter.
Water
Garfield Pond provided water at the start of the day, but it required filtering and was not a source I would want to rely on casually.
Galehead Hut was the most convenient water stop on Day 2 and a good place to reset before South Twin.
Guyot Shelter/Campsite had an easy water source, but water should still be filtered. Long dry and ridge stretches make water planning important throughout this loop.
Camping
I camped at Guyot Shelter/Campsite, where there was a caretaker and a fee during my trip. Verify current fees and policies before your trip.
The site was very crowded on a weekend. Arriving at 6:30 PM meant all tent platforms were full, and the shelter was packed shoulder-to-shoulder. Between the crowding and snoring, it was not a good night of sleep.
Note: If a tent platform matters, arrive much earlier. On a 3-day Pemi itinerary, that is easier said than done.
Day 3: Guyot Shelter/Campsite to Lincoln Woods Trailhead
~10.6 mi, +900 ft / -3,800 ft
Route
- Leave Guyot Shelter/Campsite and continue toward the Bonds.
- Follow the route through forest before it opens up toward Mount Bond and Bondcliff.
- Continue over Mount Bond and Bondcliff.
- Descend Bondcliff Trail toward Lincoln Woods.
- Follow the long Lincoln Woods walkout back to the trailhead.
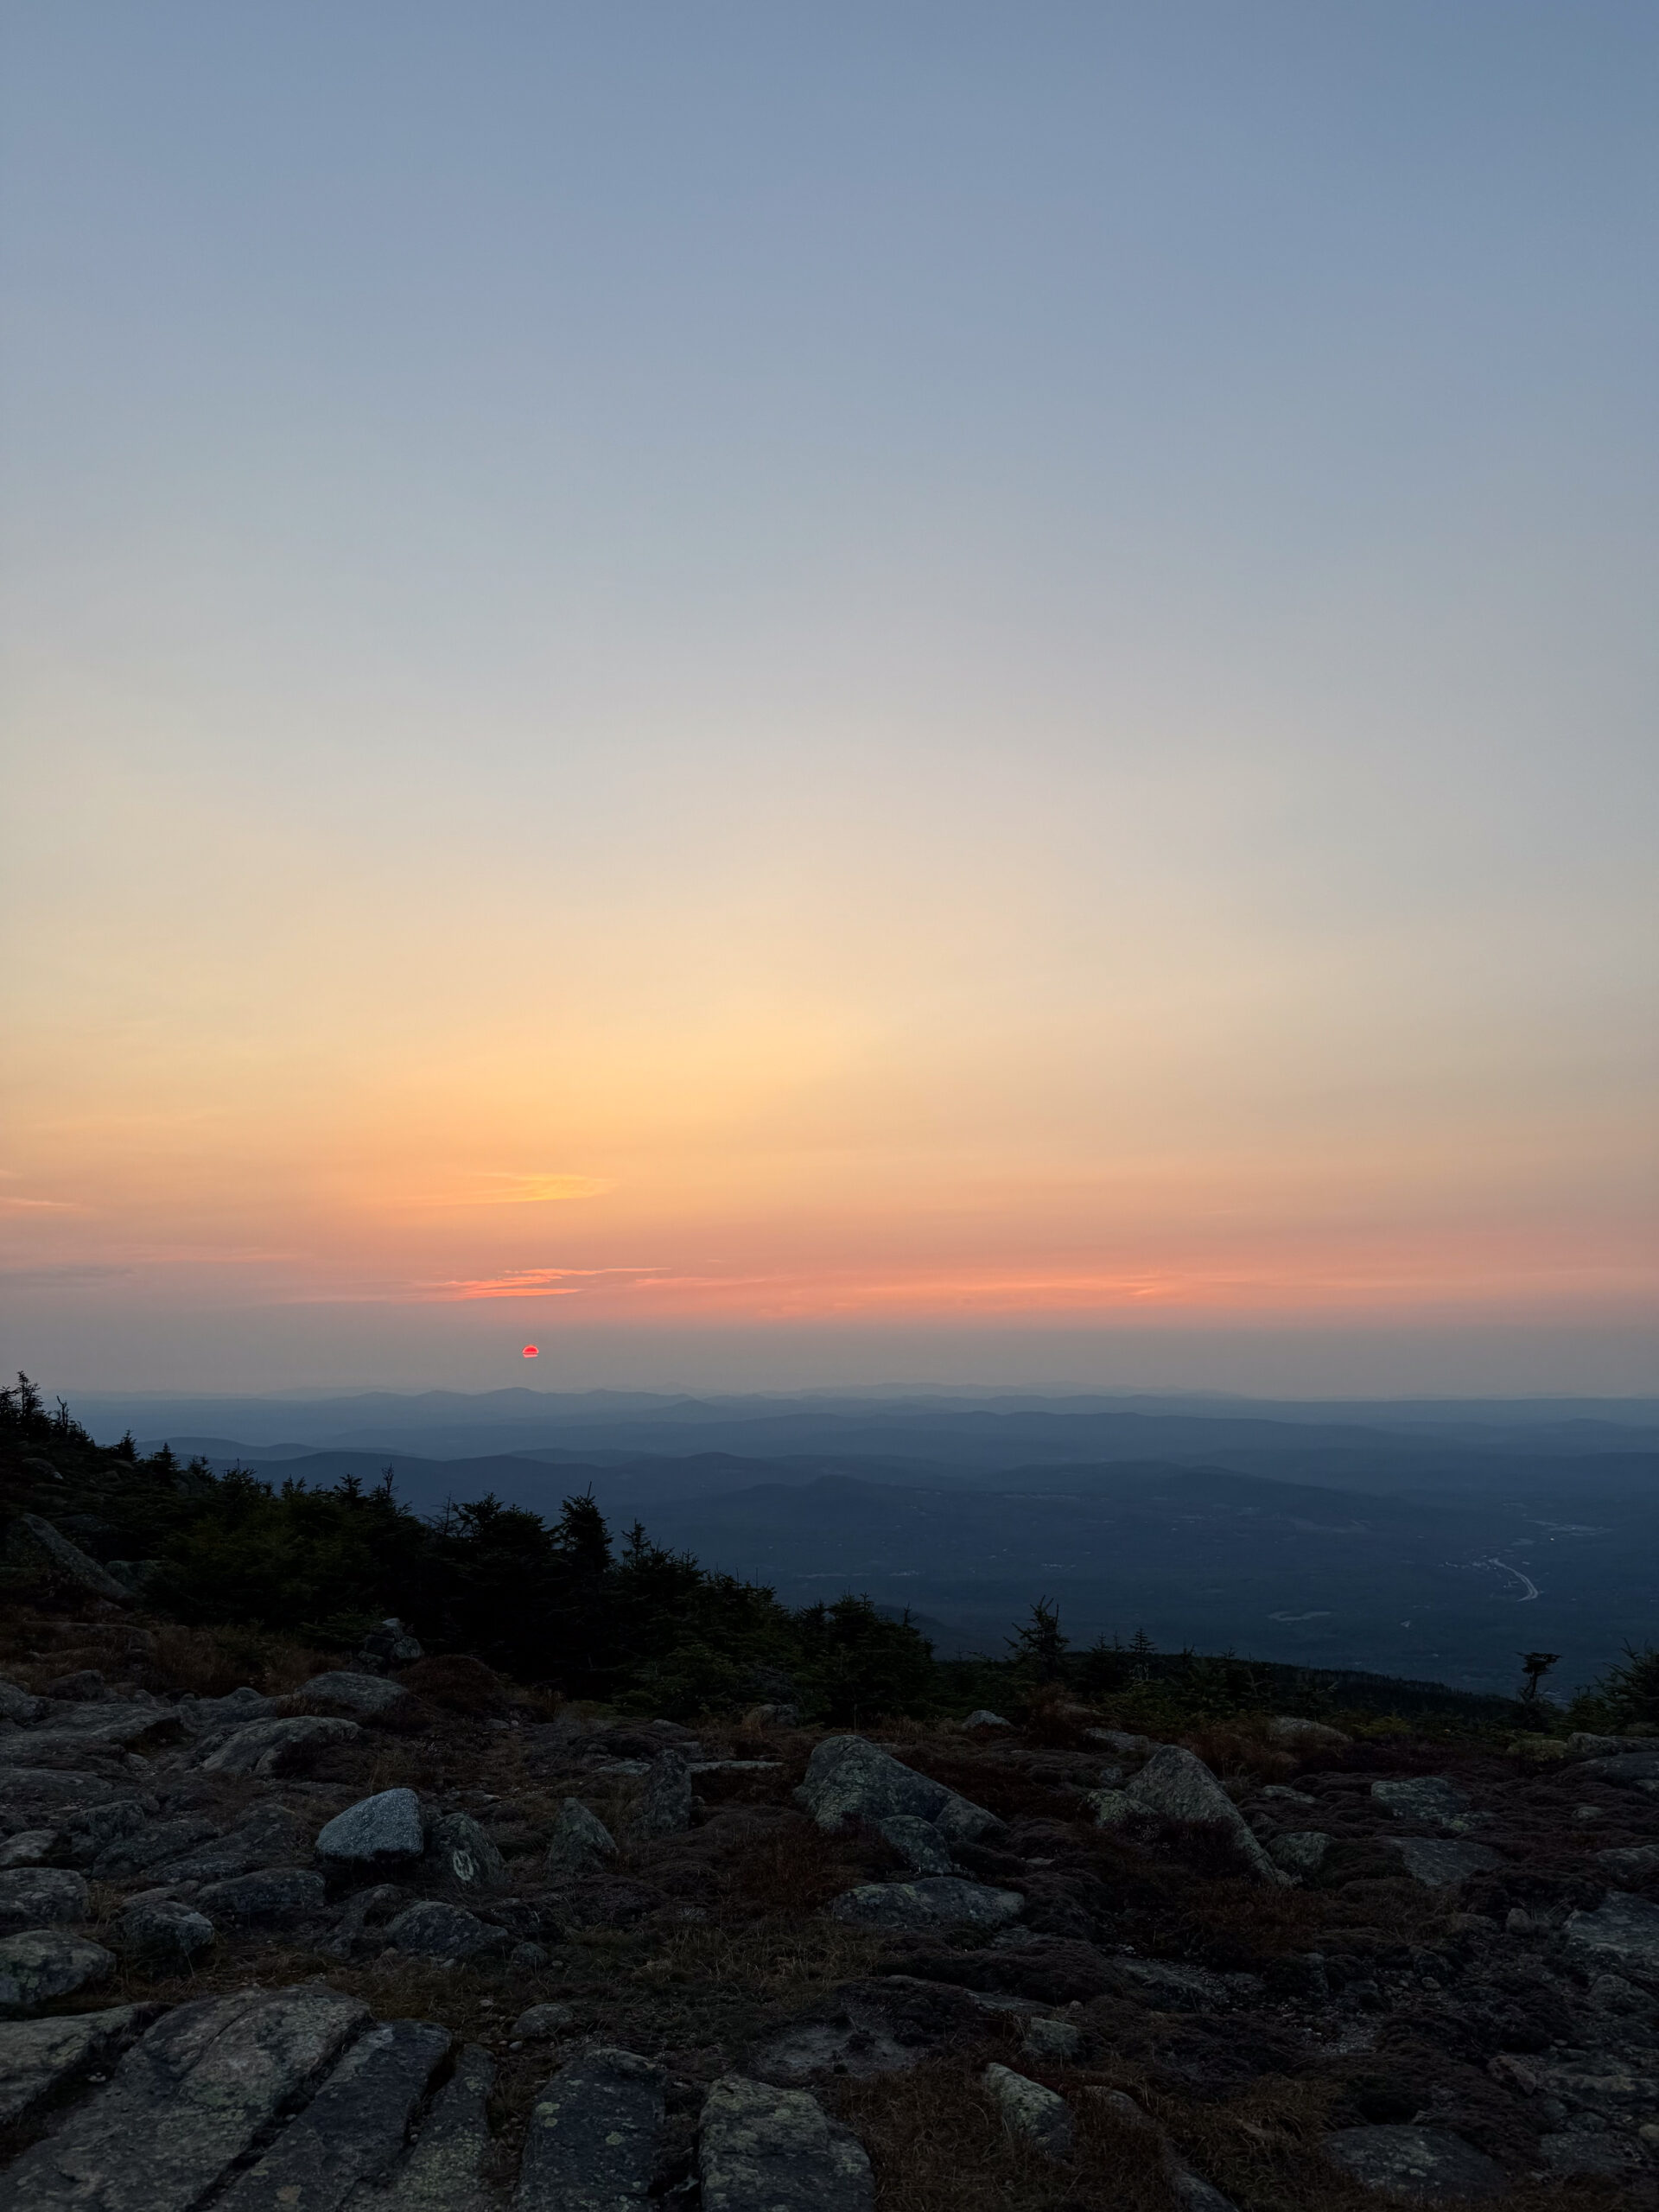
After a poor night of sleep in the crowded shelter, the sunrise from the Guyot area helped make the rough night feel more worth it. The route begins in forest before opening up toward Bond and Bondcliff.
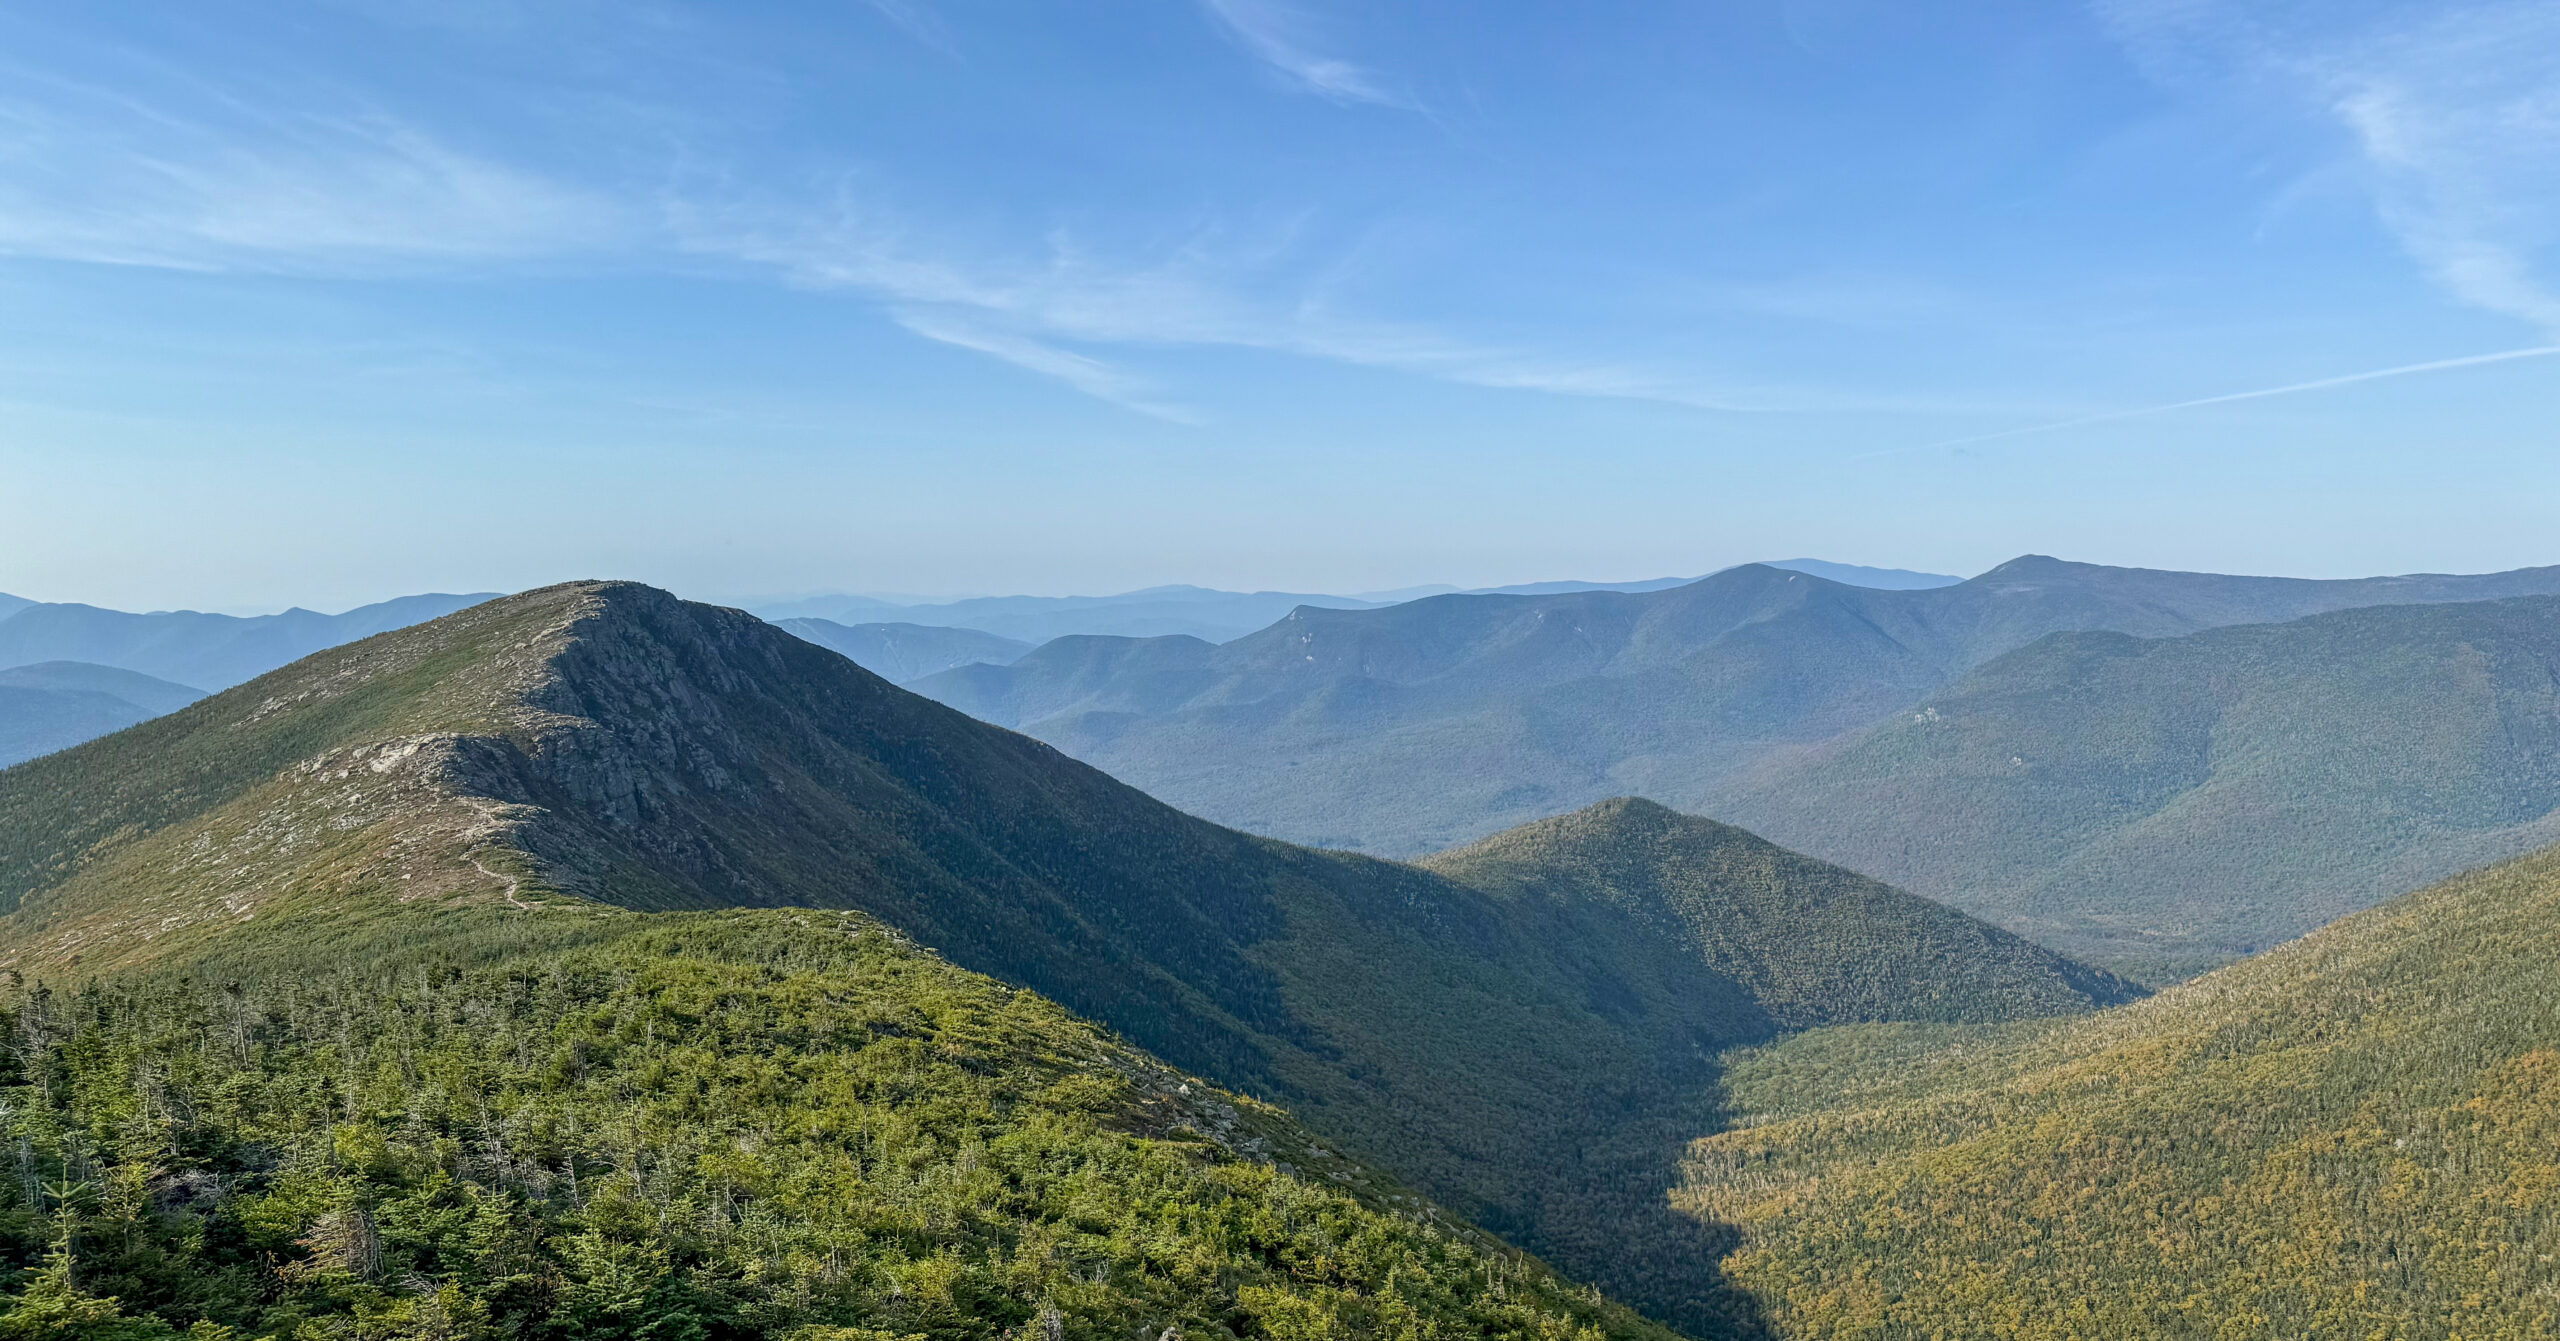
Bondcliff felt like the big final payoff of the Pemi Loop. Not because it was the highest or hardest peak, but because it allowed views back across the mountains already crossed. On a clear day, you can see the ridges and peaks behind you and feel the scale of the loop.
After Bondcliff, descend toward Lincoln Woods. Once the main views are done, the day shifts into getting-back-to-the-car mode. The Lincoln Woods walkout was mentally brutal despite being flat: feet hurting, old railroad ties demanding attention, and not much left to look forward to except finishing.
Water
I filled up at Guyot before leaving camp and did not refill again before reaching the car.
There may be options lower on Bondcliff Trail depending on conditions, but do not rely on vague assumptions. Know your planned water sources before leaving camp.
Finish
Finish back at Lincoln Woods Trailhead. After the long descent off Bondcliff and the flat walk out on Lincoln Woods Trail, reaching the trailhead felt mostly like relief and tired legs.
Navigation Notes
Navigation is generally straightforward, but the bigger planning issues are weather, daylight, water, and fatigue.
The trails on this route are popular and generally well-marked. In normal daylight conditions, the loop is not especially complex to follow if you are paying attention and carrying a map or GPS backup.
The only real navigation issue on this trip was Garfield Ridge in the dark, likely because we were tired and hiking by headlamp. In daylight, that section probably would have felt much more straightforward.
The bigger concern is decision-making around long ridge sections. Do not commit to exposed ridges if storms or bad weather are moving in, and build enough daylight into the itinerary to avoid making small navigation problems harder than they need to be.
Seasonal Considerations
Summer to early fall is the most practical window for most backpackers.
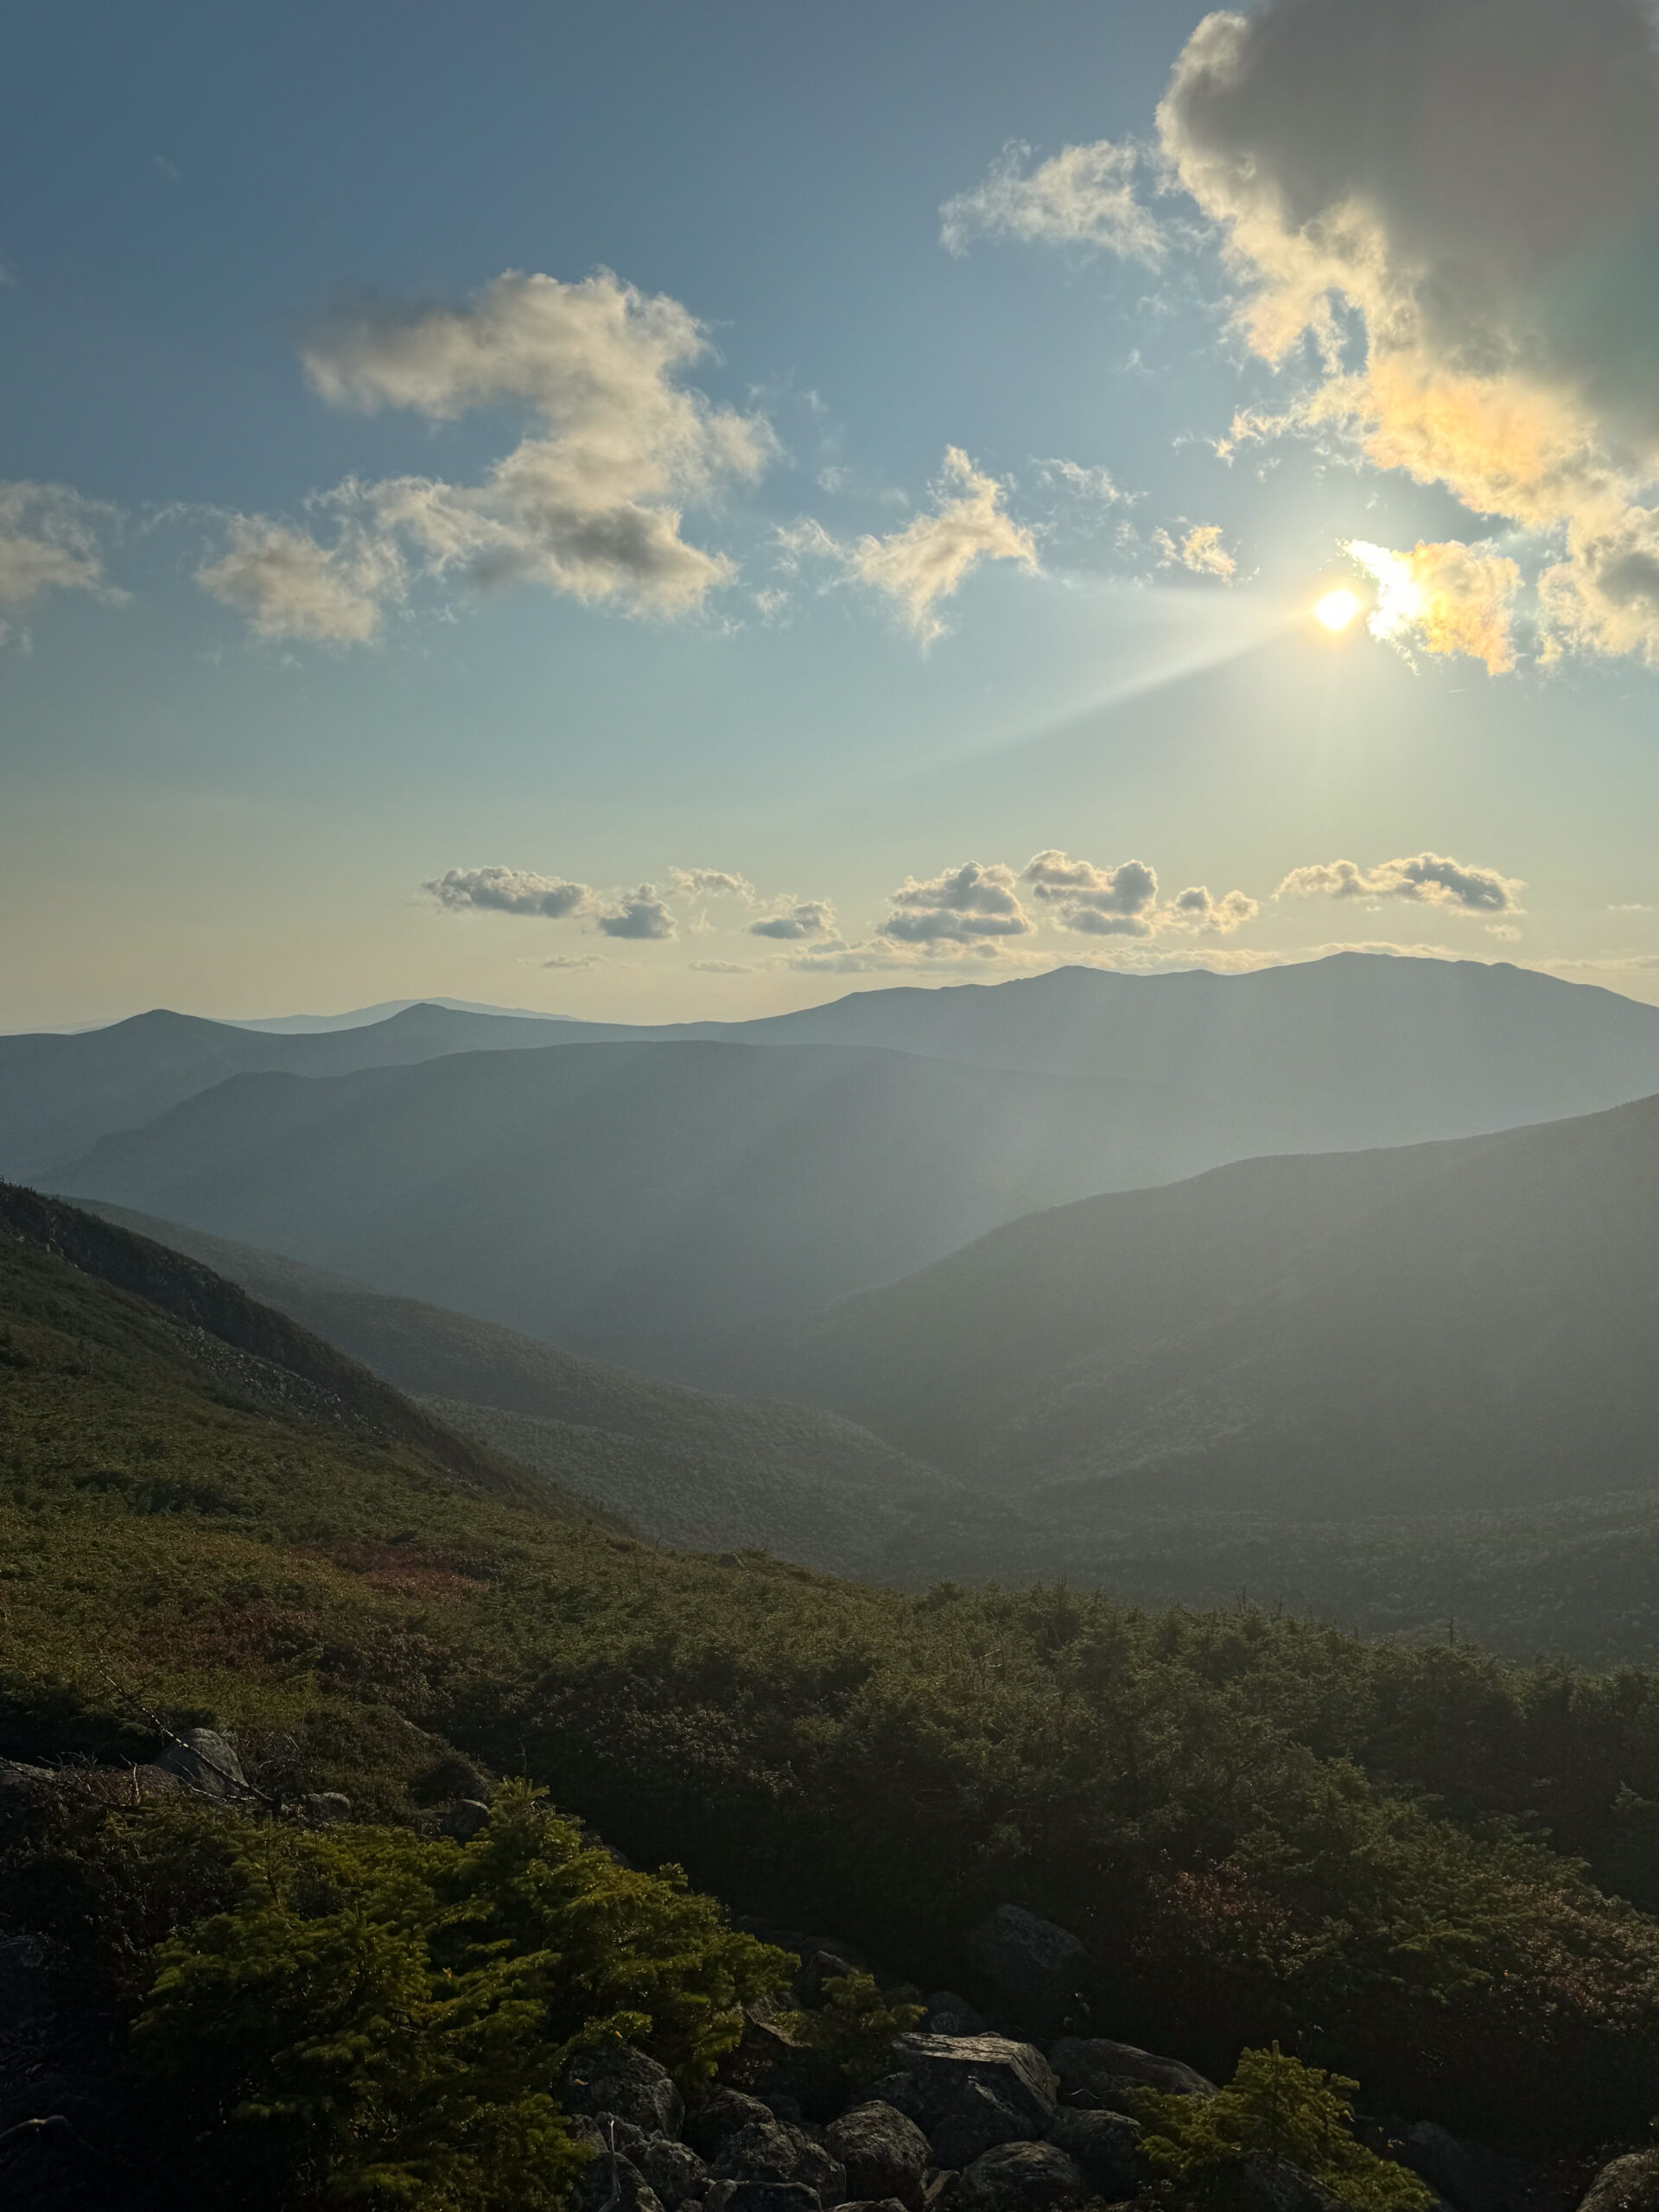
I hiked in mid-September and had excellent conditions: clear skies, no rain, some wind on the ridges, and great views from every major summit. Nights were comfortable with a 30°F sleeping bag.
Fall foliage would likely be beautiful, but peak foliage weekends would probably be even more crowded. Nice summer weekends can also bring heavy traffic on Franconia Ridge, at Guyot, and at Lincoln Woods.
This route would be much more serious in bad weather. Weather should be a major part of planning because of the exposed ridges, long days, and limited bail-out appeal once you are deep into the loop.
Is This Worth Backpacking?
Yes, absolutely.
The Pemi Loop is one of my favorite backpacking trips. It is very strenuous, crowded in places, and not a solitude trip, but the route earns its reputation. The best parts feel big, exposed, and memorable, and the forested grind sections make the ridge views feel even more earned.
This route is best for strong hikers who want a classic White Mountains challenge, especially people working on 4,000-footers. It is not a good pick for absolute beginners, and it requires fitness, comfort with rocky terrain, and readiness for long days.
What makes the Pemi Loop special is the sense of accomplishment. On a clear day, you can look back and see the mountains you crossed, which gives the route a scale that is hard to appreciate from a map alone.
For a point-to-point alpine trip where ferries, snow, and wild camping replace the Pemi Loop’s rocky ridge circuit, see the Jotunheimen backpacking route.
What I Would Do Differently
The clockwise itinerary worked, but earlier starts and more deliberate water and campsite timing would improve it.
I would start earlier on Day 1 and Day 2, plan water more deliberately before the long dry stretches, and try to arrive at Guyot earlier to improve the odds of getting a tent platform. I would also try the loop counterclockwise next time to compare both directions.
Photo Highlights
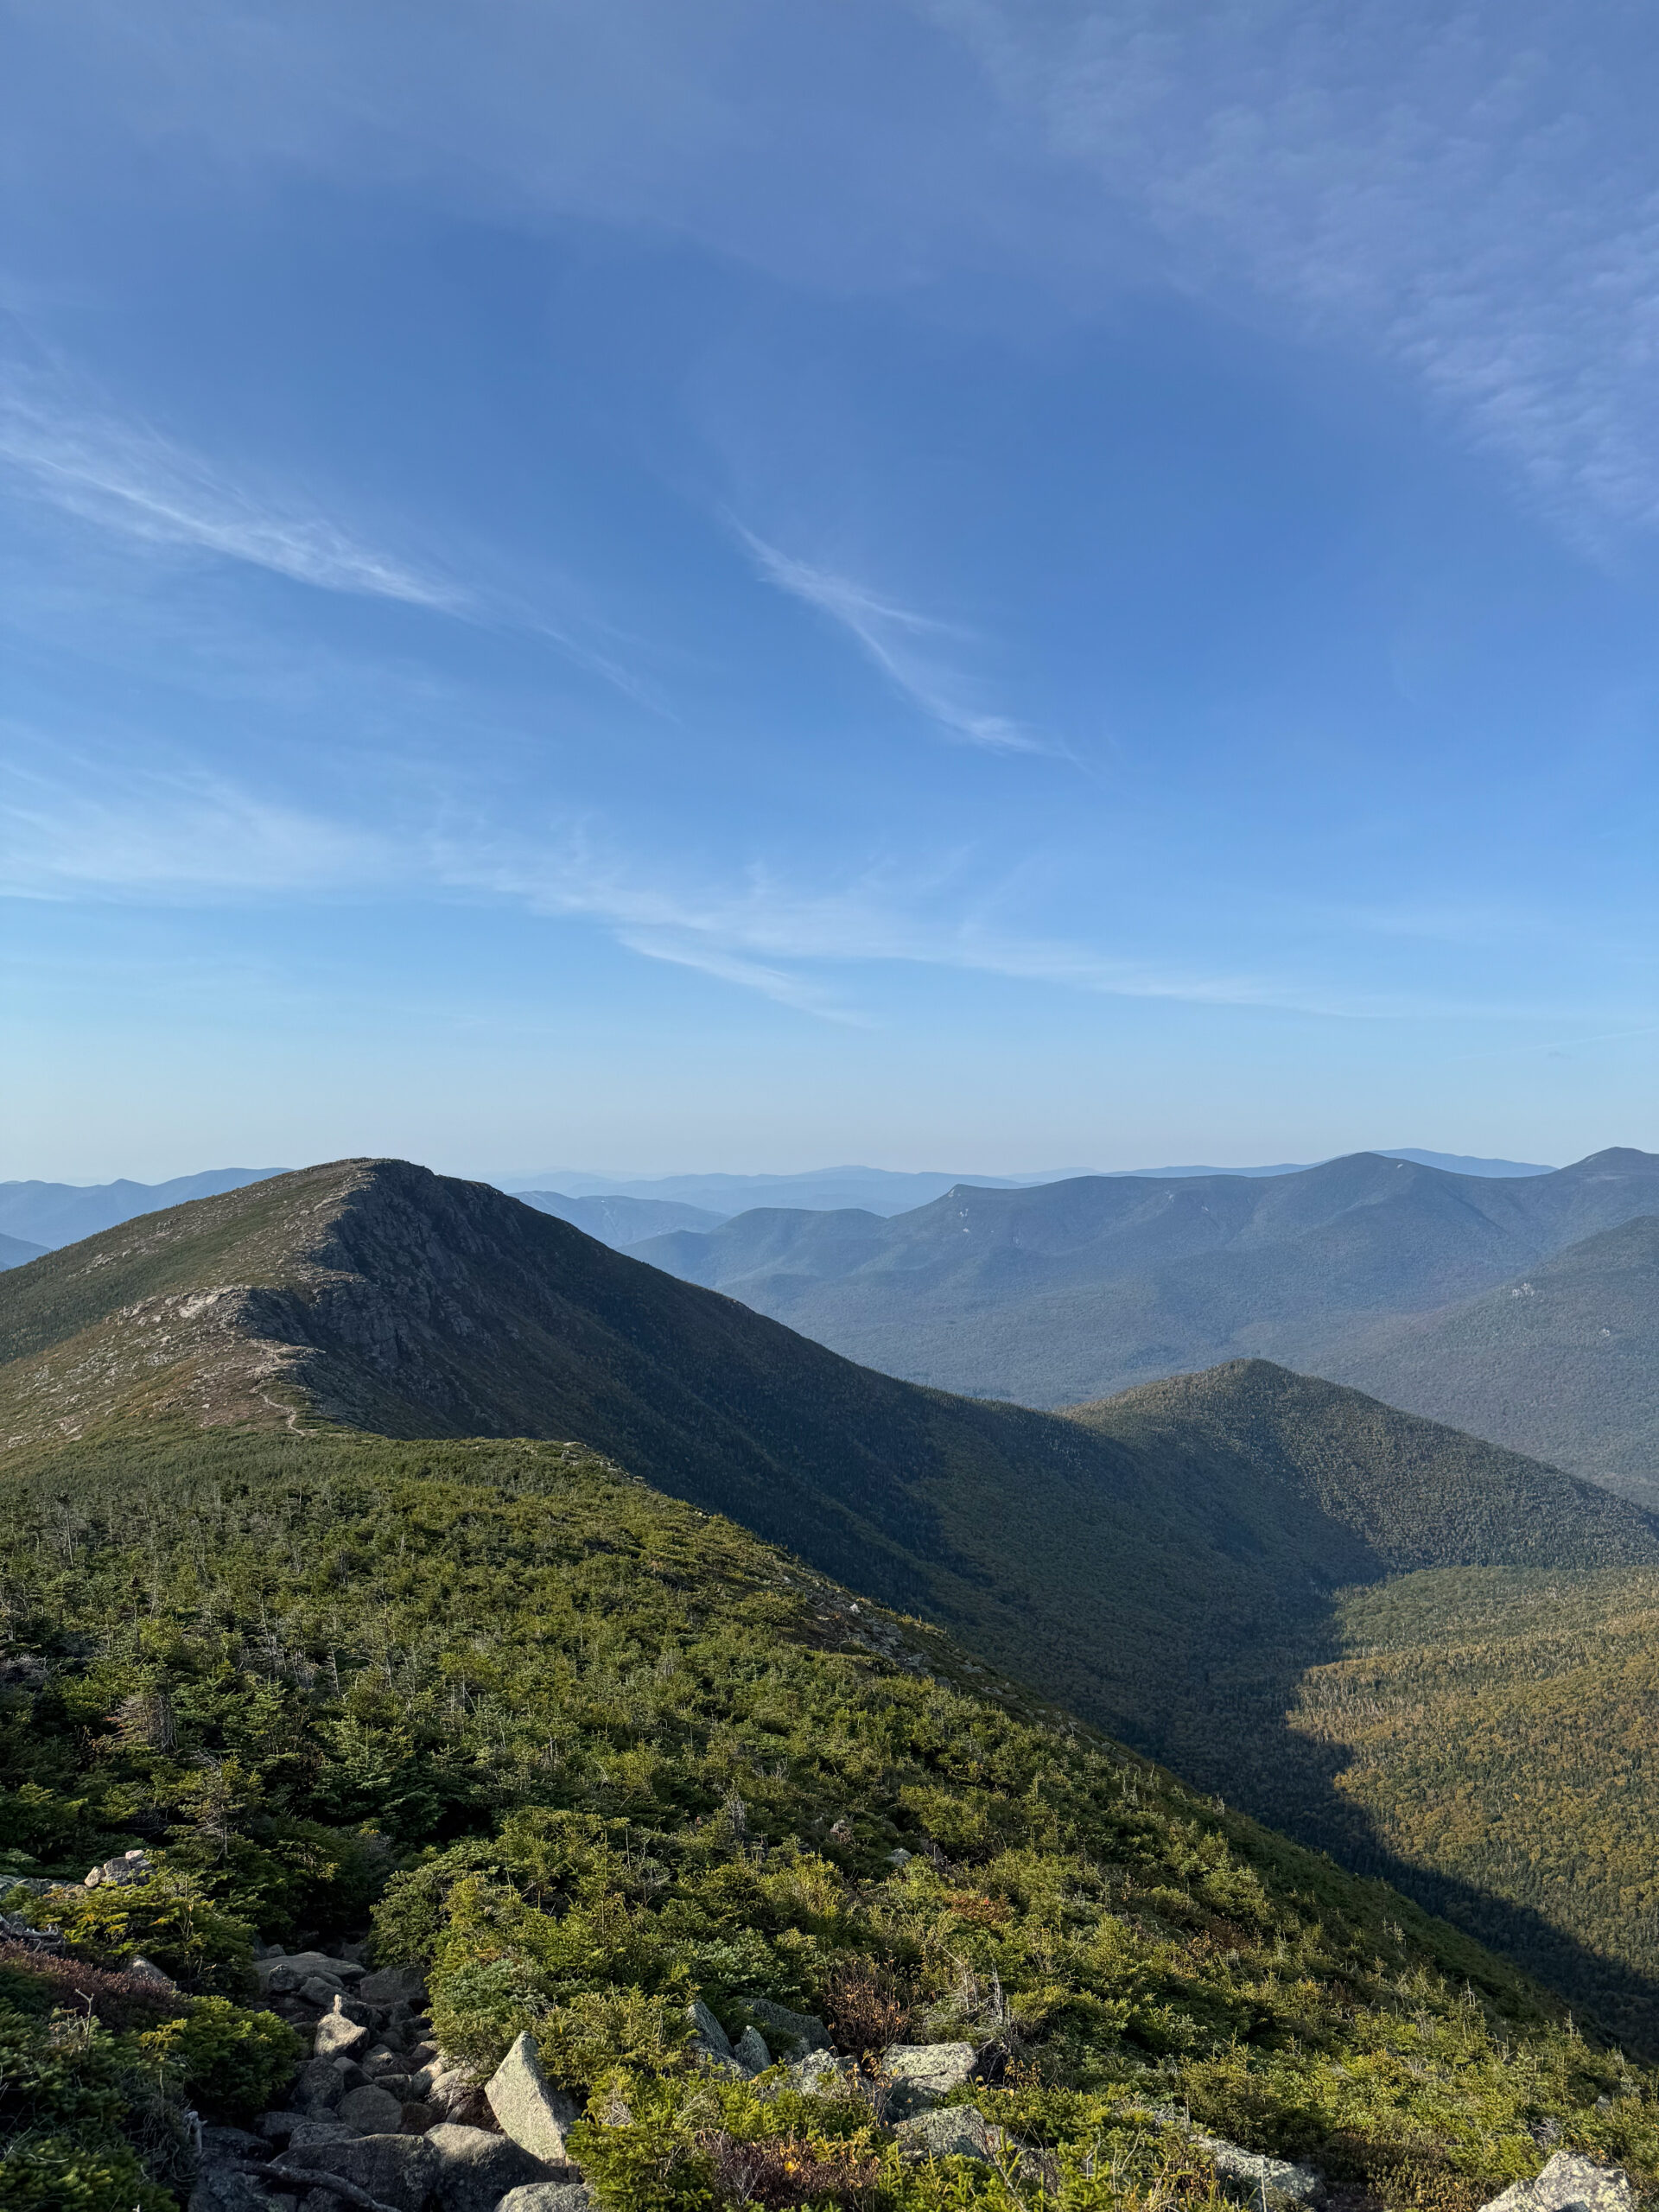
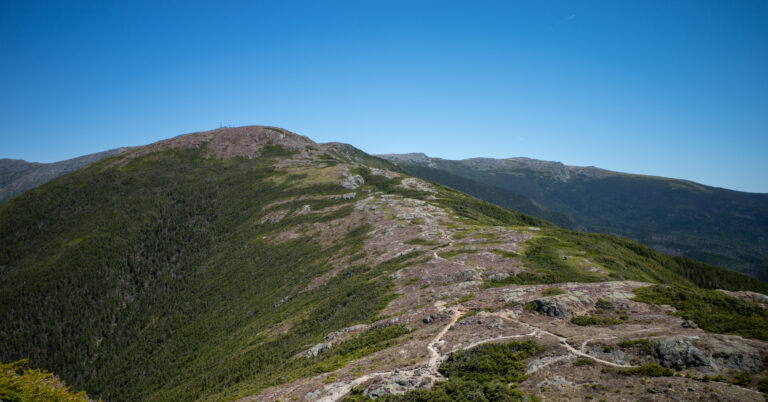
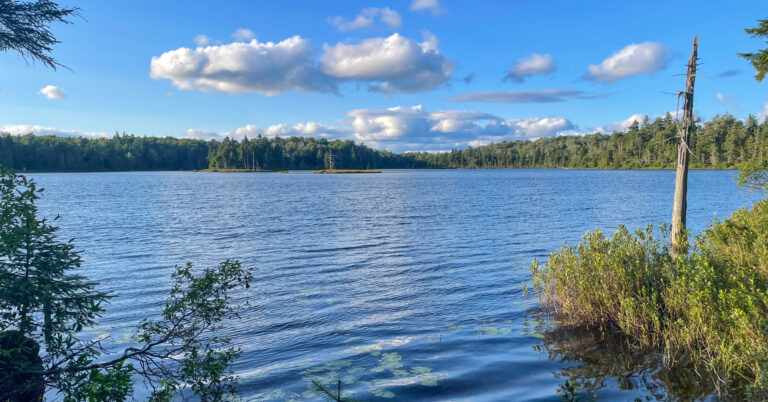
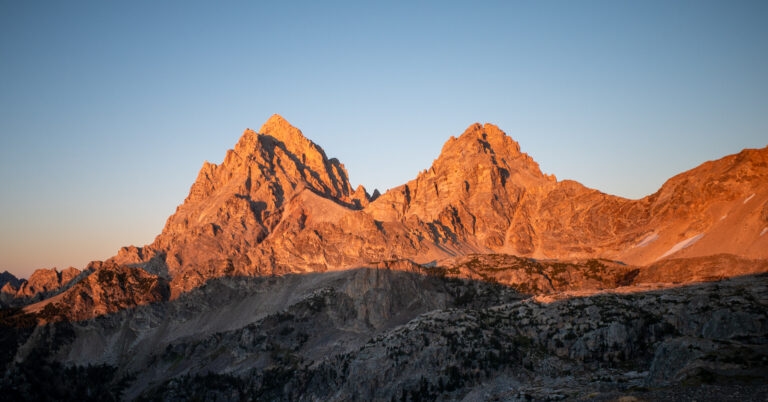
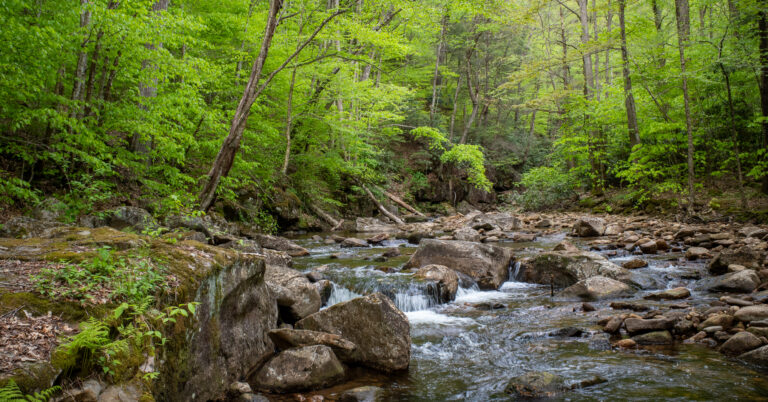
Some frames from the loop, including Franconia Ridge, Mount Lafayette, South Twin, and the approach toward Mount Bond.