4-Day Trans-Catalina Trail Backpacking Guide
Trip Snapshot
| Location | Santa Catalina Island, California |
|---|---|
| Route | Trans-Catalina Trail |
| Start / Finish | Avalon / Two Harbors |
| Route Type | Point-to-Point |
| Distance | ~38.3 miles |
| Days / Nights | 4 days / 3 nights |
| Elevation Gain/Loss | ~8,160 ft gain / ~8,160 ft loss |
| Difficulty | Strenuous |
| Trip Date | Mid-January 2025 |
| Overnight Stops | Blackjack Campground, Little Harbor Campground, Parsons Landing |
| Terrain | Dry island ridges, dirt trail, utility roads, steep climbs and descents |
| Water | Developed potable sources at campgrounds and towns during this trip; do not rely on natural water |
| Permits / Reservations | Advance campground reservations and a free Conservancy hiking permit were required for this trip; check the process for your dates |
| Solo Safety | Generally approachable for experienced solo backpackers, but wildlife, water, sun, and ferry logistics require planning |
| Best Season | Cooler months are preferable for hikers who want to avoid heat |
Scope of this guide: This guide documents what I experienced in mid-January 2025. Ferries, permits, reservations, services, campground facilities, water, and fire rules can change. Check the linked operators and land managers for your dates and make your own conditions assessment before relying on any operational detail.
Overview
The Trans-Catalina Trail is unusually approachable without being easy: developed campgrounds and ferry access simplify the logistics, while the climbs, dry terrain, strong sun, and long days still make it feel like a real backpacking accomplishment.
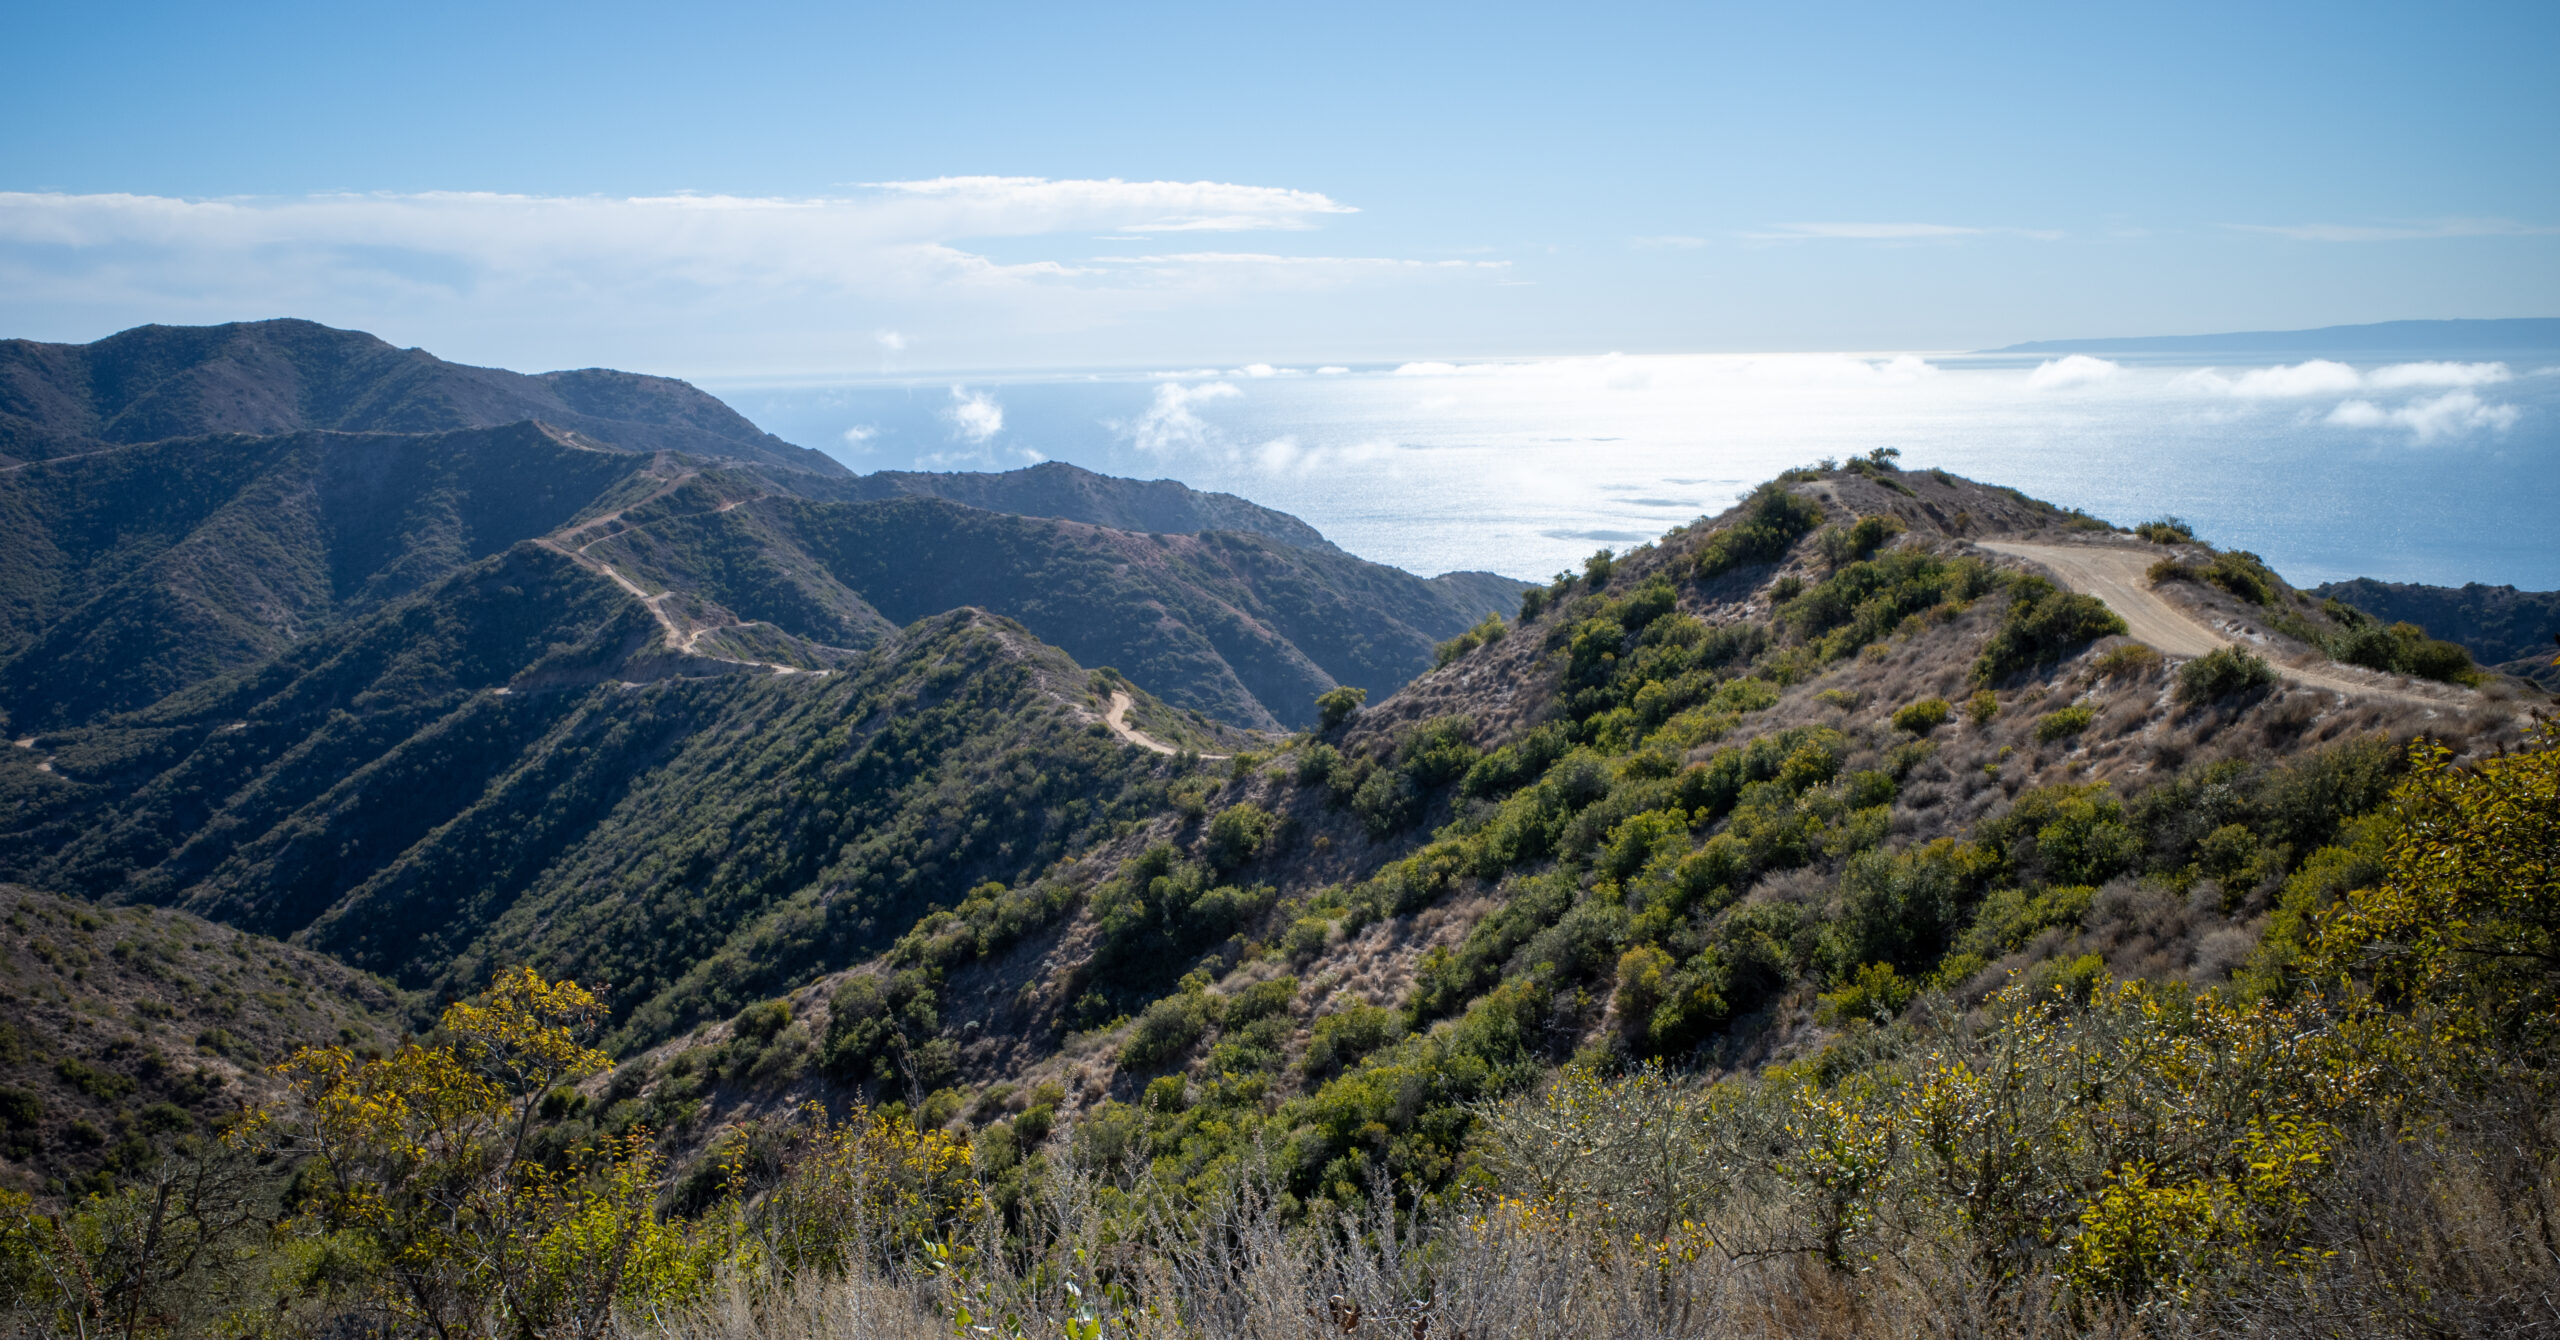
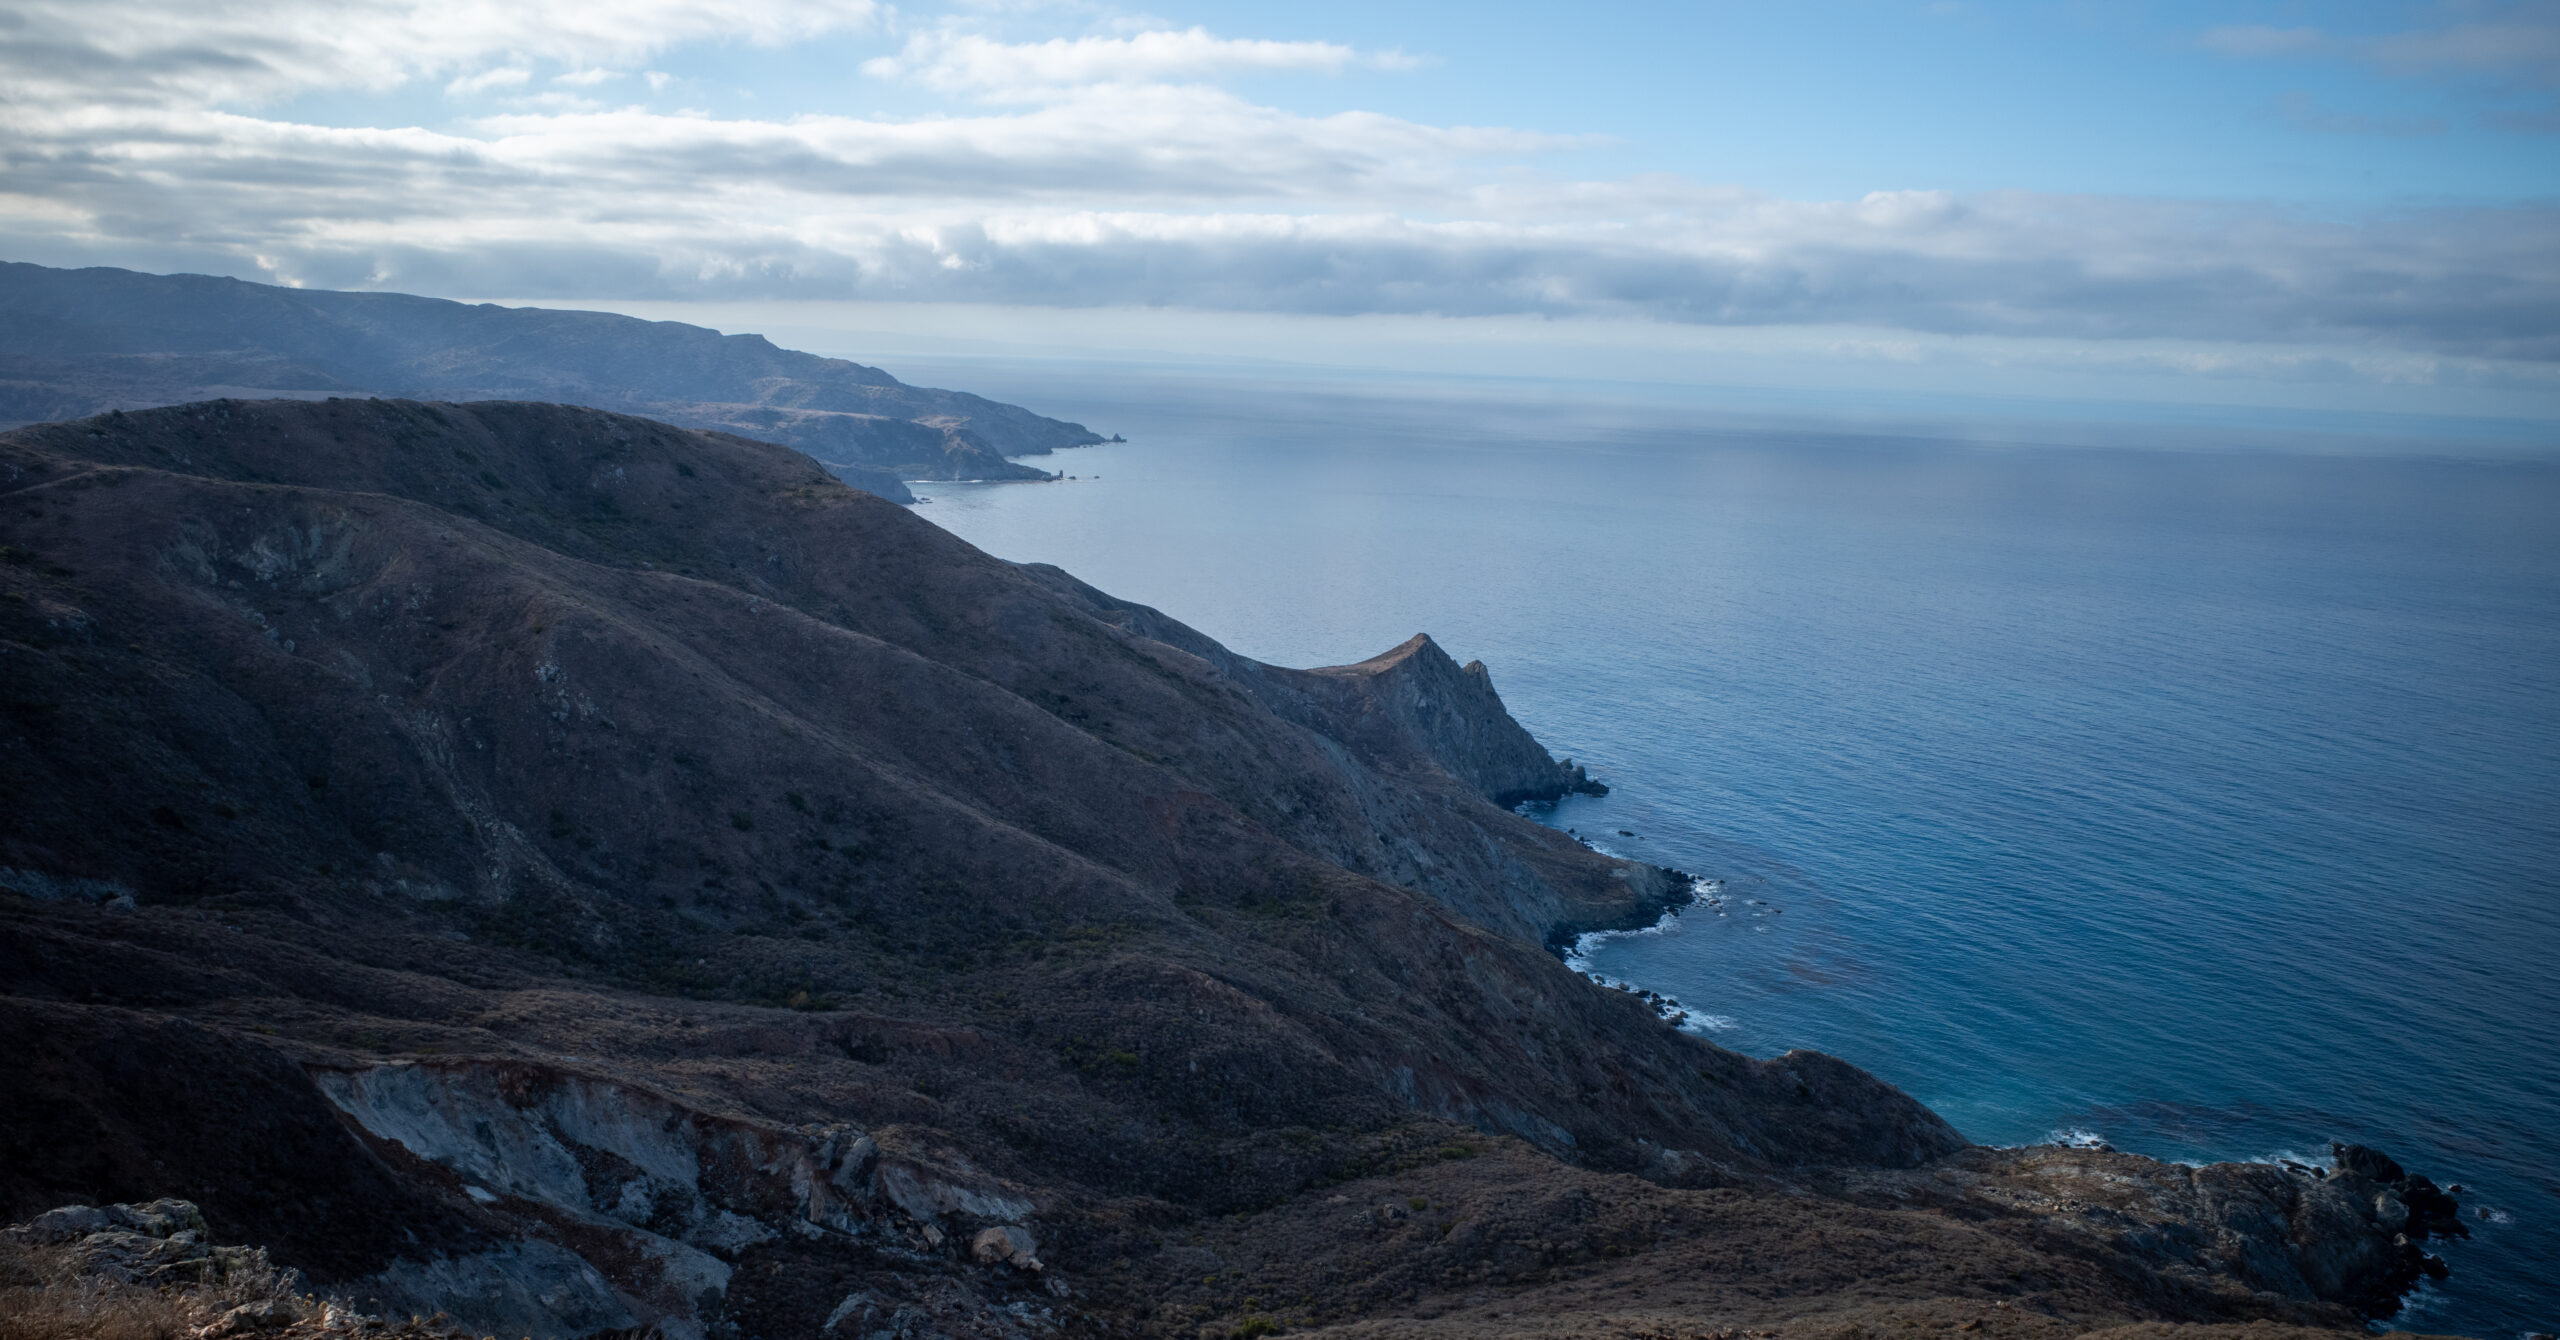
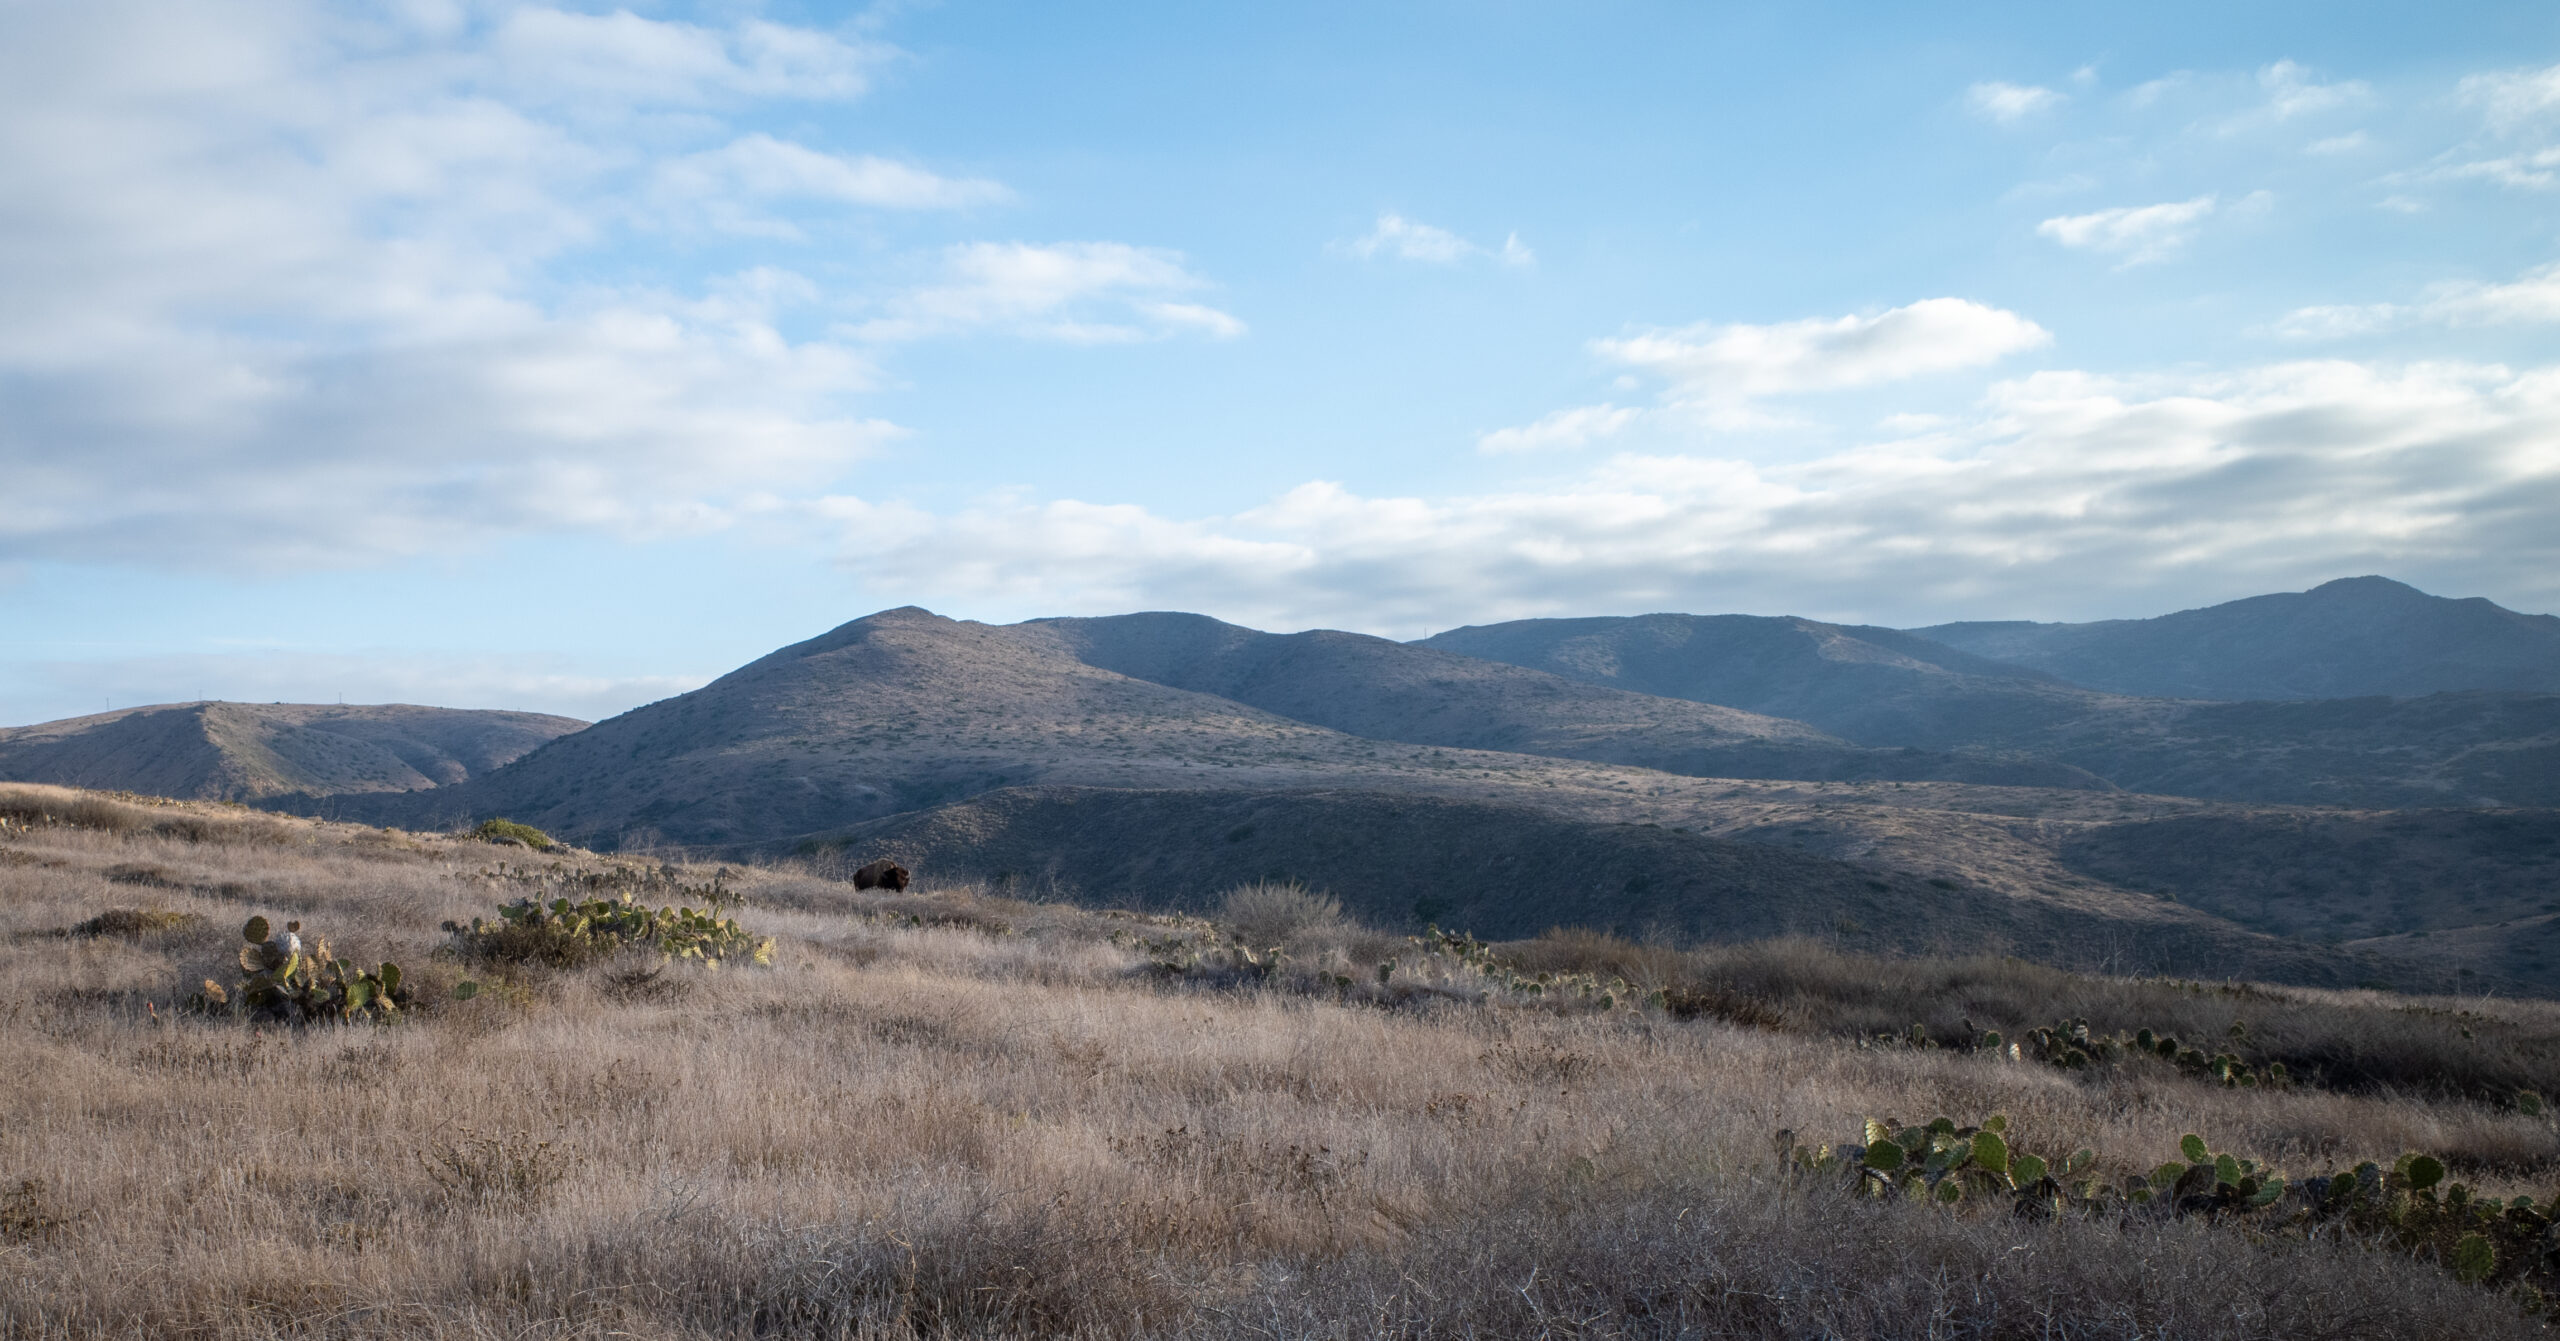
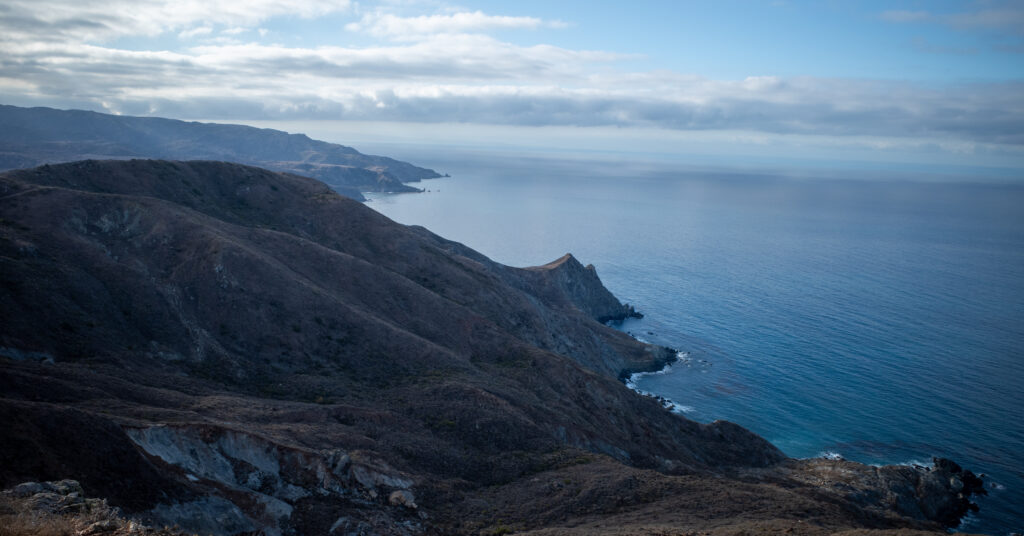
The trail was more scenic than I expected. Ocean views appeared frequently, and higher ground near the middle of the island opened broad panoramas with coastline visible on both sides of Catalina. In clear conditions, the California mainland sat faintly on the horizon. Bison and an island fox added a wildlife element that felt entirely distinct from my other trips.
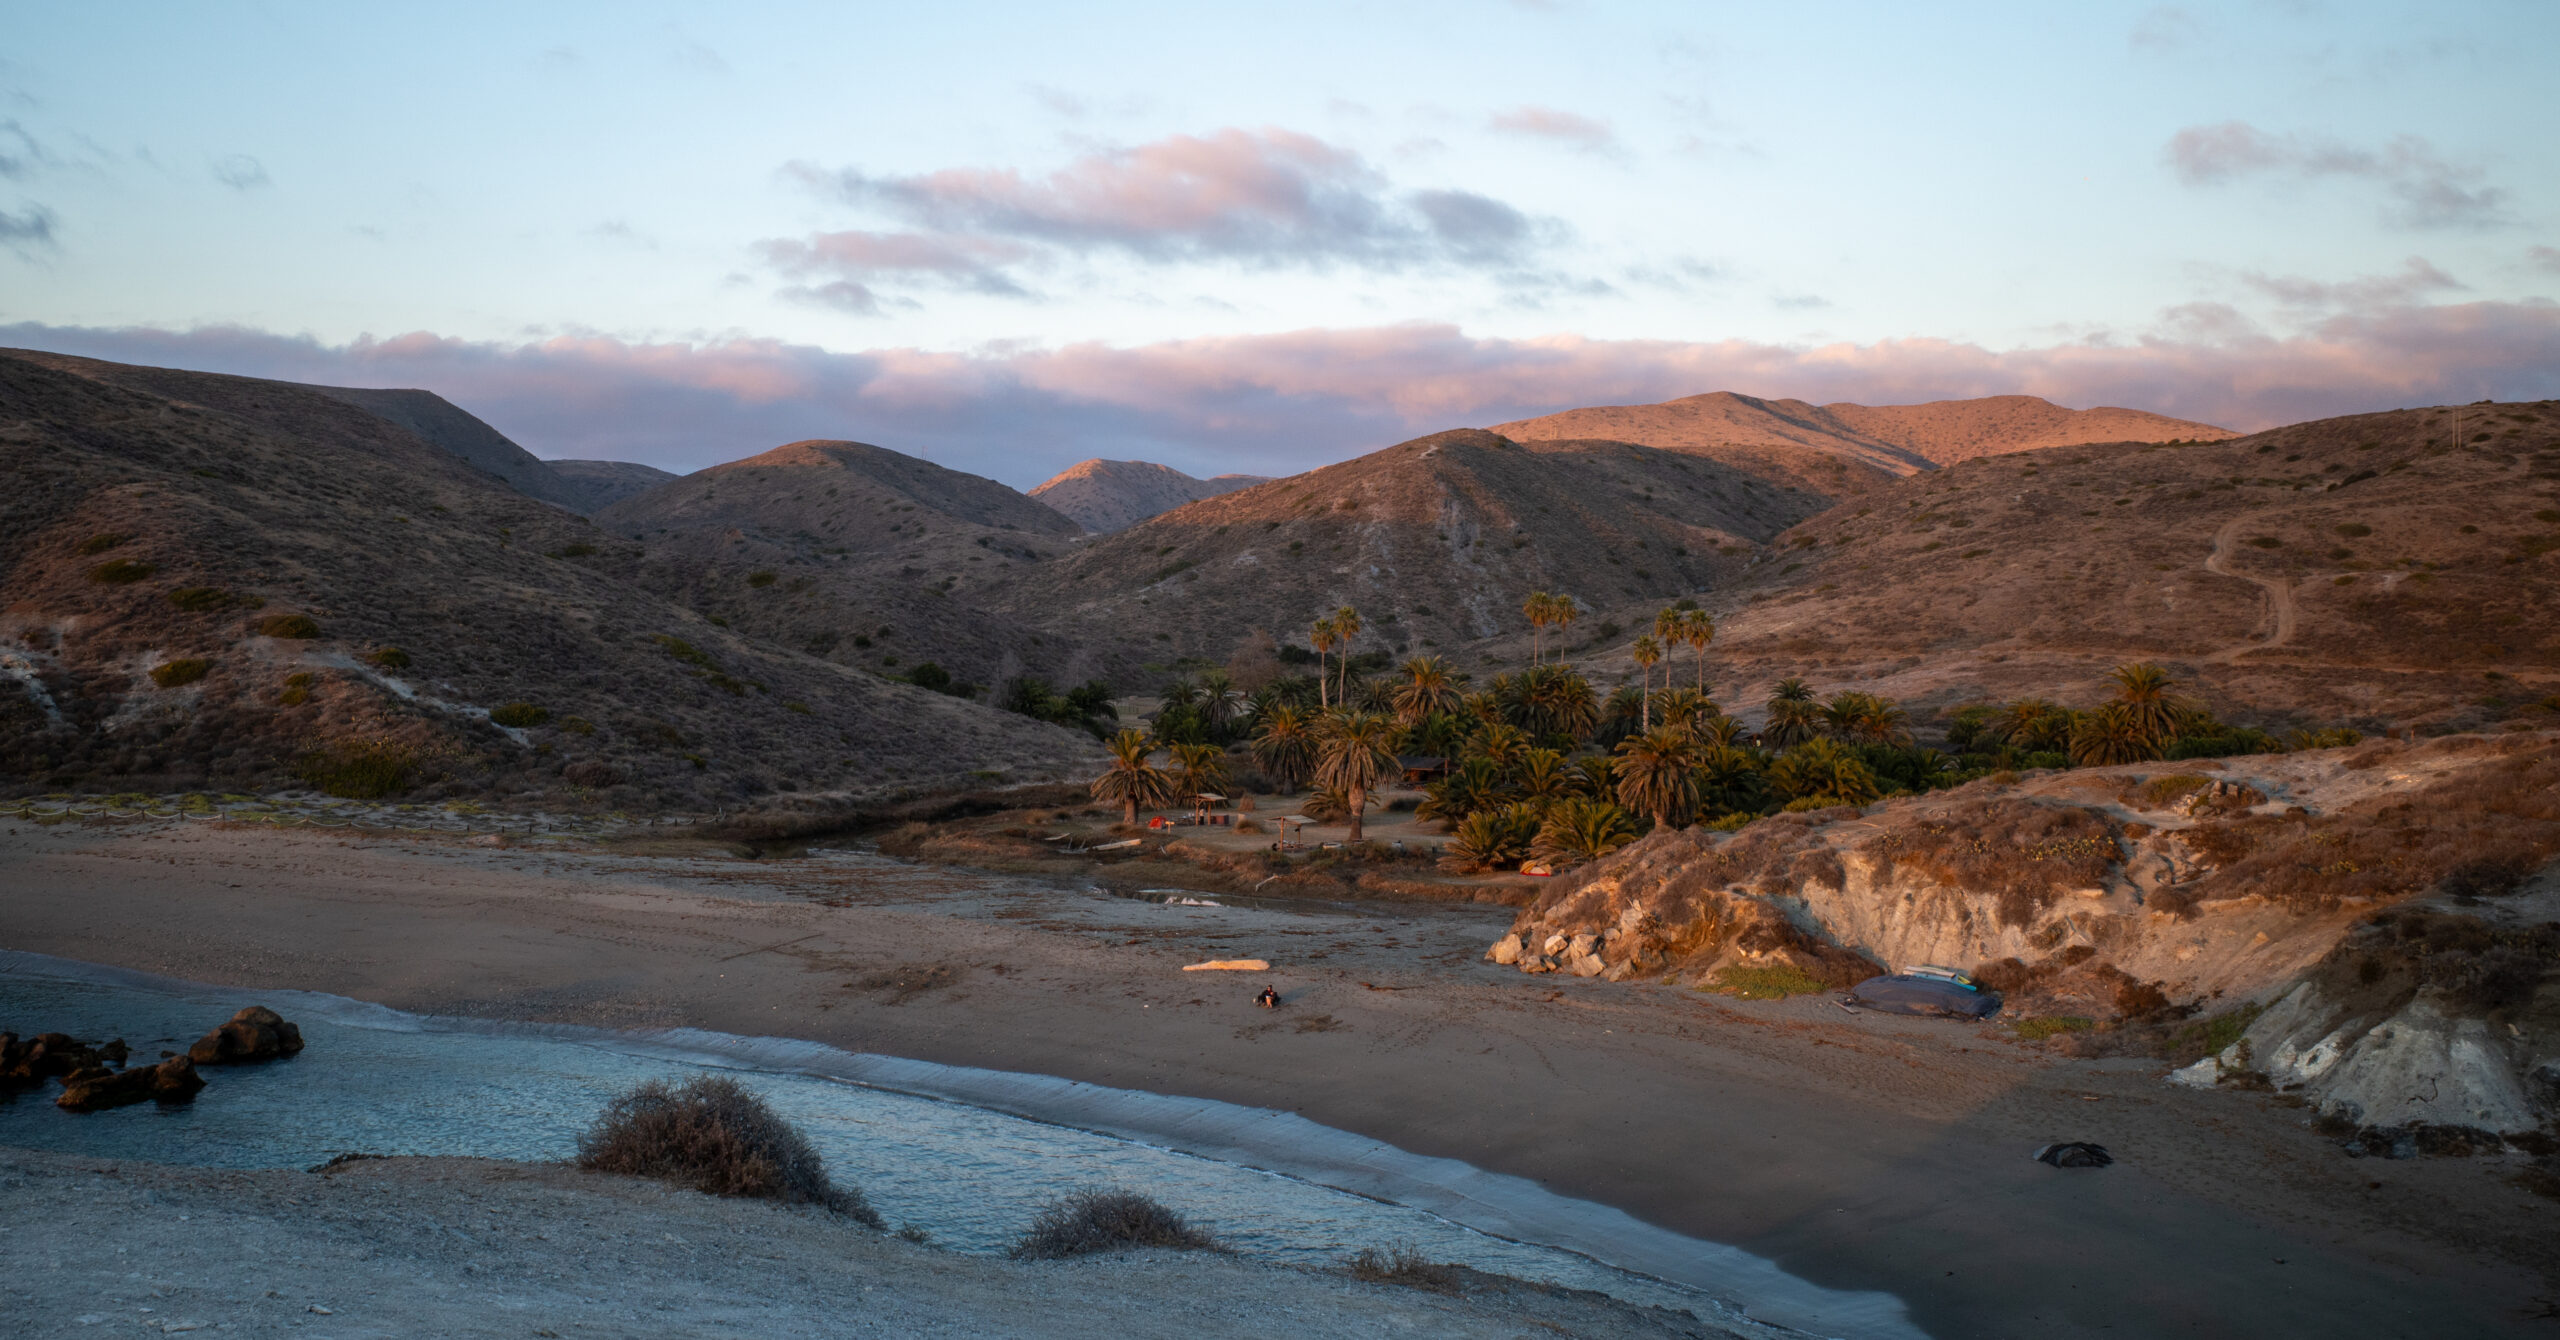
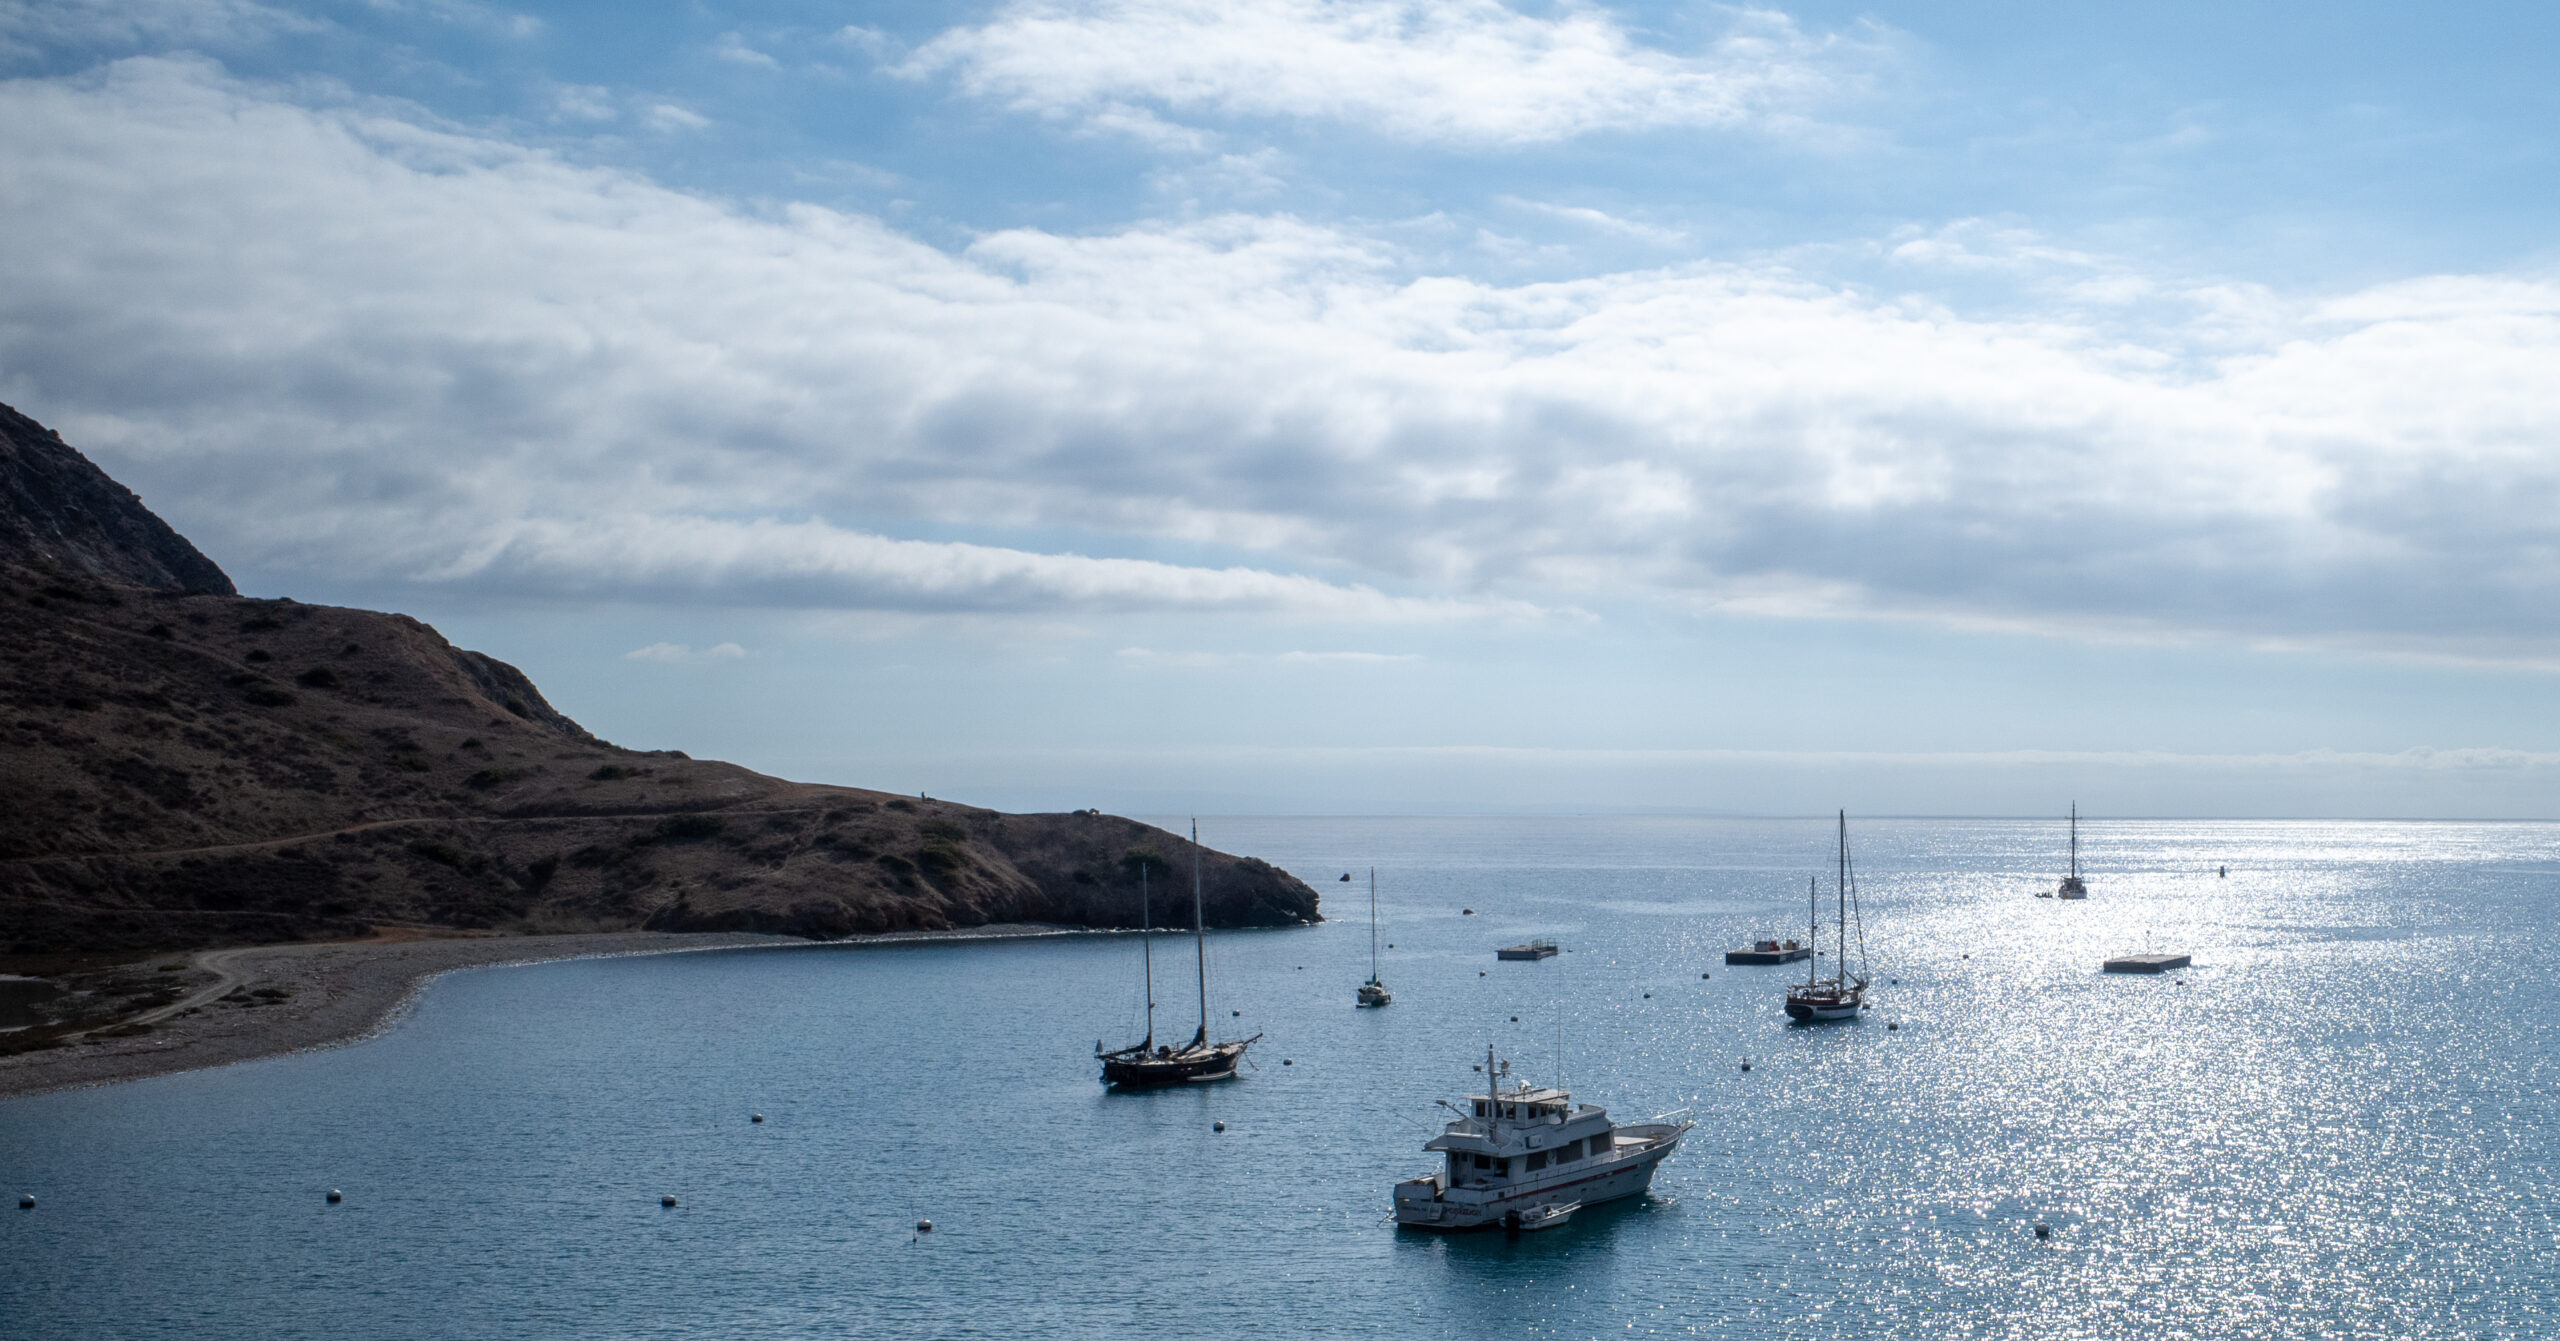
Little Harbor and Parsons Landing were the strongest camps. Both put the route directly beside the coast, and cowboy camping under clear January skies became one of the trip’s highlights. Little Harbor delivered the sunset; Parsons Landing delivered the stars, waves, and a beach sunrise after the hardest day.
This is not a pure wilderness experience. Designated campsites, potable water during our trip, toilets, picnic tables, roads, town stops, and ferries remove many of the usual logistical barriers. That accessibility is part of the route’s value. The walking still includes sustained climbs, dry exposed ridges, steep descents, and substantial sun exposure. Day 3, from Little Harbor to Parsons Landing via Two Harbors, was an especially demanding sequence of climbing, descending, mileage, and heat from the sun.
The route can work well for newer backpackers when someone in the group understands basic trip planning. Experienced backpackers can also enjoy it, provided they come for island scenery, wildlife, and beach camps rather than complete solitude. The infrastructure lowers the logistical difficulty; it does not make the trail effortless.
Route Map
Use this CalTopo map as the main route reference for trail context, camps, mileage, and elevation. Open it in CalTopo to inspect the four daily tracks and map layers in full screen.
GPX note: The route and waypoint descriptions record planning notes and observations from this trip. They are not a current report on access, services, water, campground facilities, or trail conditions.
Quick Itinerary
| Day | Route | Details |
|---|---|---|
| Day 1 | Avalon → Hermit Gulch area → Blackjack Campground | Distance: 10.6 miGain/Loss: +3,080 ft / -1,600 ftCharacter: Steep opening climb, Avalon views, dry trail and road sectionsCamp: Blackjack Campground |
| Day 2 | Blackjack Campground → Airport in the Sky → Little Harbor Campground | Distance: 8.0 miGain/Loss: +980 ft / -2,470 ftCharacter: Airport food stop, broad island views, both coasts, bison, descent to a west-facing beach campCamp: Little Harbor Campground |
| Day 3 | Little Harbor → Two Harbors → Parsons Landing | Distance: 12.1 miGain/Loss: +3,540 ft / -3,520 ftCharacter: Longest day; major climb and descent on each side of Two Harbors, town resupply, extensive sunCamp: Parsons Landing |
| Day 4 | Parsons Landing → Two Harbors | Distance: 7.6 miGain/Loss: +550 ft / -570 ftCharacter: Beach sunrise, mostly road-based return, sore feet, ferry deadlineFinish: Two Harbors ferry terminal |
Trailhead & Access
| Start | Avalon |
|---|---|
| Finish | Two Harbors ferry terminal |
| Primary Airport | LAX |
| Pre-Trek Base | Long Beach area, then one night in Avalon |
| Island Transport | Catalina Express from Long Beach to Avalon; return from Two Harbors to San Pedro |
| Vehicle | No rental car or vehicle shuttle required |
| Direction | Avalon to Two Harbors worked well and created a progression from Blackjack to the more scenic Little Harbor and Parsons Landing camps |
My access and return setup: I flew into LAX, stayed near Long Beach, and took the ferry to Avalon the next day, where I spent one night before hiking. My Long Beach hotel held my non-backpacking luggage, so I brought only trail gear to the island; confirm storage directly with your hotel rather than assuming it is included. After finishing in Two Harbors, I took the ferry to San Pedro and returned to Long Beach to retrieve the rest of my luggage. The trail can be hiked in either direction, but Avalon to Two Harbors fit the transport and gave the camps a stronger progression, with Parsons Landing as the final overnight payoff.
Getting There Without a Rental Car
A point-to-point island crossing that works cleanly with flights, ferries, and local ground transportation, with no vehicle shuttle required.
The Trans-Catalina Trail is unusually convenient as a destination backpacking trip because the point-to-point route does not require a rental car. From LAX, use rideshare or another ground-transport option to Long Beach and stay near the ferry terminal if practical. Take the ferry to Avalon, hike across the island, and return to the mainland from Two Harbors through San Pedro without arranging a vehicle shuttle.
Planning note: For my trip, I took Catalina Express from Long Beach to Avalon and returned from Two Harbors to San Pedro. That setup worked well with my four-day itinerary, but ferry routes, ports, and frequency can vary by season. Check the official Catalina Express schedule for your own dates before booking.
Campground Reservations and Logistics
Designated camps simplify the route, but the reservation sequence should be secured before flights and ferries are locked in.
Reservations are a core part of planning the Trans-Catalina Trail because camping is limited to designated campgrounds. On my January 2025 trip, I stayed at Blackjack 03, Little Harbor 11, and Parsons Landing 03. I was happy with all three sites and would choose them again; I had no complaints or regrets about any of them. The campgrounds did not feel overcrowded during the trip.
For my trip, campground booking and a separate free hiking permit were part of the planning process. Use the official Catalina camping page and Conservancy permit page to learn what applies to your dates before booking flights or ferries. Release timing, booking platforms, cancellation rules, campsite capacities, and trail-authorization requirements can change.
Before booking: Use the official campground descriptions and maps to compare available sites, then confirm current water, bathroom, food-storage, and fire information for your dates. My site notes below describe what I experienced in January 2025, not a guarantee that every amenity or booking detail will remain the same.
Route Guide
Four days from Avalon to Two Harbors, with overnight stops at Blackjack, Little Harbor, and Parsons Landing.
Day 1: Avalon to Blackjack Campground
10.6 mi, +3,080 ft / -1,600 ft
Route
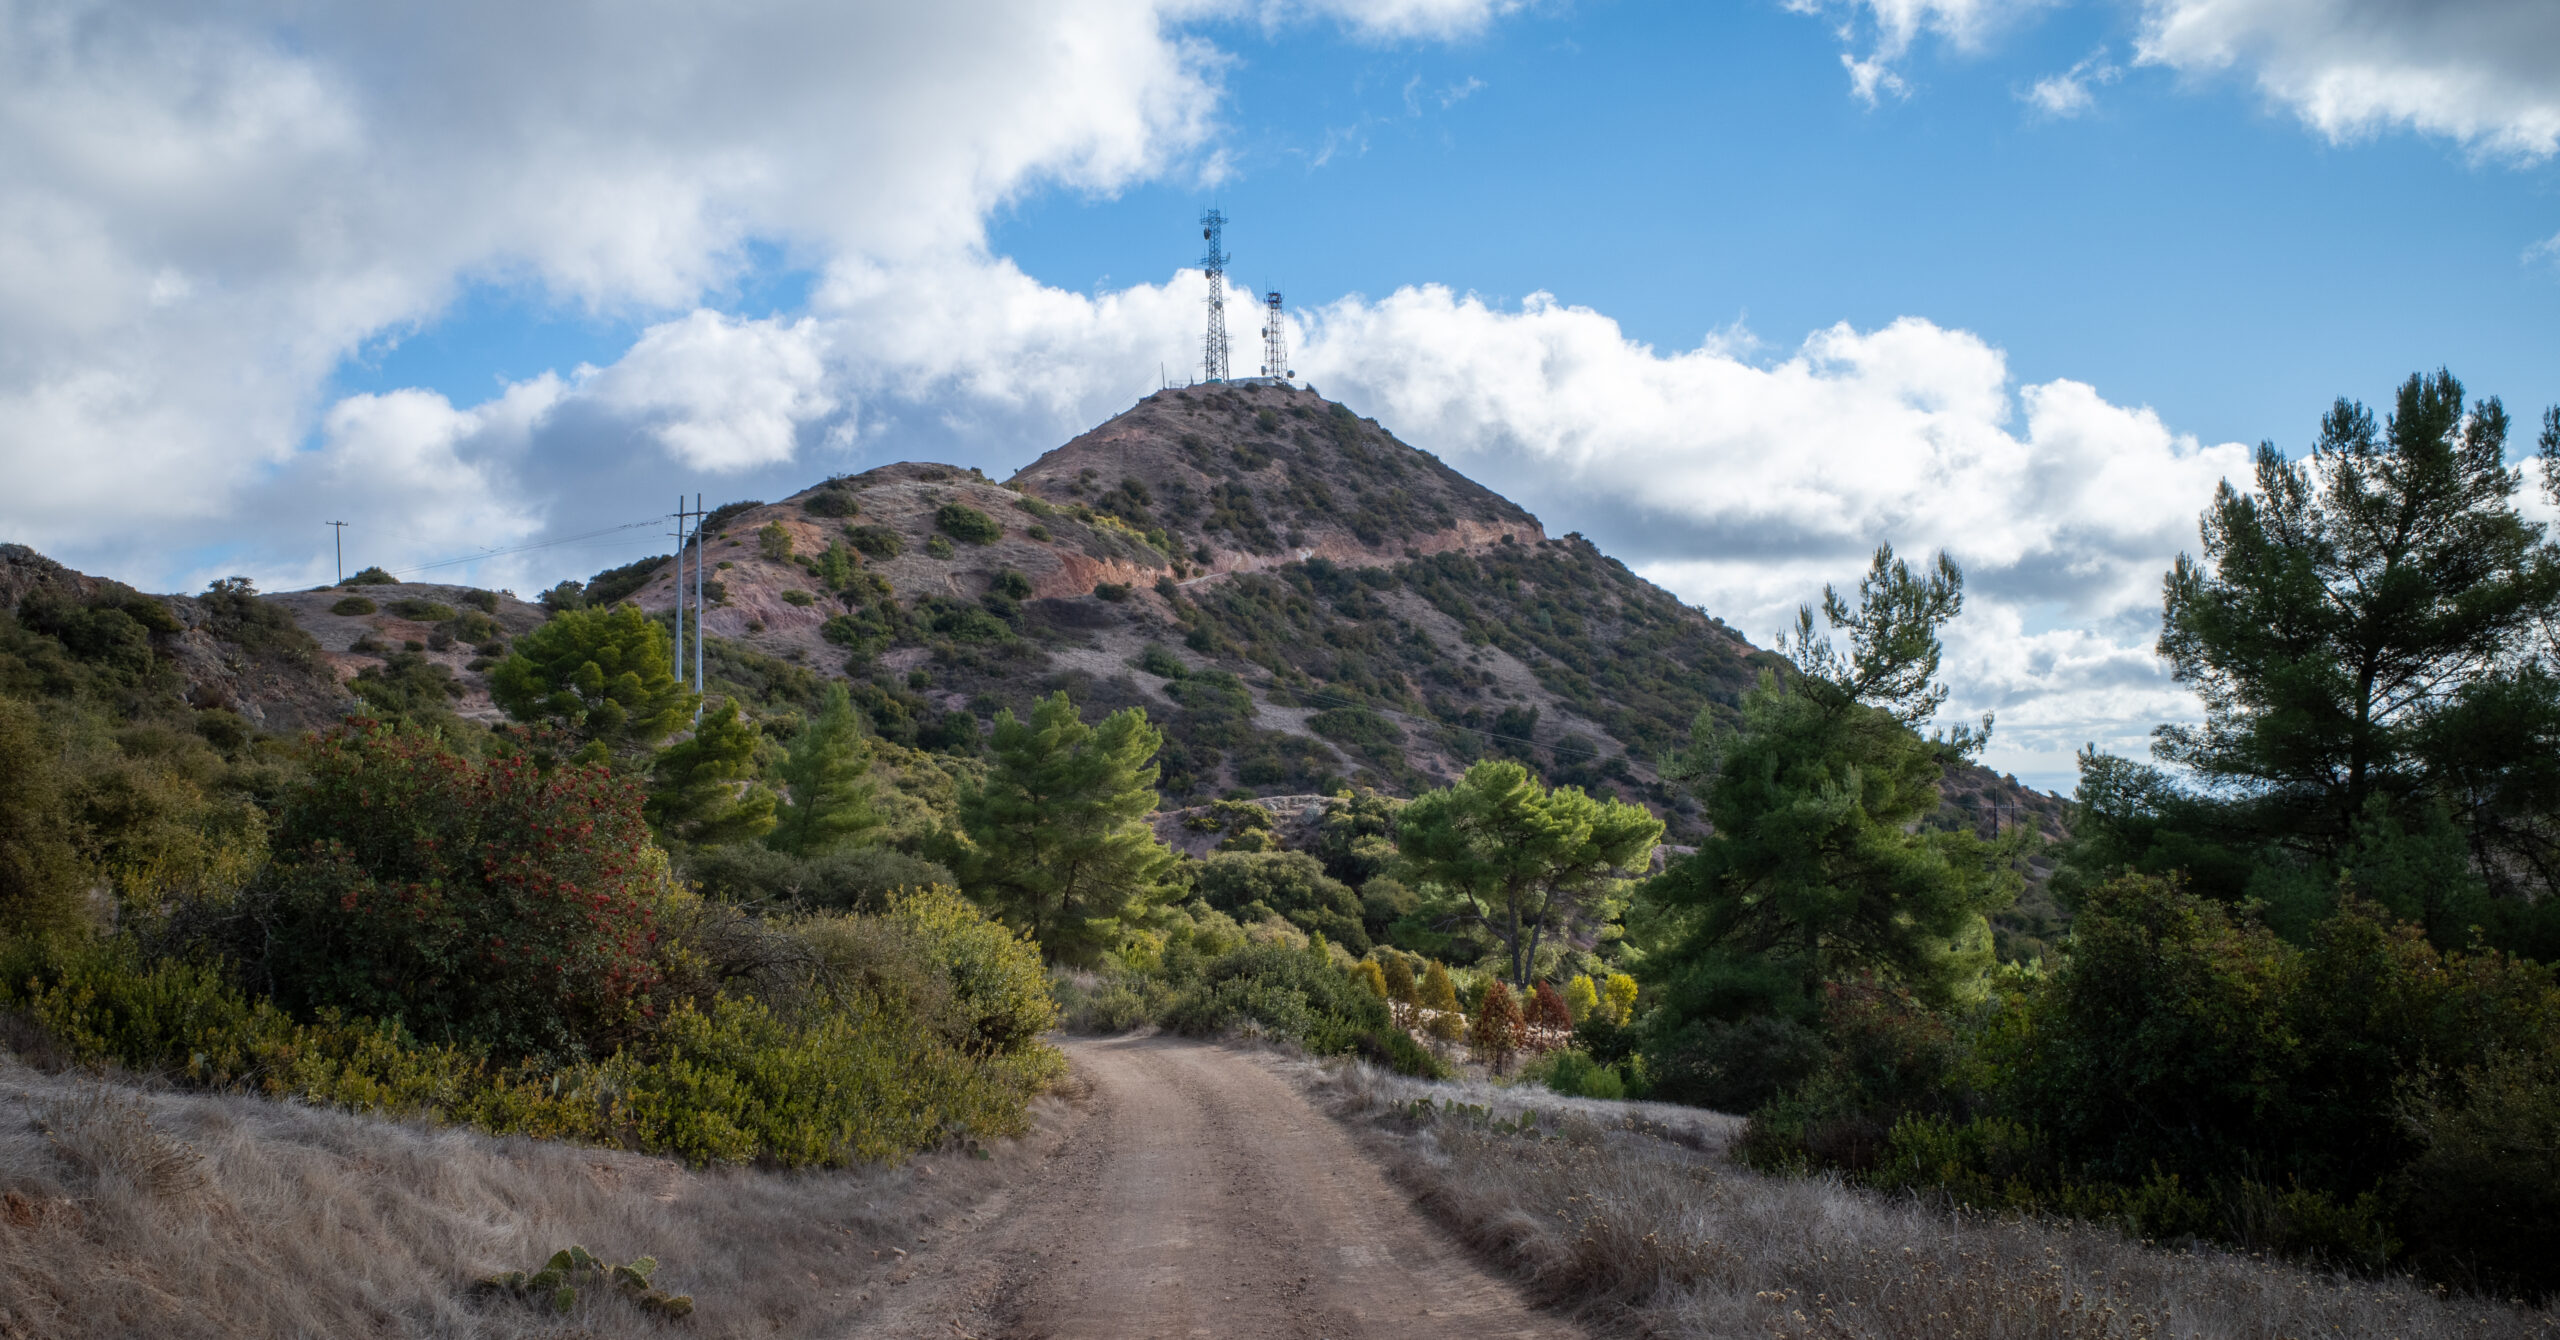
Begin in Avalon and walk through residential streets toward the Hermit Gulch area, passing near Hermit Gulch Campground before climbing steeply away from town. Views back over Avalon and its harbor improve quickly with elevation. The opening climb makes the trail feel serious almost immediately, even though civilization remains close below.
The route continues through the dry island interior on dirt trail, with some wider road-like sections, to Blackjack Campground. Although this is a moderate day compared with Day 3, the repeated rollers after the opening climb bring the CalTopo total to more than 3,000 feet of ascent.
Blackjack Campground
I stayed at Blackjack site 03. It was tucked into a corner with two campsites nearby, but no one needed to walk past my tent to reach theirs, so it had less through traffic than the spacing might suggest. The site had a picnic table and a modest overlook. The view was pleasant, though not a standout, and I was happy with the choice.
Potable water was available during my trip. The bathroom was an enclosed, single-person structure with a vault-style toilet, essentially a toilet seat over a pit, and toilet paper. Carry backup toilet paper regardless. I had no animal problems.
Amenity check: Check the current water, bathroom, food-storage, and fire rules before your trip rather than assuming my January 2025 setup is unchanged.
Day 2: Blackjack Campground to Little Harbor
8.0 mi, +980 ft / -2,470 ft
Route
Leave Blackjack and continue west through the island interior toward Airport in the Sky, then cross higher ground with increasingly broad ocean views. At one high point, coastline was visible on both sides of Catalina, with the California mainland in the distance under clear skies. This was also the day a bison blocked the trail, prompting the minor road detour described below.
The descent toward the west coast reveals Little Harbor and its surrounding slopes. The approach immediately feels more scenic than Blackjack, and the beach setting changes the rhythm of the trip.
Airport in the Sky
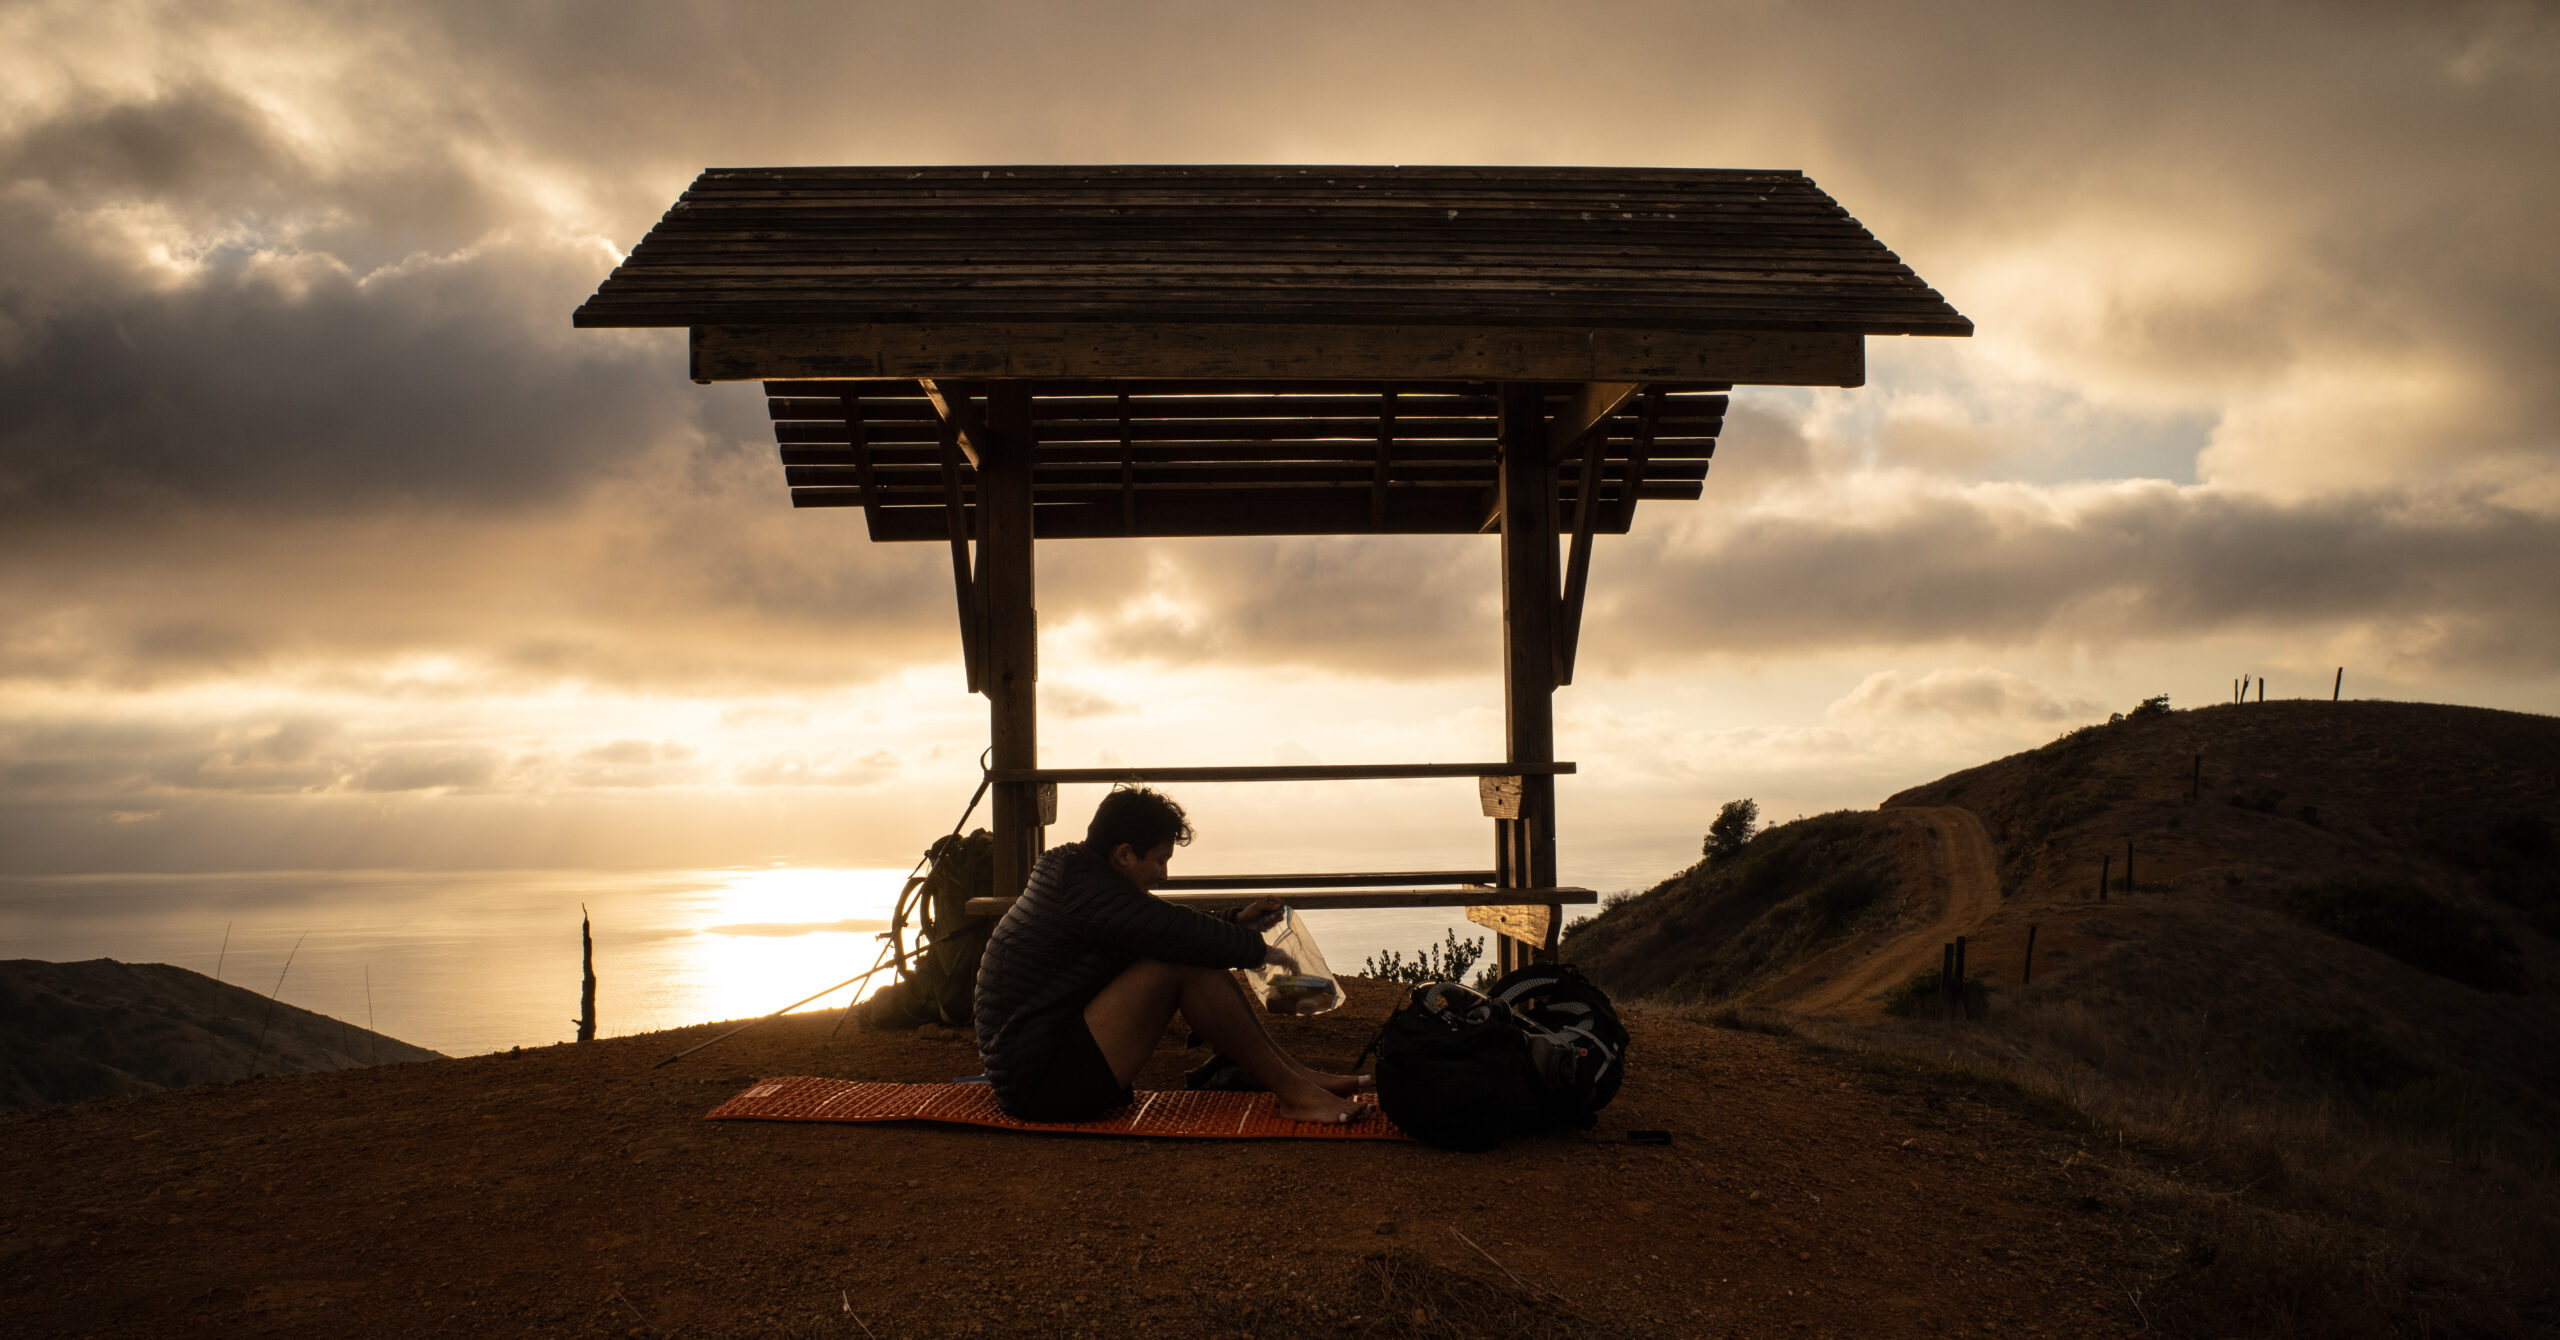
The airport was an unexpectedly enjoyable Day 2 stop. I ate a surprisingly good burger and watched small aircraft land and take off. Hiking hunger certainly helped, but it genuinely felt like a strong meal.
Restaurant check: The Airport in the Sky restaurant was open during my trip, but hours and services can change. Do not plan a meal around it without checking the official airport information for your dates.
When a Bison Blocks the Trail
One bison stood directly on the trail where steep terrain made a close pass or direct off-trail bypass feel unsafe. We waited roughly five to ten minutes, ate snacks, and watched from a safe distance. When it did not move, we checked the map, backtracked slightly, used a nearby road as a minor detour, and rejoined the route later. The detour was preferable to forcing a close pass.
Bison safety: Do not allow an itinerary to pressure you into squeezing past a bison. Wait, retreat, or use a safe detour. Follow current official guidance rather than relying on a remembered distance.
Little Harbor Campground
Little Harbor was my favorite campsite. I stayed at site 11, very close to the beach. The campground is compact enough that no site is especially far from the water, but this location made it particularly easy to walk onto the sand. Its west-facing position produced a strong sunset; I ate dinner from a large rock overlooking the harbor.
Other campers were present, but the campground remained quiet and never felt crowded. Potable water was available during my trip, and the bathrooms were enclosed, single-person portable toilets. I was very happy with site 11 and had no regrets about choosing it.
Amenity check: Check Little Harbor’s current water, bathroom, food-storage, and fire information before departure.
Day 3: Little Harbor to Parsons Landing via Two Harbors
12.1 mi, +3,540 ft / -3,520 ft
Route
This was the longest and most strenuous day: up, down, up, and down again. Climb substantially away from Little Harbor, then descend toward Two Harbors. The route gives up much of that elevation at town and requires another major climb almost immediately after leaving, which makes the profile harder than the mileage alone suggests.
After passing the west side of the harbor, climb steeply through alternating dirt trail and road sections. On Day 3, we encountered another bison grazing close to the trail in the island’s open interior and gave it a wide berth before the final steep descent toward Parsons Landing. We arrived before dark, tired and ready to stop on the beach.
Two Harbors Stop
I expected a restaurant meal, but the restaurants were closed during the January off-season. The general store was open, so we bought microwaveable burritos and snacks, used its microwave, and refilled water from a developed source. Two Harbors still provided food and water, but January options were much more limited than expected. The disappointment came from failing to check seasonal hours, not from the town itself.
Planning note: Before the trip, verify which restaurants, general stores, and developed water sources will be available on your hiking dates. Carry enough food to cover any services you cannot confirm rather than relying on them being open.
Sun Exposure
Day 3 included long exposed mileage. January temperatures felt comfortable, but the UV exposure remained strong. I wore shorts and did not apply enough sunscreen, leaving my legs and likely parts of my face sunburned. A sun hoodie, hat, sunglasses, and sunscreen matter even in winter. Starting earlier would also reduce time spent climbing under the strongest midday sun.
Parsons Landing
I stayed at Parsons Landing site 03. Like the other Parsons Landing campsites, it was on the beach, and it had a good amount of separation from neighboring sites. I do not think there is a bad choice there, but site 03 felt private enough and I was happy with it. The peaceful evening, minimal light pollution, clear stars, and waves audible throughout the night made this the most memorable overnight. Cowboy camping here was a trip highlight. The following morning brought a beach sunrise; the January ocean was too cold to make swimming appealing, though putting sore feet in the water and sand still felt good.
There was no normal potable-water spigot for us to use. When I booked Parsons Landing online, I added water and firewood to the reservation. A pre-stocked locker was waiting at camp with a two-gallon jug of water, one bundle of firewood, and a fire starter. There was also an enclosed, single-person bathroom structure with a pit-style toilet, essentially a toilet seat over a large pit. The arrangement worked smoothly and matched what I had selected while booking.
Critical water note: Parsons Landing had no running water during my trip, so I relied on the pre-stocked locker package described above. Do not assume that ordering process, water arrangement, bathroom setup, or fire permission will match my experience. Check the camping information, your booking confirmation, and the Conservancy’s fire information for your dates.
Day 4: Parsons Landing to Two Harbors
7.6 mi, +550 ft / -570 ft
Route
Begin with sunrise at Parsons Landing, then leave the beach and return toward Two Harbors. This final section involved substantial road walking and was nearly even in total gain and loss, with several short rollers rather than a sustained downhill trend. Compared with the earlier days, it felt less scenic and more like a walk back to transportation.
My feet were sore after Day 3, and the ferry departure created a firm time objective. By that point, it felt more like a practical walk back to the ferry than a major scenic climax. Finish in Two Harbors, use the town’s basic services if open, and board the ferry to San Pedro. Verify the sailing before setting the day’s pace.
Navigation Notes
Navigation is manageable with an offline map, but frequent intersecting trails and shifts between trail and road make junction awareness important.
Some intersections were marked during my trip and others were not. Numerous trails and roads cross the Trans-Catalina Trail, so the main risk was not wandering into trailless terrain; it was following a plausible trail or road in the wrong direction after an intersection.
The route repeatedly changes among single-track trail, double-track, and road walking, and the correct continuation was not always immediately obvious. I used a combination of a paper map and offline maps and had no serious navigation trouble. Download your route before leaving, check it at intersections and whenever the trail character changes, and use the map to confirm decisions rather than trying to memorize every turn.
Navigation also requires flexibility around bison. At the encounters on this trip, a small off-trail adjustment or short road or trail detour made it possible to preserve distance and reconnect with the route without serious difficulty. Do not force a bypass through unsafe or sensitive terrain: waiting, retreating, or taking a longer safe alternative is better than squeezing past an animal to remain exactly on the planned line.
Water Strategy
Treat Catalina as a dry route and plan each day around confirmed developed sources rather than natural water.
We relied entirely on developed campground and town water and did not filter any natural sources. No streams or reliable wild sources were used. Reservoirs we saw during this unusually dry period appeared extremely low or dry. Leave every confirmed source with enough water to reach the next one, refill whenever reliable water is available, and arrange Parsons Landing water in advance.
Developed water was available at Blackjack, Little Harbor, and Two Harbors during my trip, while Parsons Landing used the reserved locker supply described above. Treat that as a record of my experience, not a guarantee: check water arrangements for your dates, never assume a map symbol guarantees water, and choose how much to carry based on the longest confirmed dry stretch, the forecast, and your own consumption.
Bison and Wildlife
Wildlife encounters were memorable, but bison required the most consequential on-trail decisions.
Bison
Seeing bison was a trip highlight, but maintaining distance mattered more than preserving the exact route line.
We saw multiple bison. On Day 3, one grazed relatively close to the trail; I gave it as wide a berth as the terrain allowed while it calmly continued grazing. On Day 2, a separate animal blocked the trail entirely, leading to the road detour described above. The bison were among the most memorable parts of the trip and also its most consequential safety concern.
Do not approach for photos, squeeze past, yell at, or provoke bison. Wait, retreat, or detour, prioritizing distance over remaining exactly on the planned track. Roads may offer alternatives in some places, but never assume a detour exists. The Conservancy advises giving bison a path to avoid you and, where possible, placing a large object such as a tree, rock, or vehicle between you and the animal. Review the current official Trans-Catalina Trail guidance before hiking.
Island Fox and Food Storage
Keep every camp secure from small, persistent wildlife.
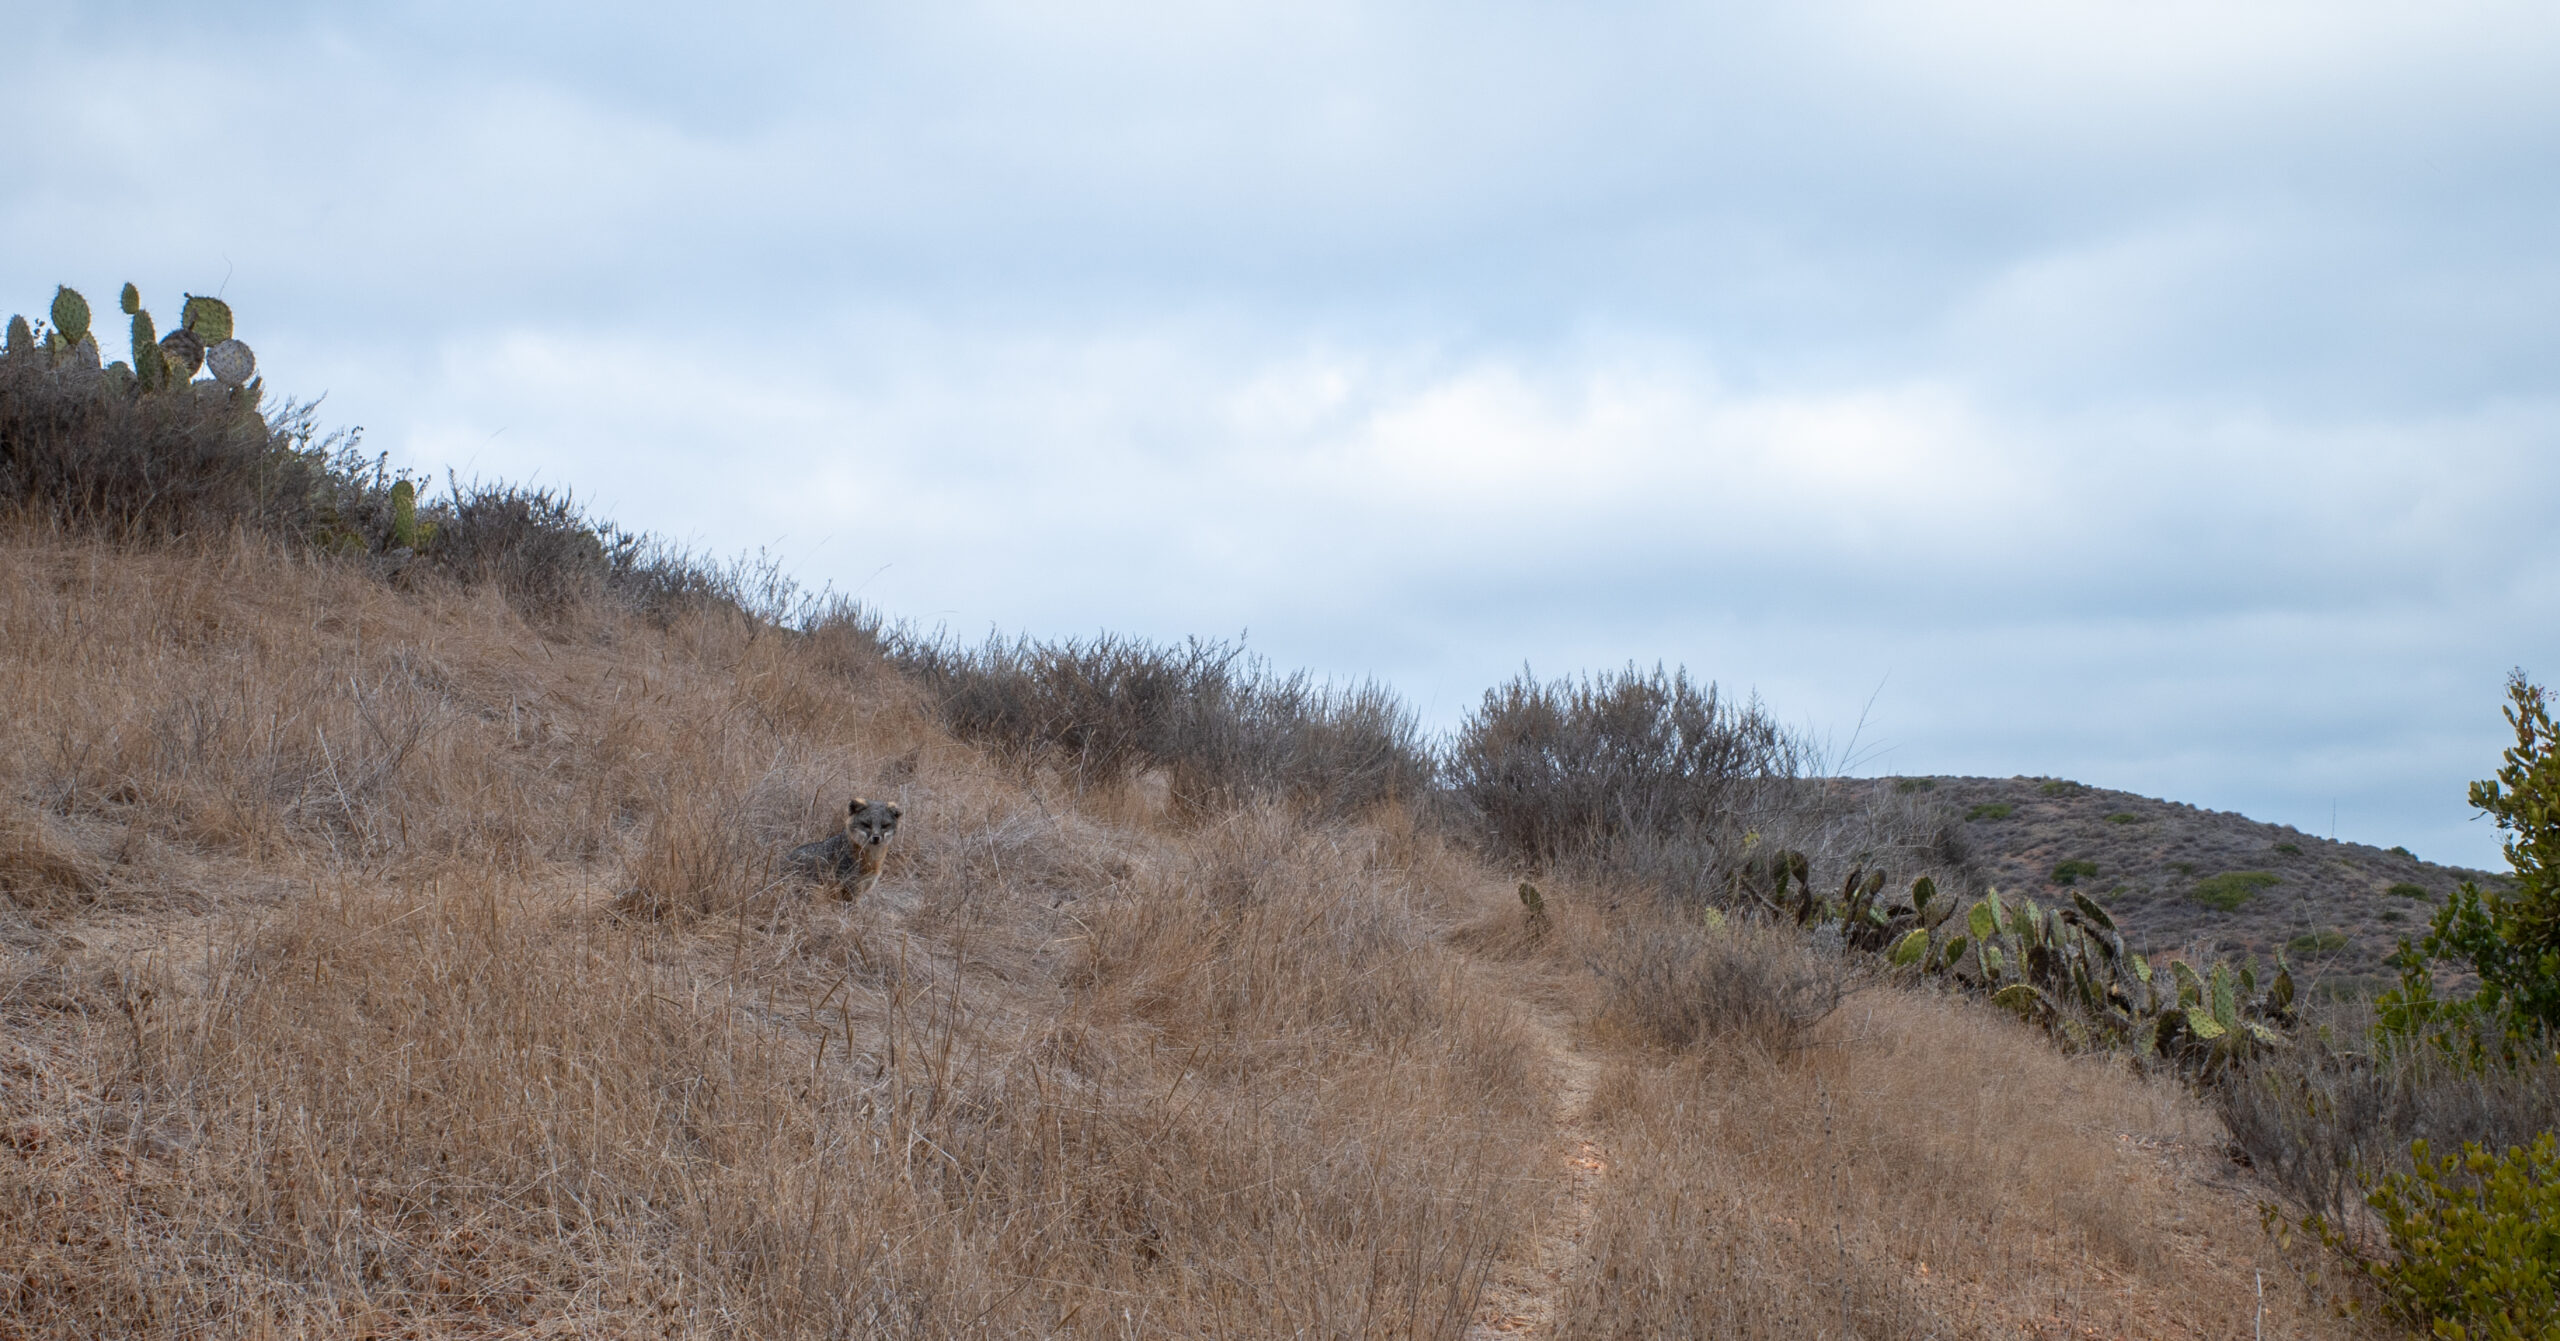
On Day 4, an island fox appeared near the trail. It paused in the brush and watched us; I took a quick photo and continued. Do not feed or approach foxes. Use the provided food-storage facilities where available and keep food secured from foxes, ravens, and rodents.
Food-storage check: Verify the exact current storage facilities at Blackjack, Little Harbor, and Parsons Landing before departure.
Seasonal Considerations
January reduced heat and crowds, while shorter daylight and reduced services demanded closer planning.
Mid-January brought comfortable daytime temperatures, mild nights, quieter campgrounds, clear skies, and excellent stargazing. The lack of oppressive heat made the exposed climbs more manageable, and the weather suited cowboy camping. Winter also meant shorter daylight, cold ocean water, reduced restaurant service, and ferry schedules that required close checking.
This trip occurred during an unusually dry period. No rain fell, and reservoirs appeared very low or dry. Those conditions made hiking and sleeping outside easier. A future January trip may bring rain, wind, colder nights, or rougher ferry conditions.
I would personally avoid peak summer because heat, exposed climbing, stronger sun, and greater water demand would reduce my enjoyment. For hikers who dislike heat, cooler months may be more pleasant, but winter ferry schedules, campground operations, rain, and restaurant hours require closer verification.
Cowboy Camping
Cowboy camping worked well during this dry January trip, but a shelter still belonged in the plan.
I cowboy camped all three nights, sleeping on a pad outside the tent and placing it over the rainfly or another protective layer to reduce puncture risk. I carried a Big Agnes Copper Spur but never needed to pitch it fully. Parsons Landing was the best night: clear stars and the sound of the ocean made the simple setup particularly memorable.
Carry a shelter as backup, use a reliable forecast, secure food, and expect sand and dirt on equipment. Conditions can change quickly; one dry trip is not a reason to leave shelter at home.
Four Days or Five Days?
Four days keeps both beach camps while concentrating the route’s hardest climbing into one demanding day.
Three days is possible for strong hikers, but it would require significantly more mileage, feel rushed, and reduce time at the beaches and camps. It would not be my preferred experience.
Four days was the sweet spot for me. It creates one major grind day but leaves enough time to enjoy both Little Harbor and Parsons Landing, maintains momentum, and avoids stretching the route unnecessarily. I recommend it for fit backpackers.
Five days adds a night at Two Harbors and breaks up the difficult third day. That pace may be better for newer backpackers or anyone with abundant time, though experienced hikers may find it slower than necessary. If I hiked the trail again, I would still choose four days. With unlimited time, five would be enjoyable, but four struck the best balance between challenge and relaxation.
Practical Gear and Safety Notes
Sun protection, water capacity, and secure footing matter more here than technical mountain equipment.
A trekking pole or poles, sun hoodie, hat, sunglasses, sunscreen, grippy footwear, suitable water capacity, a warm sleeping layer, shelter, backup toilet paper, and disciplined food storage cover the most route-specific needs. I used one trekking pole and valued it most on steep descents. I prefer boots, though trail runners would be reasonable because the terrain was not technically extreme.
A 30°F or 40°F sleeping bag was adequate during this specific trip, but future conditions may require more insulation. I carried rain gear despite not using it. No special beach stakes were needed because I never fully pitched the tent, and sand shook out of the gear easily.
The main concerns are bison, sun exposure, dehydration, steep or loose dirt, long mileage, ferry and campground logistics, and weather or wind. There was no major cliff exposure, and the trail did not feel technically dangerous, though a misstep on a loose descent could cause a slide or ankle injury. Developed infrastructure lowers the consequences compared with a remote wilderness route; it does not eliminate the need for planning.
This trek best suits fit hikers seeking an accessible multi-day trip, newer backpackers accompanied by someone experienced, travelers who want a destination route without a rental car, and experienced backpackers willing to trade deep wilderness for beaches and ocean views. It may disappoint hikers seeking wild camping, complete solitude, minimal road walking, flexible camps, or guaranteed restaurant meals.
Is This Worth Backpacking?
The trail trades deep wilderness for approachable logistics without giving up scenery or physical challenge.
Yes, absolutely. This route ranks highly among my trips. Seeing ocean on both sides of the island was a major scenic highlight; bison and the island fox made it memorable; Little Harbor and Parsons Landing were excellent camps; and Airport in the Sky was an unexpectedly fun stop. The route felt physically rewarding without becoming technically extreme.
It is less wild than the Pemi Loop, Superstition Wilderness, Jotunheimen, or Mont Aorai. Its ocean views, wildlife, beach camps, and island setting are memorable, while the developed logistics lower barriers without removing the physical challenge.
What I Would Do Differently
The itinerary worked; the main improvements involve sun protection, an earlier Day 3 start, and tighter service checks.
- Apply and reapply more sunscreen, especially on exposed legs while wearing shorts.
- Start Day 3 somewhat earlier to reduce time under the strongest sun.
- Verify Two Harbors restaurant and store hours and carry food that does not depend on town service.
- Confirm every campground’s water status and the Parsons Landing supply arrangement before departure.
- Keep the Avalon-to-Two-Harbors direction and the four-day itinerary.
- Choose five days only for a deliberately more leisurely trip.
Photo Highlights
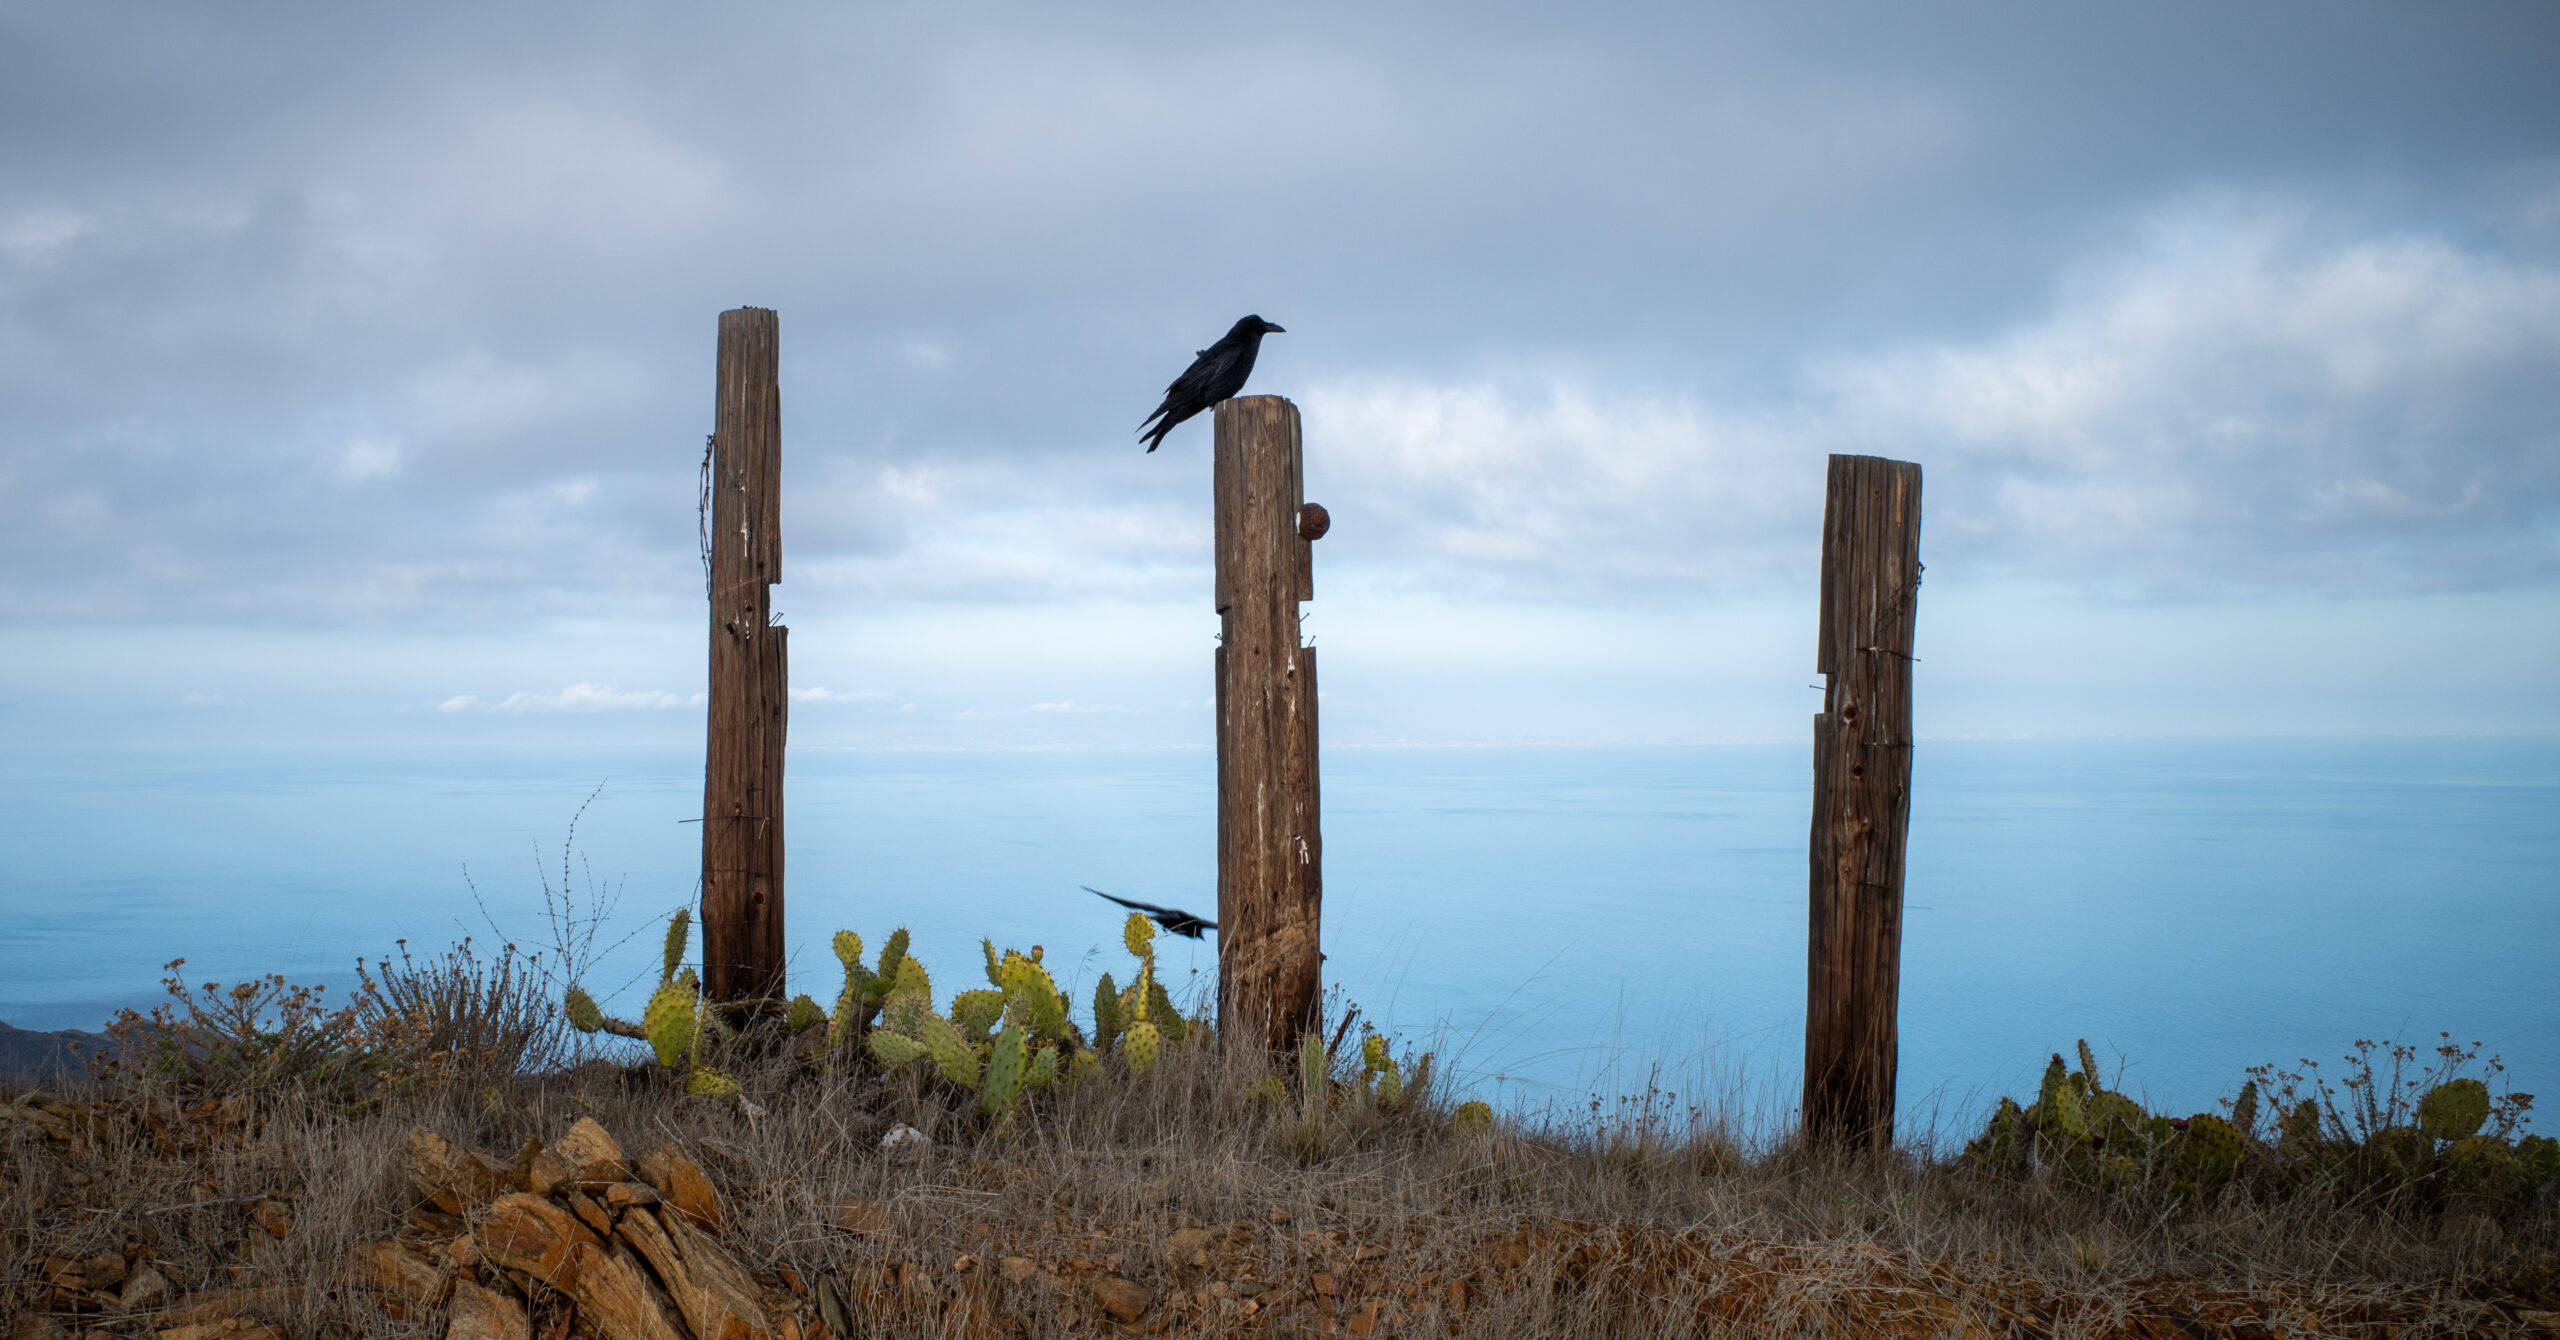
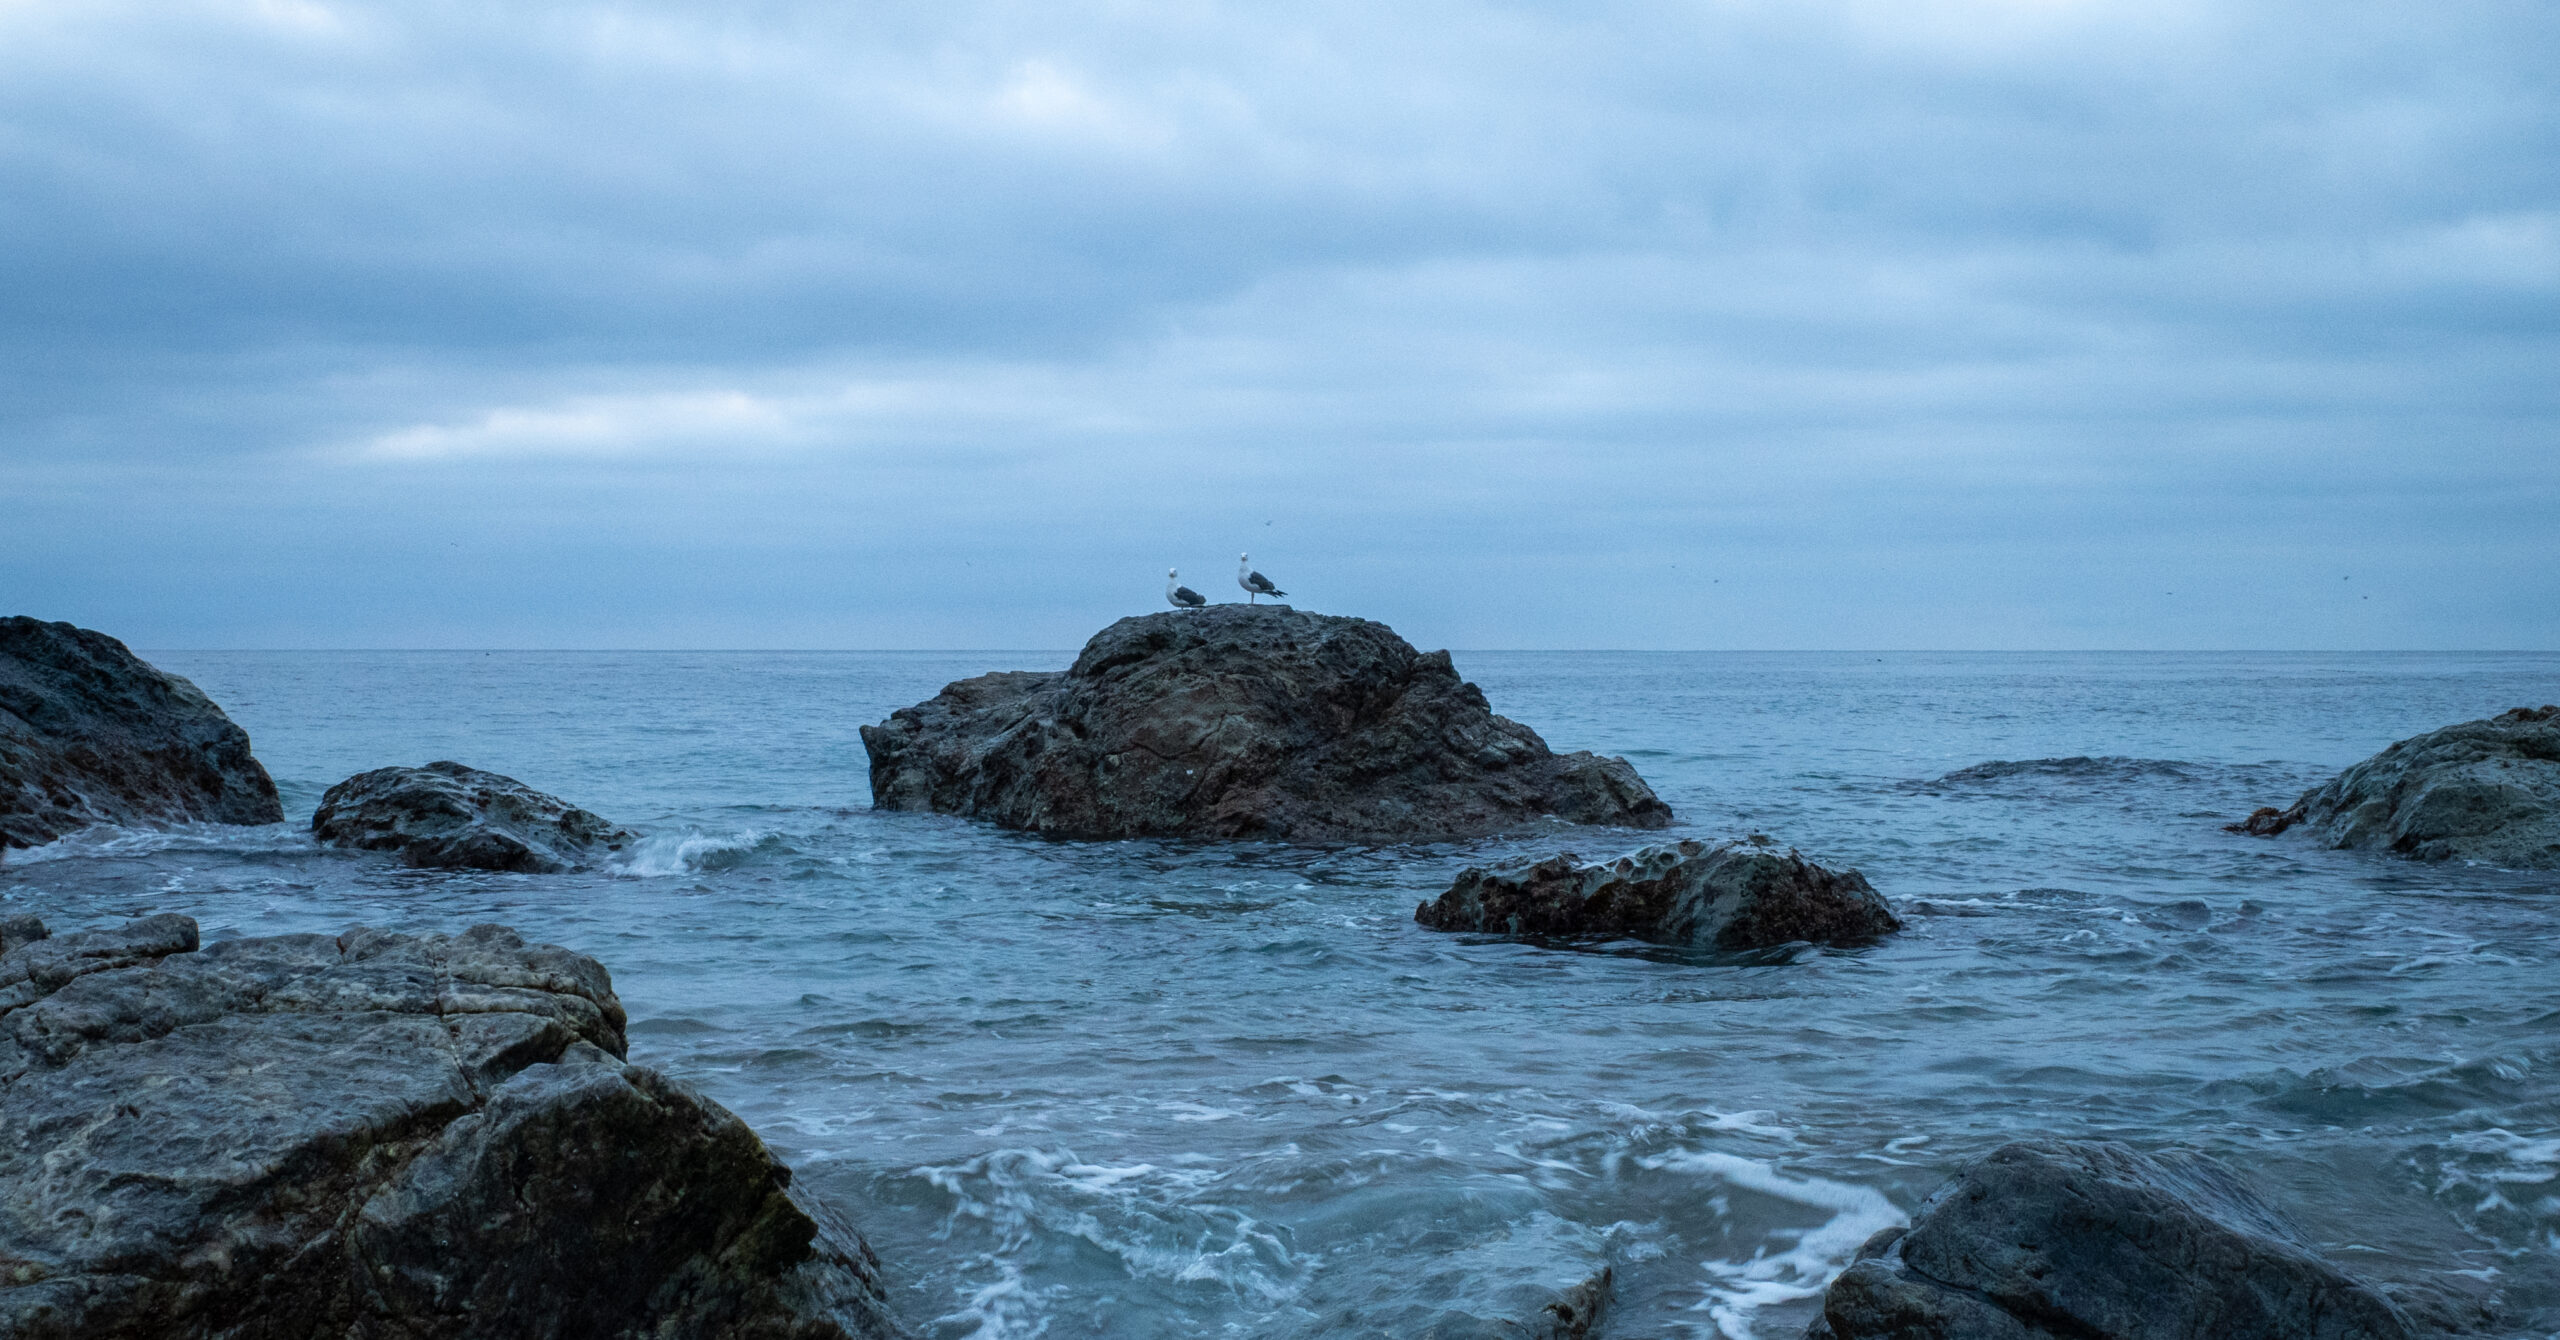
Ten frames from the trip, from the dry ridges above Avalon through Little Harbor and Two Harbors to Parsons Landing, with bison, raven, seabirds, and an island fox along the way.