2-Day Mont Aorai Backpacking Guide in Tahiti
Trip Snapshot
| Location | Tahiti, French Polynesia |
|---|---|
| Route | O Belvédère to Mont Aorai and back |
| Route Type | Out and Back |
| Distance | ~9.9 miles |
| Days / Nights | 2 days / 1 night |
| Elevation Gain/Loss | ~5,750 ft gain / ~5,750 ft loss |
| Overnight | Fare Mato hut |
| Difficulty | Very Strenuous |
| Terrain | Tropical forest, steep dirt, exposed ridges, rock, mud, and fixed ropes |
| Trip Date | Late August 2025 |
| Best Season | Generally April through October, during Tahiti’s drier season; mountain rain and clouds remain possible |
| Water | Rainwater was available at Fare Mato and Fare Ata; filter it and do not assume it is always available |
| Permit / Huts | No permit, registration, fee, or hut reservation was required during this trip; Fare Mato was free and first come, first served |
| Solo Safety | Not recommended for inexperienced solo hikers |
Scope of this guide: This guide documents what I experienced in late August 2025. No permit, registration, or hut reservation was required during that trip; Fare Mato was free and first come, first served, and we used the larger parking area beyond the restaurant. Access, overnight parking, hut rules, water, toilets, trail conditions, and installed ropes can change. Check locally available information and make your own conditions assessment before relying on any operational detail.
Overview
Mont Aorai is a spectacular tropical ridge trek where the same exposed terrain that creates the views also demands careful timing, good footing, and respect for the weather.
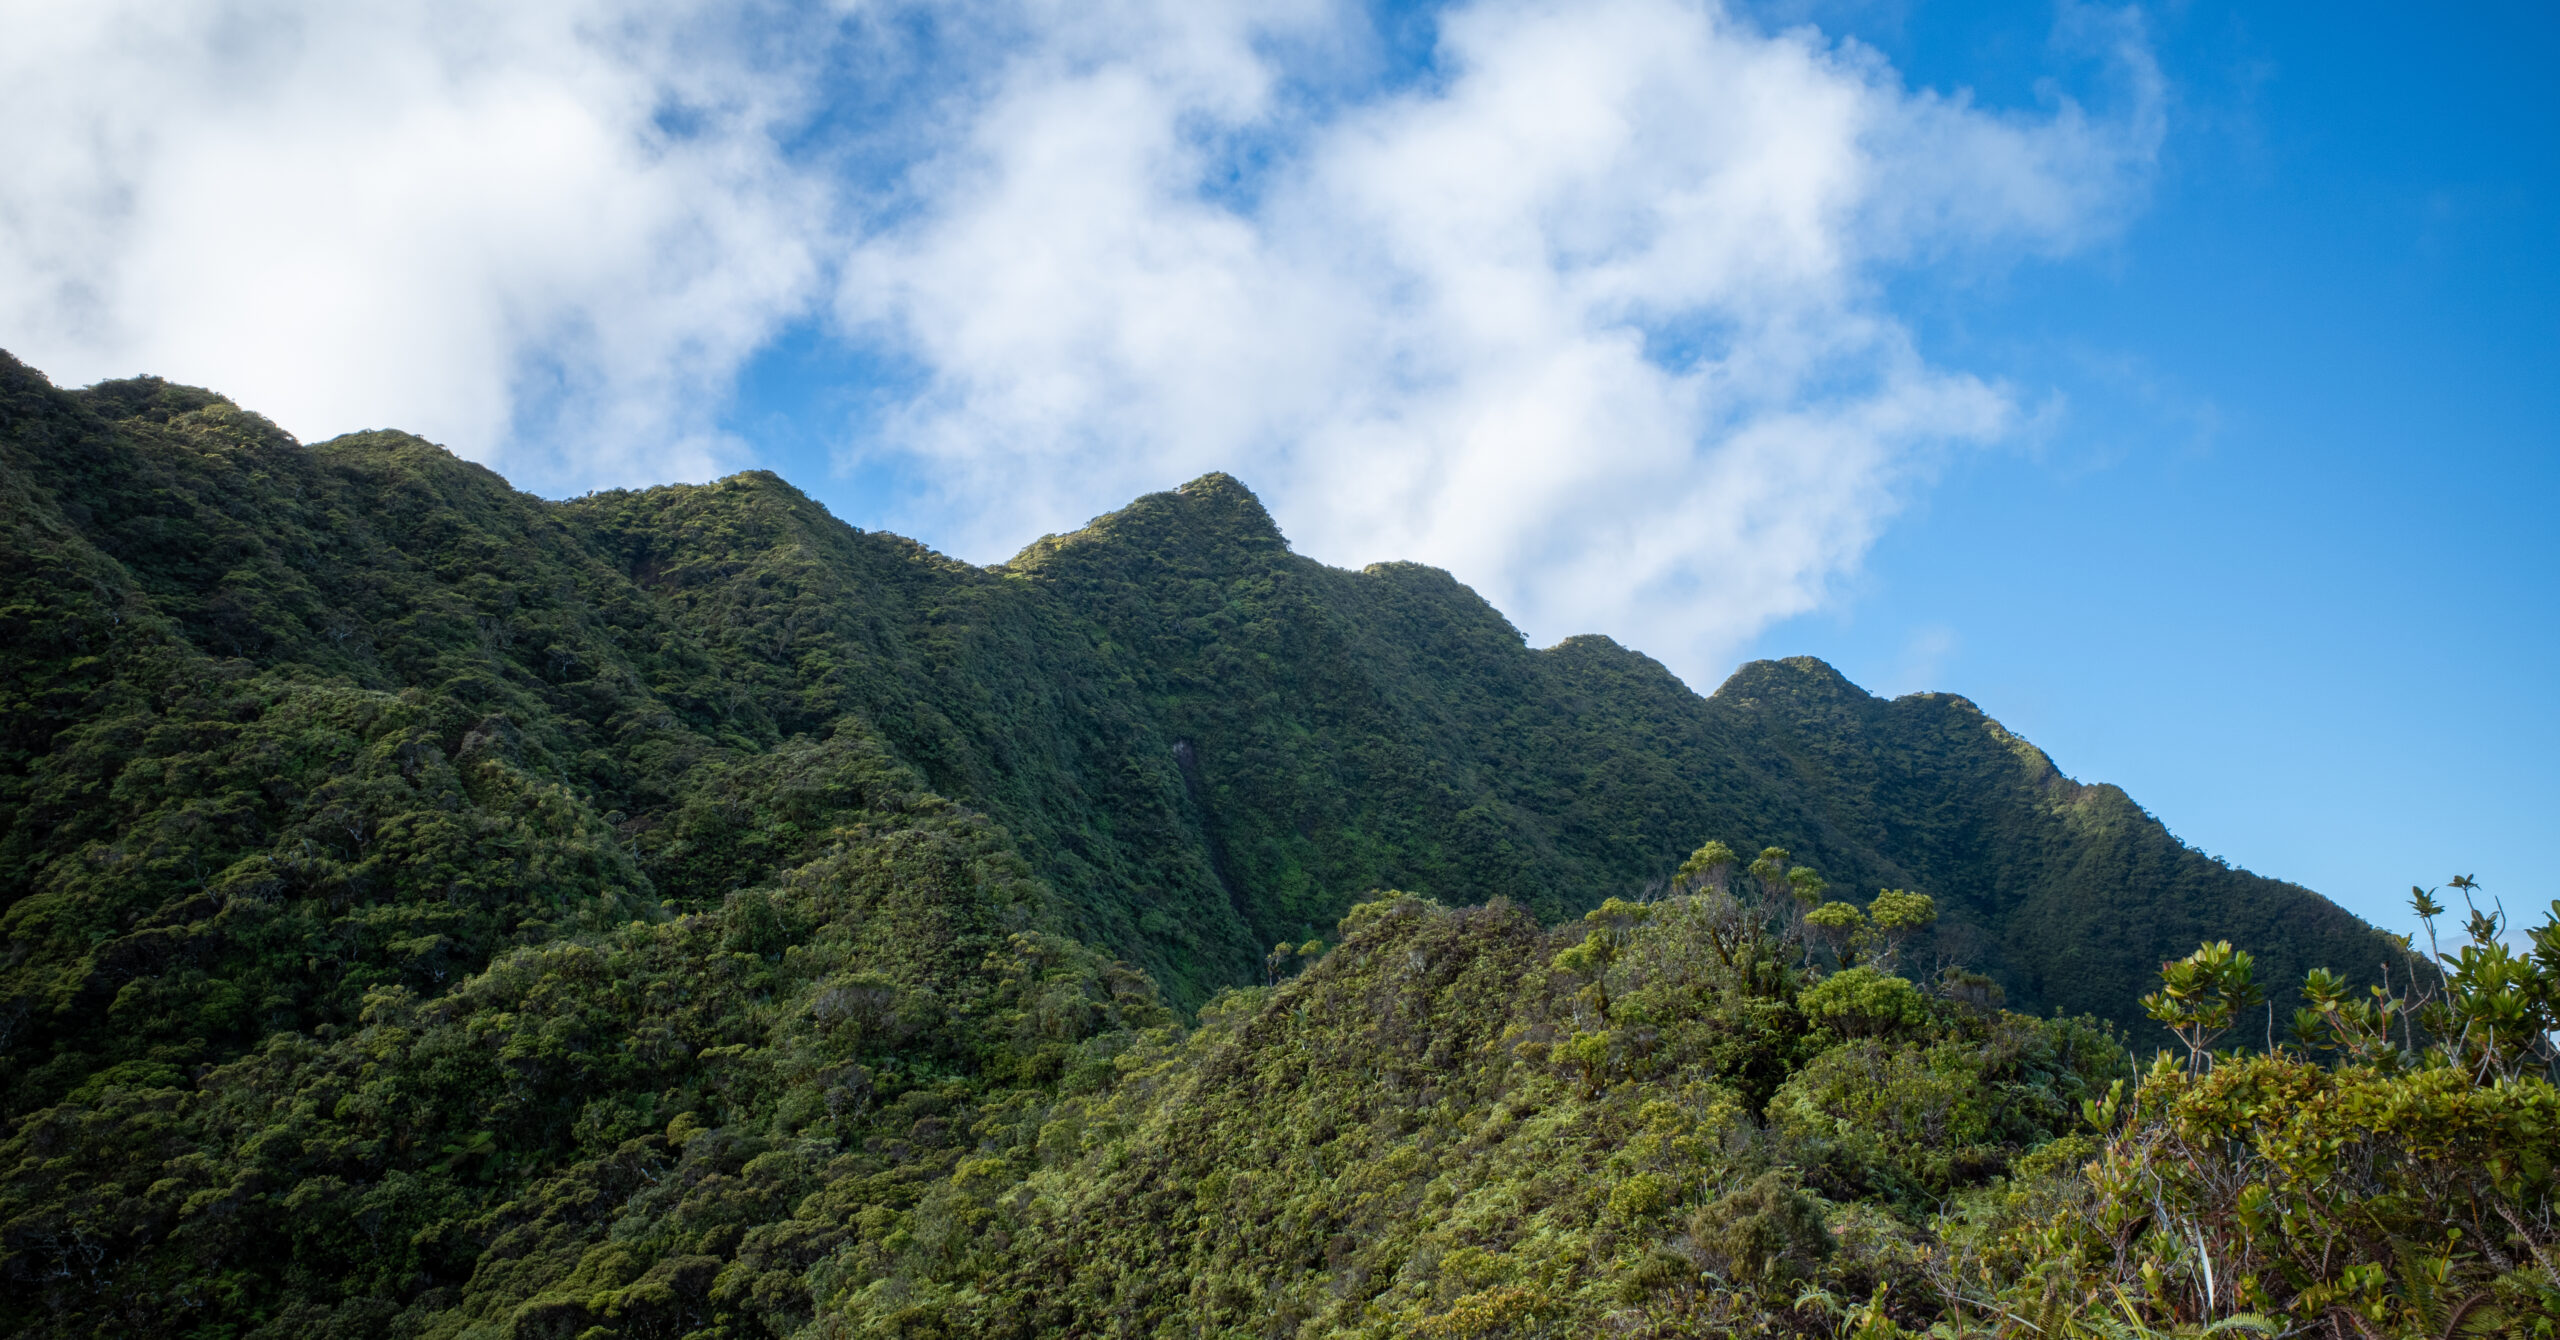
Mont Aorai exceeded my expectations. The route climbs from warm tropical forest onto narrow mountain ridges with expansive views across Tahiti and toward the coastline. The scenery became especially impressive after the trail rose above the trees, and sunrise from Fare Mato was one of the highlights of the trip.
The upper route is also consequential terrain. Narrow ridges, eroded edges, wet mud, slick rock, and rope-assisted sections require complete attention, particularly when clouds and rain move through the mountains. The summit was clouded in during this trip, but the approach provided the best views anyway.
This was one of the most exposed backpacking routes I have completed. It is not a casual first backpacking trip: hikers should be comfortable with steep and muddy terrain, meaningful exposure, fixed ropes, limited communication, and having only one practical route back down.
Route Map
Use this CalTopo map as the main route reference for trail context, terrain, huts, water collection points, and planning. Open the map in CalTopo for the best full-screen experience and to inspect layers more easily.
GPX note: The route and waypoint descriptions record planning notes and observations from this trip. They are not a current report on access, huts, water, installed ropes, or trail conditions.
Quick Itinerary
| Day | Route | Details |
|---|---|---|
| Day 1 | O Belvédère → Fare Mato | Distance: 3.2 miGain/Loss: +2,640 ft / -120 ftOvernight: Fare Mato hutForested climbing, steep dirt, several rope-assisted sections, afternoon rain, and arrival before sunset. |
| Day 2 | Fare Mato → Fare Ata → Mont Aorai → Fare Mato → O Belvédère | Distance: 6.7 miGain/Loss: +3,110 ft / -5,630 ftTiming: Started around sunrise and finished during the afternoonSunrise, daypack summit push, exposed ridges, fixed ropes, a clouded-in summit, light rain, and a cautious return. |
Trailhead & Access
| Start / End | O Belvédère |
|---|---|
| Access | Rental car from the Papeete area |
| Final Road | Winding, uphill, narrow, and rough in places; the final climb took about 30 minutes or more |
| Vehicle | A two-wheel-drive rental car was sufficient during this trip |
| Parking | A larger parking area beyond the restaurant appeared to have roughly 10 or more spaces and was mostly empty during this visit |
Note: Drive slowly and expect pedestrians, runners, and occasional vehicles needing room to pass. The restaurant has obvious parking near the top, but we avoided occupying its spaces for an overnight trek and used the larger area beyond it. Verify current overnight parking rules before leaving a vehicle.
Getting There from Papeete
The final climb from Papeete looks short on a map but is slower and more isolated than the distance suggests.
We stayed in the Papeete area and picked up a rental car at the airport. The distance can look short on a map, but the final mountain road makes the drive slower than expected. Download maps before starting the climb: cellular service was already weak near O Belvédère, and it should not be relied on at the trailhead.
Route Guide
Two days and one night from O Belvédère, sleeping at Fare Mato and carrying daypacks to the summit.
Day 1: O Belvédère to Fare Mato
3.2 mi, +2,640 ft / -120 ft
Route
Begin near the O Belvédère restaurant or the parking area beyond it and enter the forested lower trail. Climbing starts immediately and remains steady. Most of Day 1 stays within the trees, with occasional openings, benches, and views; one viewpoint had a swing-like photo spot.
Several steep dirt slopes have little natural grip, and fixed ropes help with upward movement. The lower forest provided some protection as rain increased during the afternoon. Day 1 was physically challenging, but the major exposed ridgeline terrain begins above Fare Mato.
Daylight: If daylight is running out, stop at Fare Mato. Continuing toward Fare Ata in darkness would place hikers on increasingly exposed terrain with a substantial distance remaining.
Weather and Arrival
We started around noon as rain was beginning, which reinforced the value of an earlier start. We reached Fare Mato roughly 1 to 1.5 hours before sunset and were the first group there. A group of about five arrived around 30 minutes later; everyone fit, although the hut began to feel crowded.
Day 2: Fare Mato to Mont Aorai and Back to O Belvédère
6.7 mi, +3,110 ft / -5,630 ft
Morning and Pack Strategy
Wake around sunrise; the light from the Fare Mato ridge was one of the best moments of the trip. After breakfast, leave the main overnight backpacks inside the hut and carry daypacks with water, a filter, snacks, rain protection, first-aid supplies, pack covers, and other essentials. This made the upper route substantially easier and faster. Gear left in a communal hut is always at the hiker’s own discretion.
Fare Mato to Fare Ata
The trail steepens quickly above Fare Mato and gains elevation rapidly. It alternates between steep dirt, rock, short descents, and continued climbing as the terrain becomes increasingly exposed. Vegetation is tighter and more overgrown here, with prickly plants brushing the trail; long pants are strongly recommended.
Views widen with nearly every climb. Clouds built quickly on one side of the ridge while the opposite side remained clear.
Fare Ata
Fare Ata was noticeably larger than Fare Mato and appeared to contain one broad sleeping space, although I did not closely inspect the full interior. Water collection was available, and the building appeared sturdy and potentially useful for temporary shelter in poor weather. Signs suggested a few small groups had stayed the previous night, but capacity and availability should not be assumed.
Fare Ata to the Summit
Continue along the increasingly exposed ridgeline toward Mont Aorai. The route was obvious in the conditions we experienced because there is essentially one ridge and one primary trail. Once above the trees, the coastline and broader island scenery appeared whenever the clouds allowed.
The approach views were better than the summit views during this trip. Cloud cover increased through the morning, and the summit was largely clouded in, so we did not wait excessively for it to clear. Light rain began after we had summited and started descending.
Descent
Return over the same ridge. Descending the exposed sections required at least as much attention as climbing them, especially as rain worsened the mud and rock footing. A trekking pole was particularly useful, and the warm rain was not a major cold-weather concern during this late-August trip even though it made the route more difficult.
Conditions became easier below Fare Mato. After collecting the overnight packs, the lower forested descent was faster and less technical. We returned to the vehicle during the afternoon, around 3–4 PM from memory rather than a recorded finish time.
Huts, Water, and Overnight Strategy
Two simple huts make an overnight itinerary possible, but their condition, water, and available space should never be assumed.
Fare Mato
The smaller lower hut creates a moderate first day and a substantially longer summit day.
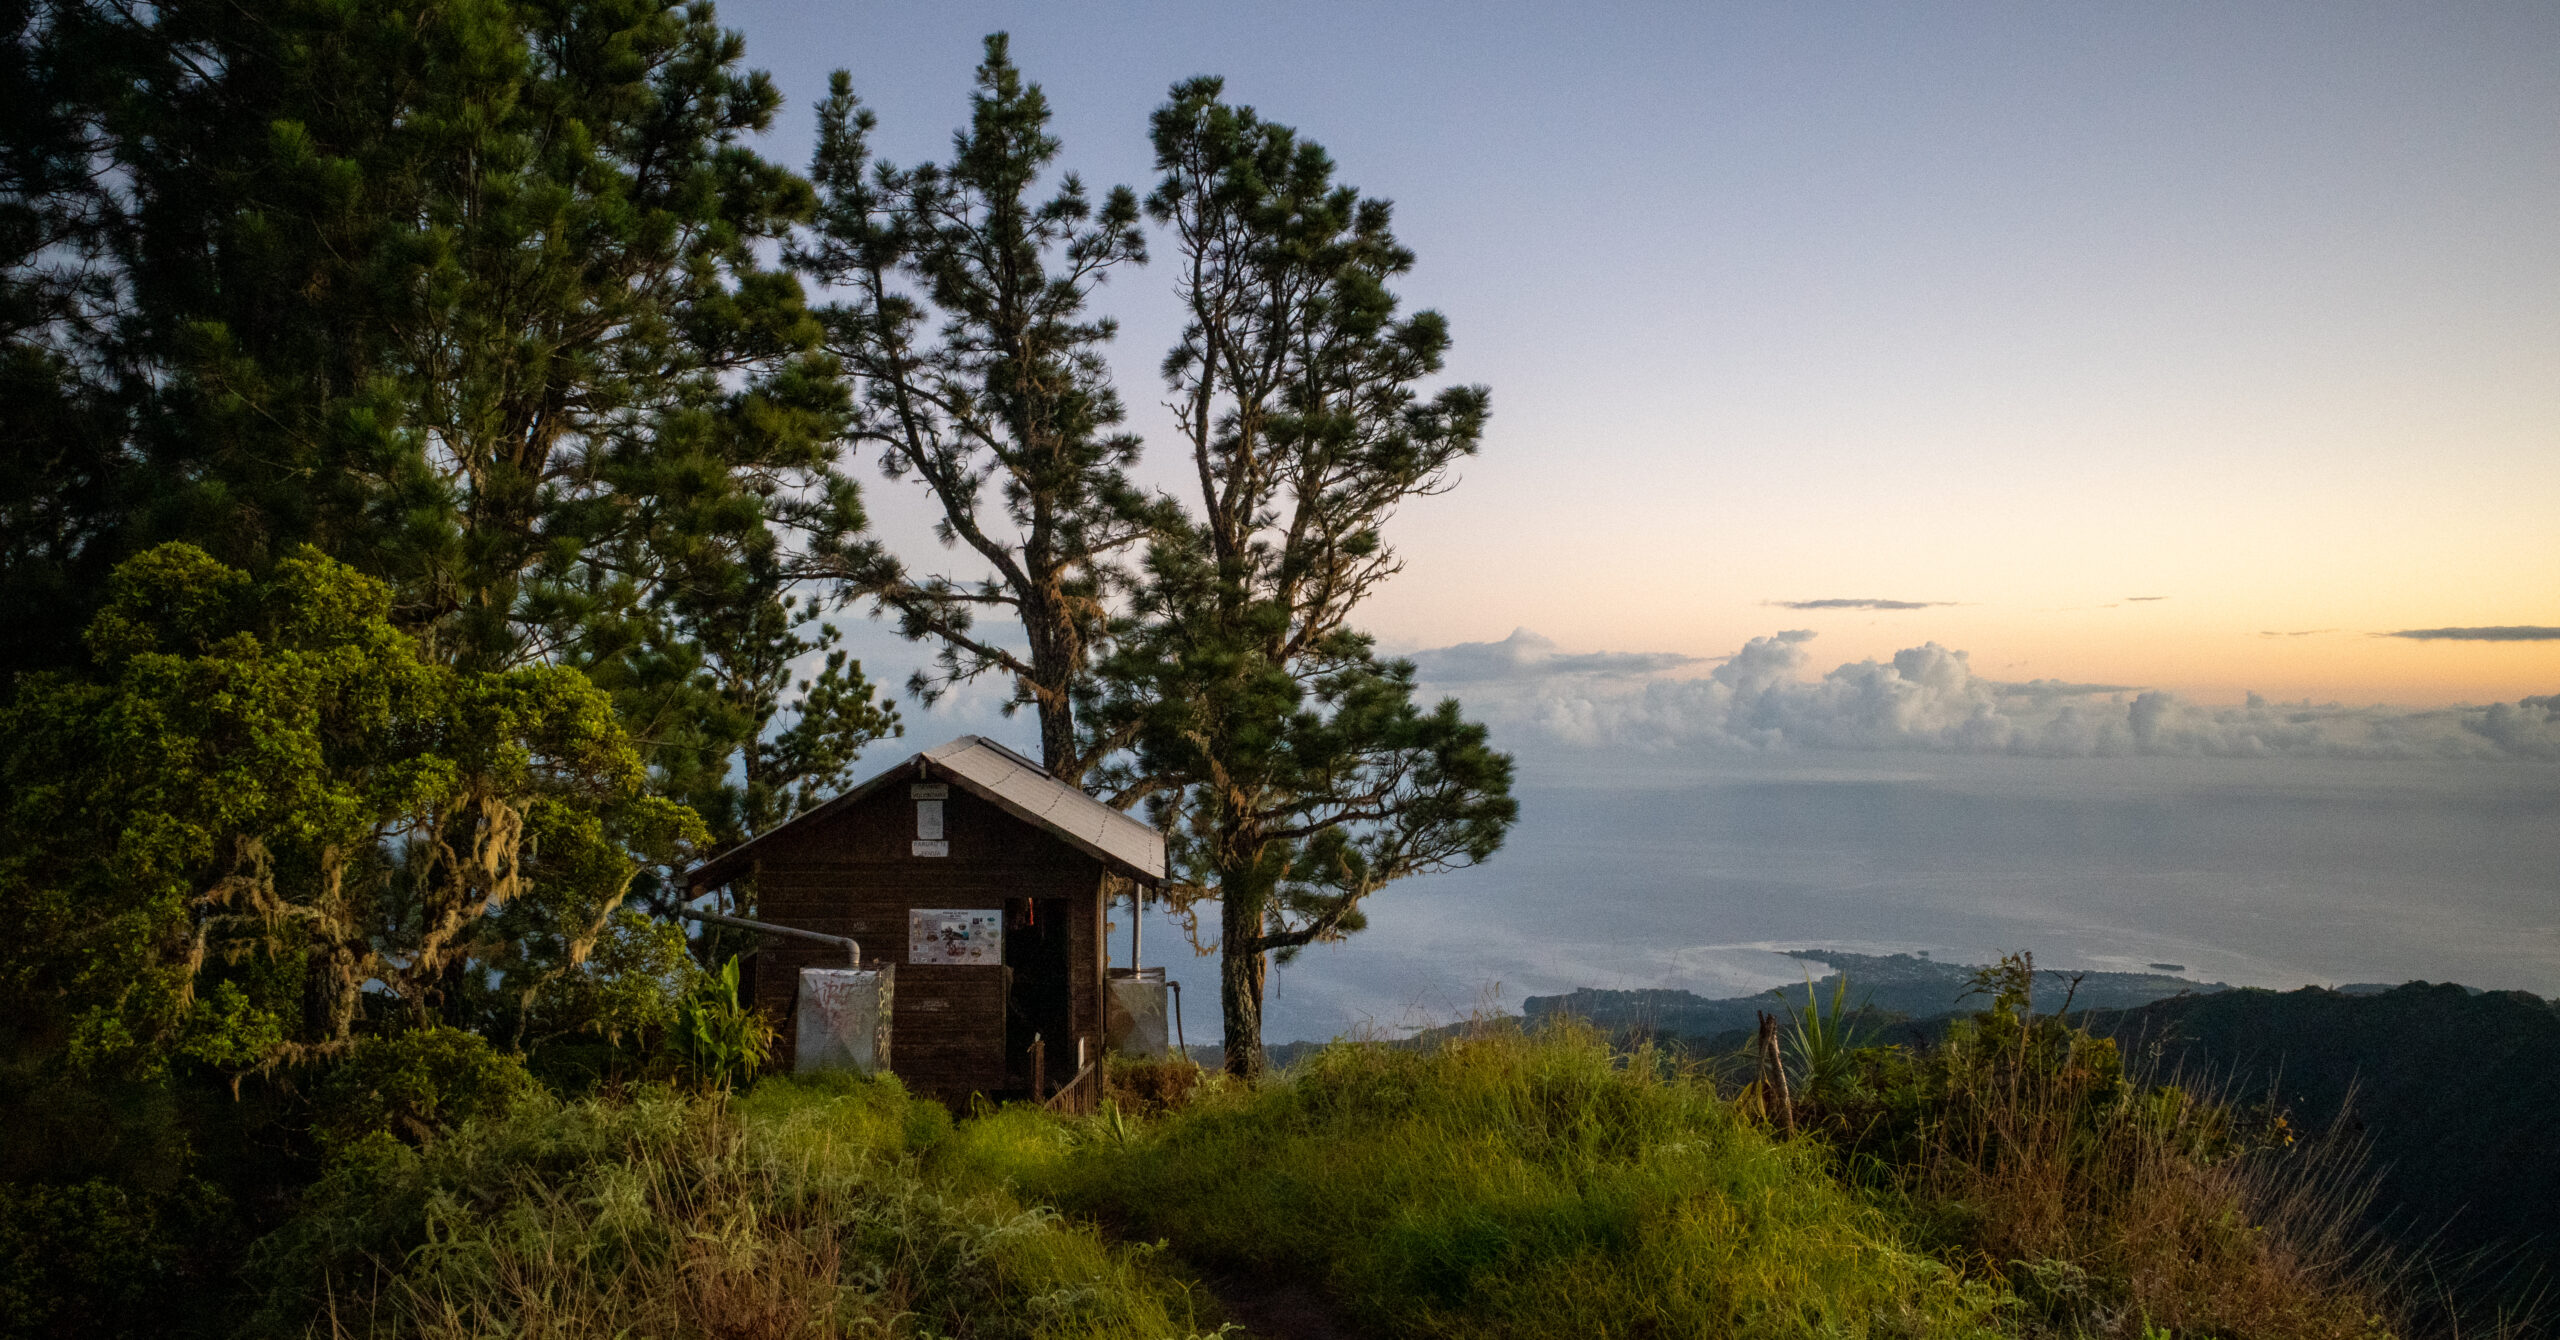
Fare Mato was free, first come, first served, and required no reservation during this trip. The simple enclosed hut had a door, windows, a hanging line, a broom, and two broad wooden sleeping platforms, one lower and one upper, rather than individual bunks. It was generally clean and reasonably protected from rain. Bring a sleeping pad and sleeping bag.
My friend and I used the lower platform, while the group of five used the upper platform. There was sufficient room, although the larger group was likely cramped. Because the hut is communal and first come, first served, bring earplugs and expect that other groups may keep different schedules.
We heard a rat or other rodent moving around the floor. Do not leave food unsecured on the ground; hang or securely store it where practical. A latrine down the hill was badly damaged and unreliable, so do not assume it will be usable. Follow current local waste-disposal expectations and Leave No Trace practices.
Fare Ata and Itinerary Tradeoff
Sleeping higher shifts more effort to Day 1 while shortening the summit push and final descent.
Fare Ata is higher and appeared larger, but I inspected it less closely. It had water collection and appeared to offer more sleeping space. Fare Mato makes Day 1 more moderate but creates a very long Day 2; reaching Fare Ata on the first day would reverse that balance.
With an early start and favorable weather, I would consider continuing to Fare Ata next time. Neither hut is universally the better choice: remain flexible based on weather, pace, daylight, and comfort on exposed terrain.
Water
Roof-collected rainwater at the huts was our main refill strategy, with filtration and backup capacity still essential.
Roof runoff was collected into containers at both huts, and rainwater was plentiful during this trip. Some locals may drink it untreated, but I strongly recommend filtering because roof runoff can contain sediment, bacteria, or animal contamination. These were our primary refill locations.
Water planning: Rainwater was plentiful during my trip, but availability can vary. Verify recent conditions and carry enough capacity to manage a dry or contaminated source. A few smaller streams may exist lower on the route, but do not rely on unverified sources.
Exposure and Weather
Narrow eroded ridges and rapidly changing weather make early timing the route’s most important safety decision.
Above Fare Mato, the trail follows narrow dirt ridges with drop-offs on both sides in places. Eroded edges, mud, slick surfaces after rain, and steep rock make footing important. Several fixed ropes assist with balance and movement, including a memorable traverse along the side of a rock face that required descending and climbing while holding the rope. The rock was wet in both directions, and a fall in some locations could cause serious injury.
Fixed ropes: The ropes were already in place, but hikers should never assume that an installed rope is recently inspected or capable of holding a full fall. Test holds carefully and maintain secure footing. I did not need gloves, although some hikers may prefer them.
Early starts are one of the most important safety decisions on Mont Aorai. Mornings were clearer during this trip, clouds built before rain, and afternoon rain occurred on both hiking days. Conditions vary from day to day, but the longer a hiker remains high when rain begins, the more exposed terrain must be crossed while wet.
- Start Day 1 substantially earlier than noon.
- Begin the summit push around or before sunrise.
- Aim to be descending before afternoon weather develops.
- Do not continue onto exposed ridges simply to meet an itinerary.
- Use Fare Mato or Fare Ata as potential shelter points, not substitutes for conservative weather judgment.
We did not encounter thunder or lightning. If thunderstorms threatened, I would turn around or seek appropriate shelter rather than remain on an exposed ridge. Check the current mountain forecast and make conservative decisions; coastal Papeete conditions may not represent the mountains.
Navigation Notes
The trail is straightforward, but weak cellular service and no easy exit make offline navigation and satellite communication valuable.
Navigation was straightforward in the conditions experienced. There is essentially one main route, and above Fare Mato it largely follows the ridge. Clouds reduced views but did not create dangerous whiteout conditions during this trip. Offline maps were still useful for pacing and estimating progress, and they should be downloaded before driving toward O Belvédère.
Cellular service was weak near the trailhead and little or none was available once hiking; a local SIM did not solve the problem. Do not depend on a phone connection for emergencies. I carried a Garmin inReach and strongly recommend a satellite communicator due to the exposure, limited service, and lack of bailout routes.
Lack of Bailout Options
Above Fare Mato, the ridge commits hikers to continuing or retreating along the same exposed corridor.
This is essentially an out-and-back ridge with no obvious alternate trails descending to safety. Above Fare Mato, the practical choices are generally to continue, return, or seek temporary shelter at a hut. Someone uncomfortable with the exposure cannot simply exit by another trail, which is one reason the route is unsuitable for inexperienced hikers.
Gear, Food, and Trail Conditions
Grip, rain protection, long pants, and self-contained navigation mattered more here than specialized climbing equipment.
The most useful items were footwear with strong grip for mud and wet rock, a trekking pole, a rain jacket, pack cover or internal waterproofing, long pants, a sleeping pad and bag, water filter, headlamp, offline map, satellite communicator, and first-aid kit. Expect footwear to become dirty and possibly wet.
I used one trekking pole so the other hand remained free, and it helped most during the descent. I wore long pants above Fare Mato and a sun hoodie worked well lower down. Rain pants were unnecessary for me in the warm late-August conditions, and I did not need gloves on the ropes, but either could be appropriate in different weather or for personal comfort.
We carried normal backpacking food, including a freeze-dried dinner. Grocery stores had snacks, nuts, jerky, and typical trail food, but we forgot to buy a fuel canister and had to cold-soak the meal. Purchase fuel before driving to the trailhead rather than assuming it is available near O Belvédère.
The lower route felt warm and tropical without being unbearably hot or humid during this trip. Mosquitoes and other bugs were not memorable problems, but conditions vary and this should not be treated as a bug-free route.
Seasonal Considerations
Tahiti’s drier months improve the odds of favorable conditions but do not guarantee clear ridges or a dry summit day.
Late August brought warm temperatures, frequent clouds, and afternoon rain during this trip. The rain felt warm rather than dangerously cold, but it still made the route substantially more difficult by slickening mud and rock. Vegetation was overgrown in places, and clouds prevented summit views.
April through October, Tahiti’s generally drier season, is the most practical general window for this trek, but it should not be treated as a guarantee of dry or clear conditions. Tahiti’s mountain weather can differ sharply from coastal conditions, so evaluate the mountain forecast rather than relying only on Papeete weather. Verify current trail, hut, water, and weather conditions before leaving.
Crowds and Solitude
The higher ridges felt quiet during this trip, although timing and weather likely influenced how many hikers we encountered.
The trail did not feel crowded. We encountered some day hikers lower down and a few groups returning from the summit, shared Fare Mato with one group of five, and saw only a handful of hikers on the higher ridges. Timing and weather may have influenced that experience, and the trail should not be assumed to be consistently quiet.
Who This Trek Is For
This route is best for strong, self-reliant hikers who are already comfortable with exposure and wet, uneven terrain.
Mont Aorai is best suited to strong hikers and experienced backpackers who are comfortable with exposure, wet and uneven terrain, fixed ropes, limited service, and self-reliance. It also rewards photographers willing to work around rapidly changing clouds and light.
I would not recommend it to absolute beginners, casual hikers without exposed-terrain experience, people strongly afraid of heights, hikers uncomfortable using fixed ropes, anyone expecting reliable cell service, or anyone unwilling to turn around when weather deteriorates.
One Day or Two?
A single-day push is possible for fast hikers, but an overnight creates more time for views, rest, and weather decisions.
Strong and fast hikers may complete Mont Aorai as a long day hike. I would not personally choose that approach. Two days require overnight gear, but they allow more time for views, sunrise, rest, and flexible weather decisions without treating the summit as a speed objective.
Is This Worth Backpacking?
Yes. The combination of tropical forest, simple huts, and exposed mountain ridges makes this one of Tahiti’s most memorable treks.
Yes, absolutely. The route exceeded expectations, and the combination of tropical rainforest with narrow alpine-style ridges felt unlike my previous trips. The views were more immediately dramatic than the Pemi Loop, although the landscapes are not directly comparable.
The clouded summit was disappointing, but the approach views were still spectacular. In hindsight the exposure added to the excitement, but it should be taken seriously. This remains one of my more memorable international backpacking trips, and I would happily repeat it in better weather.
What I Would Do Differently
Earlier starts and a flexible Fare Mato-or-Fare Ata decision would create a better margin for daylight and afternoon weather.
- Start Day 1 much earlier.
- Consider pushing to Fare Ata if weather, daylight, and pace are favorable.
- Begin Day 2 slightly before sunrise.
- Purchase a fuel canister in advance.
- Download offline maps before driving up the final road.
- Continue carrying satellite communication.
- Aim to descend before afternoon rain develops.
I would rather place the longer day at the beginning while my legs are fresh, but I would only push beyond Fare Mato if the weather and remaining daylight were clearly favorable.
Photo Highlights
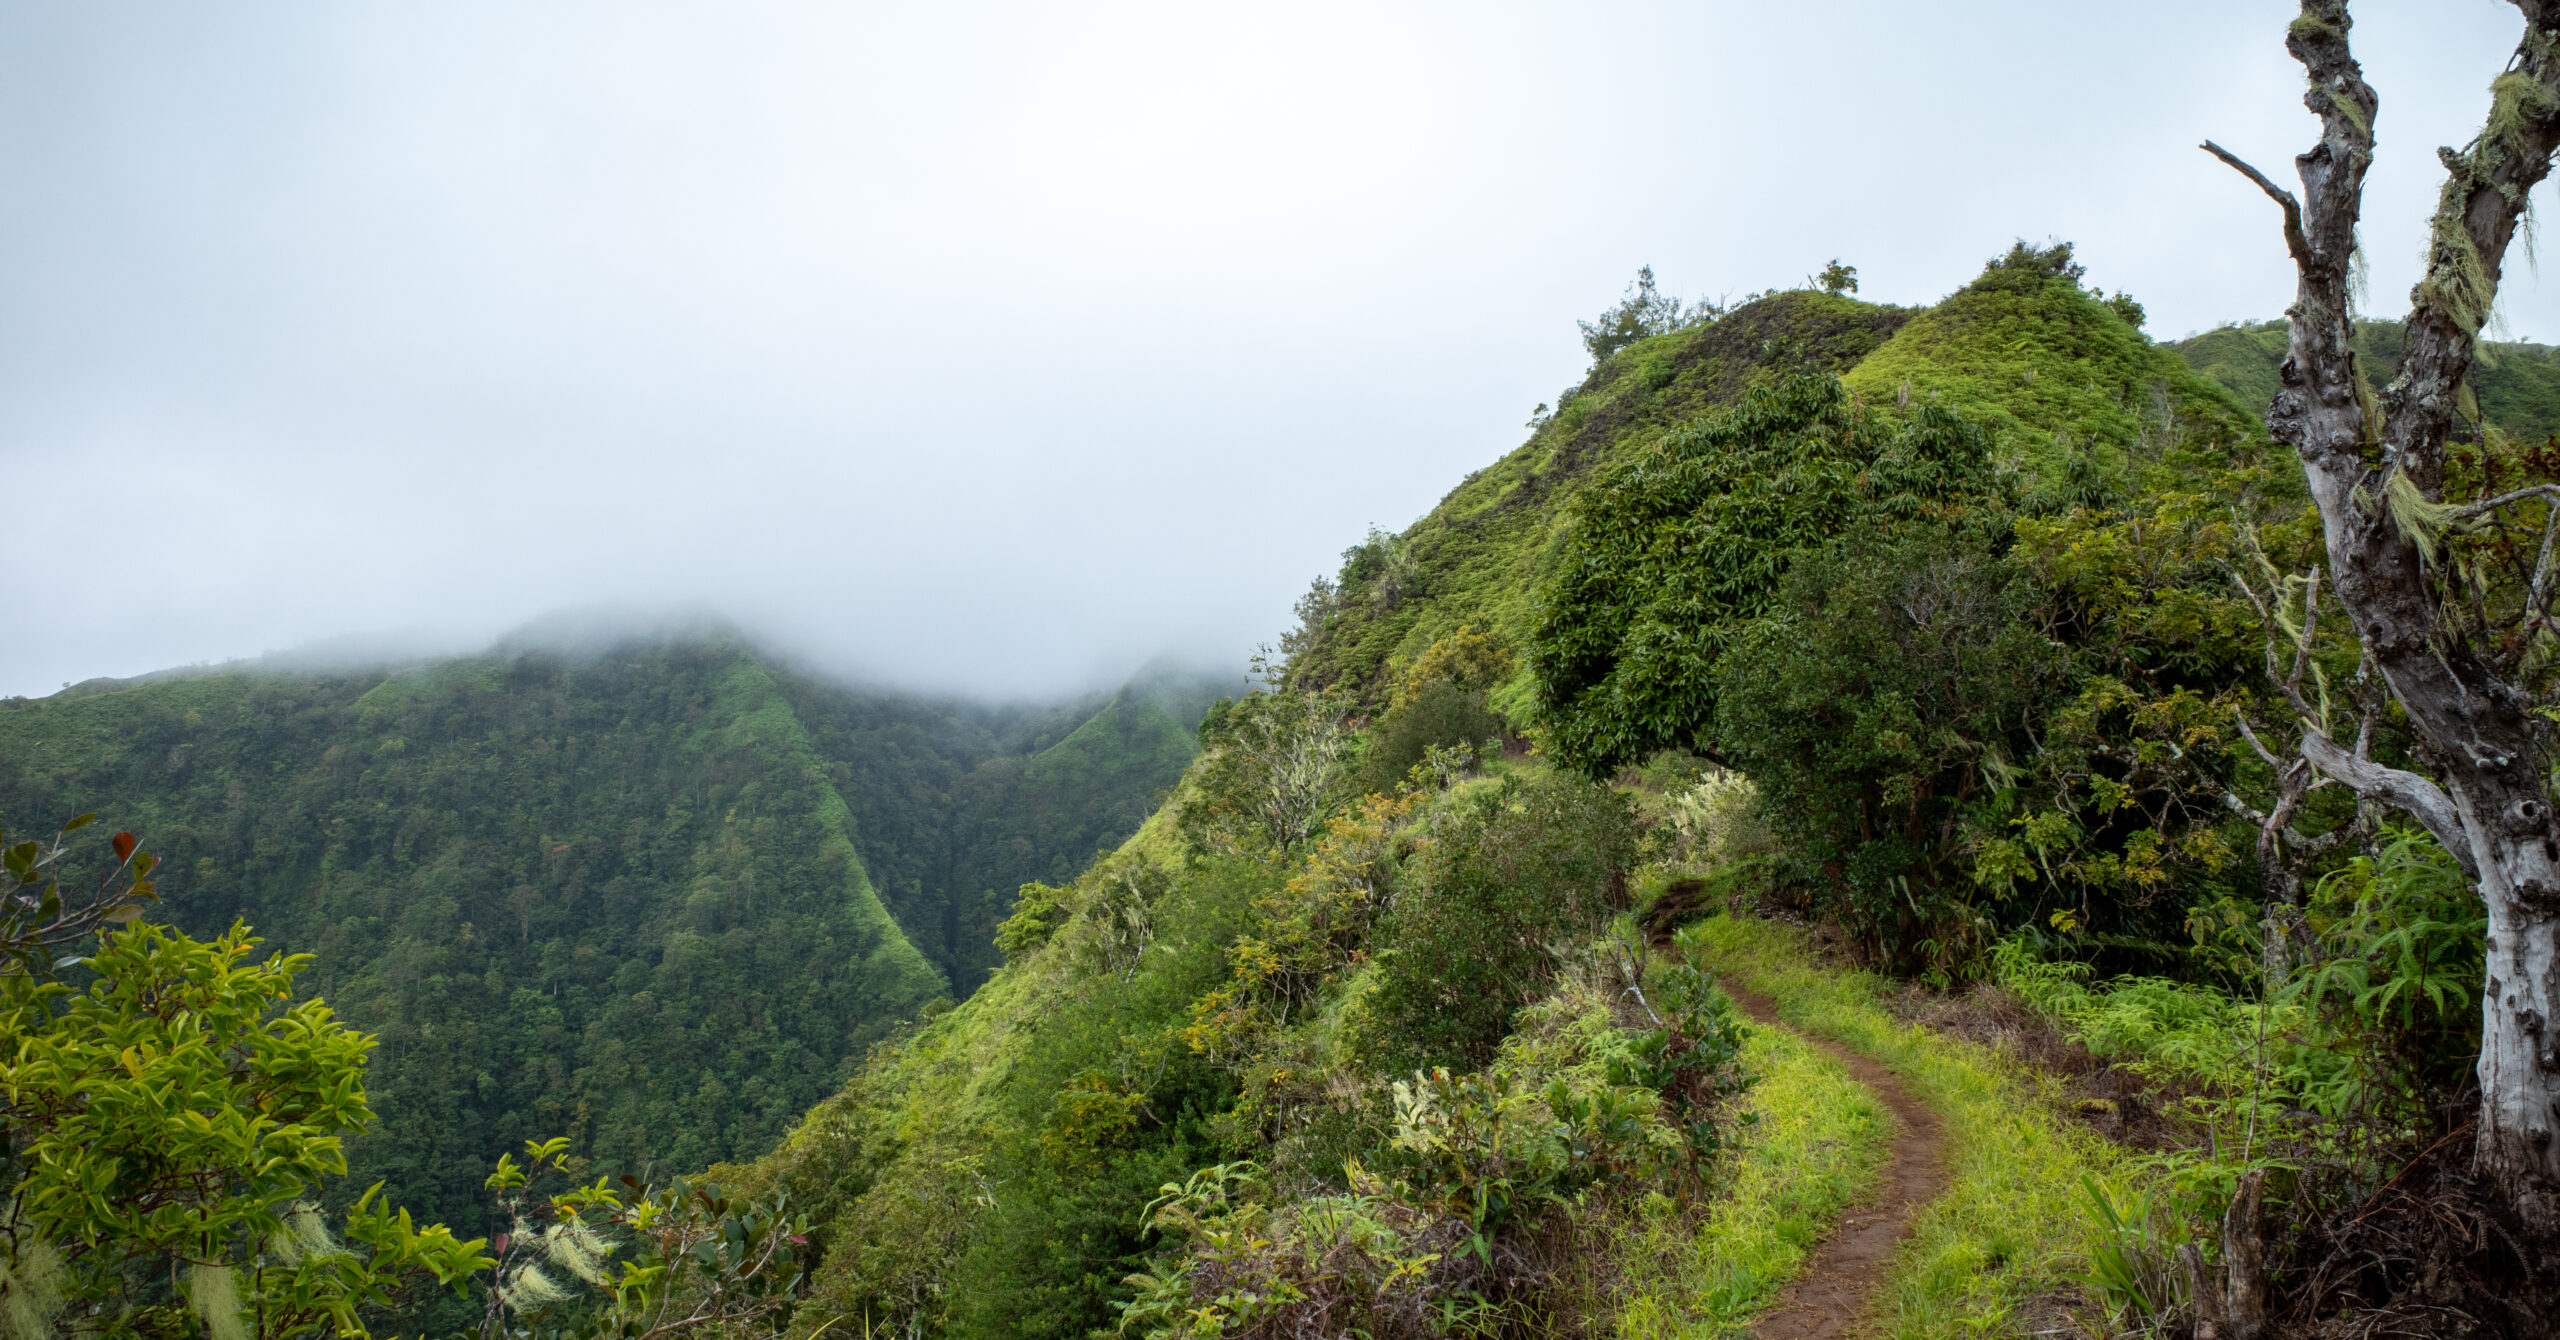
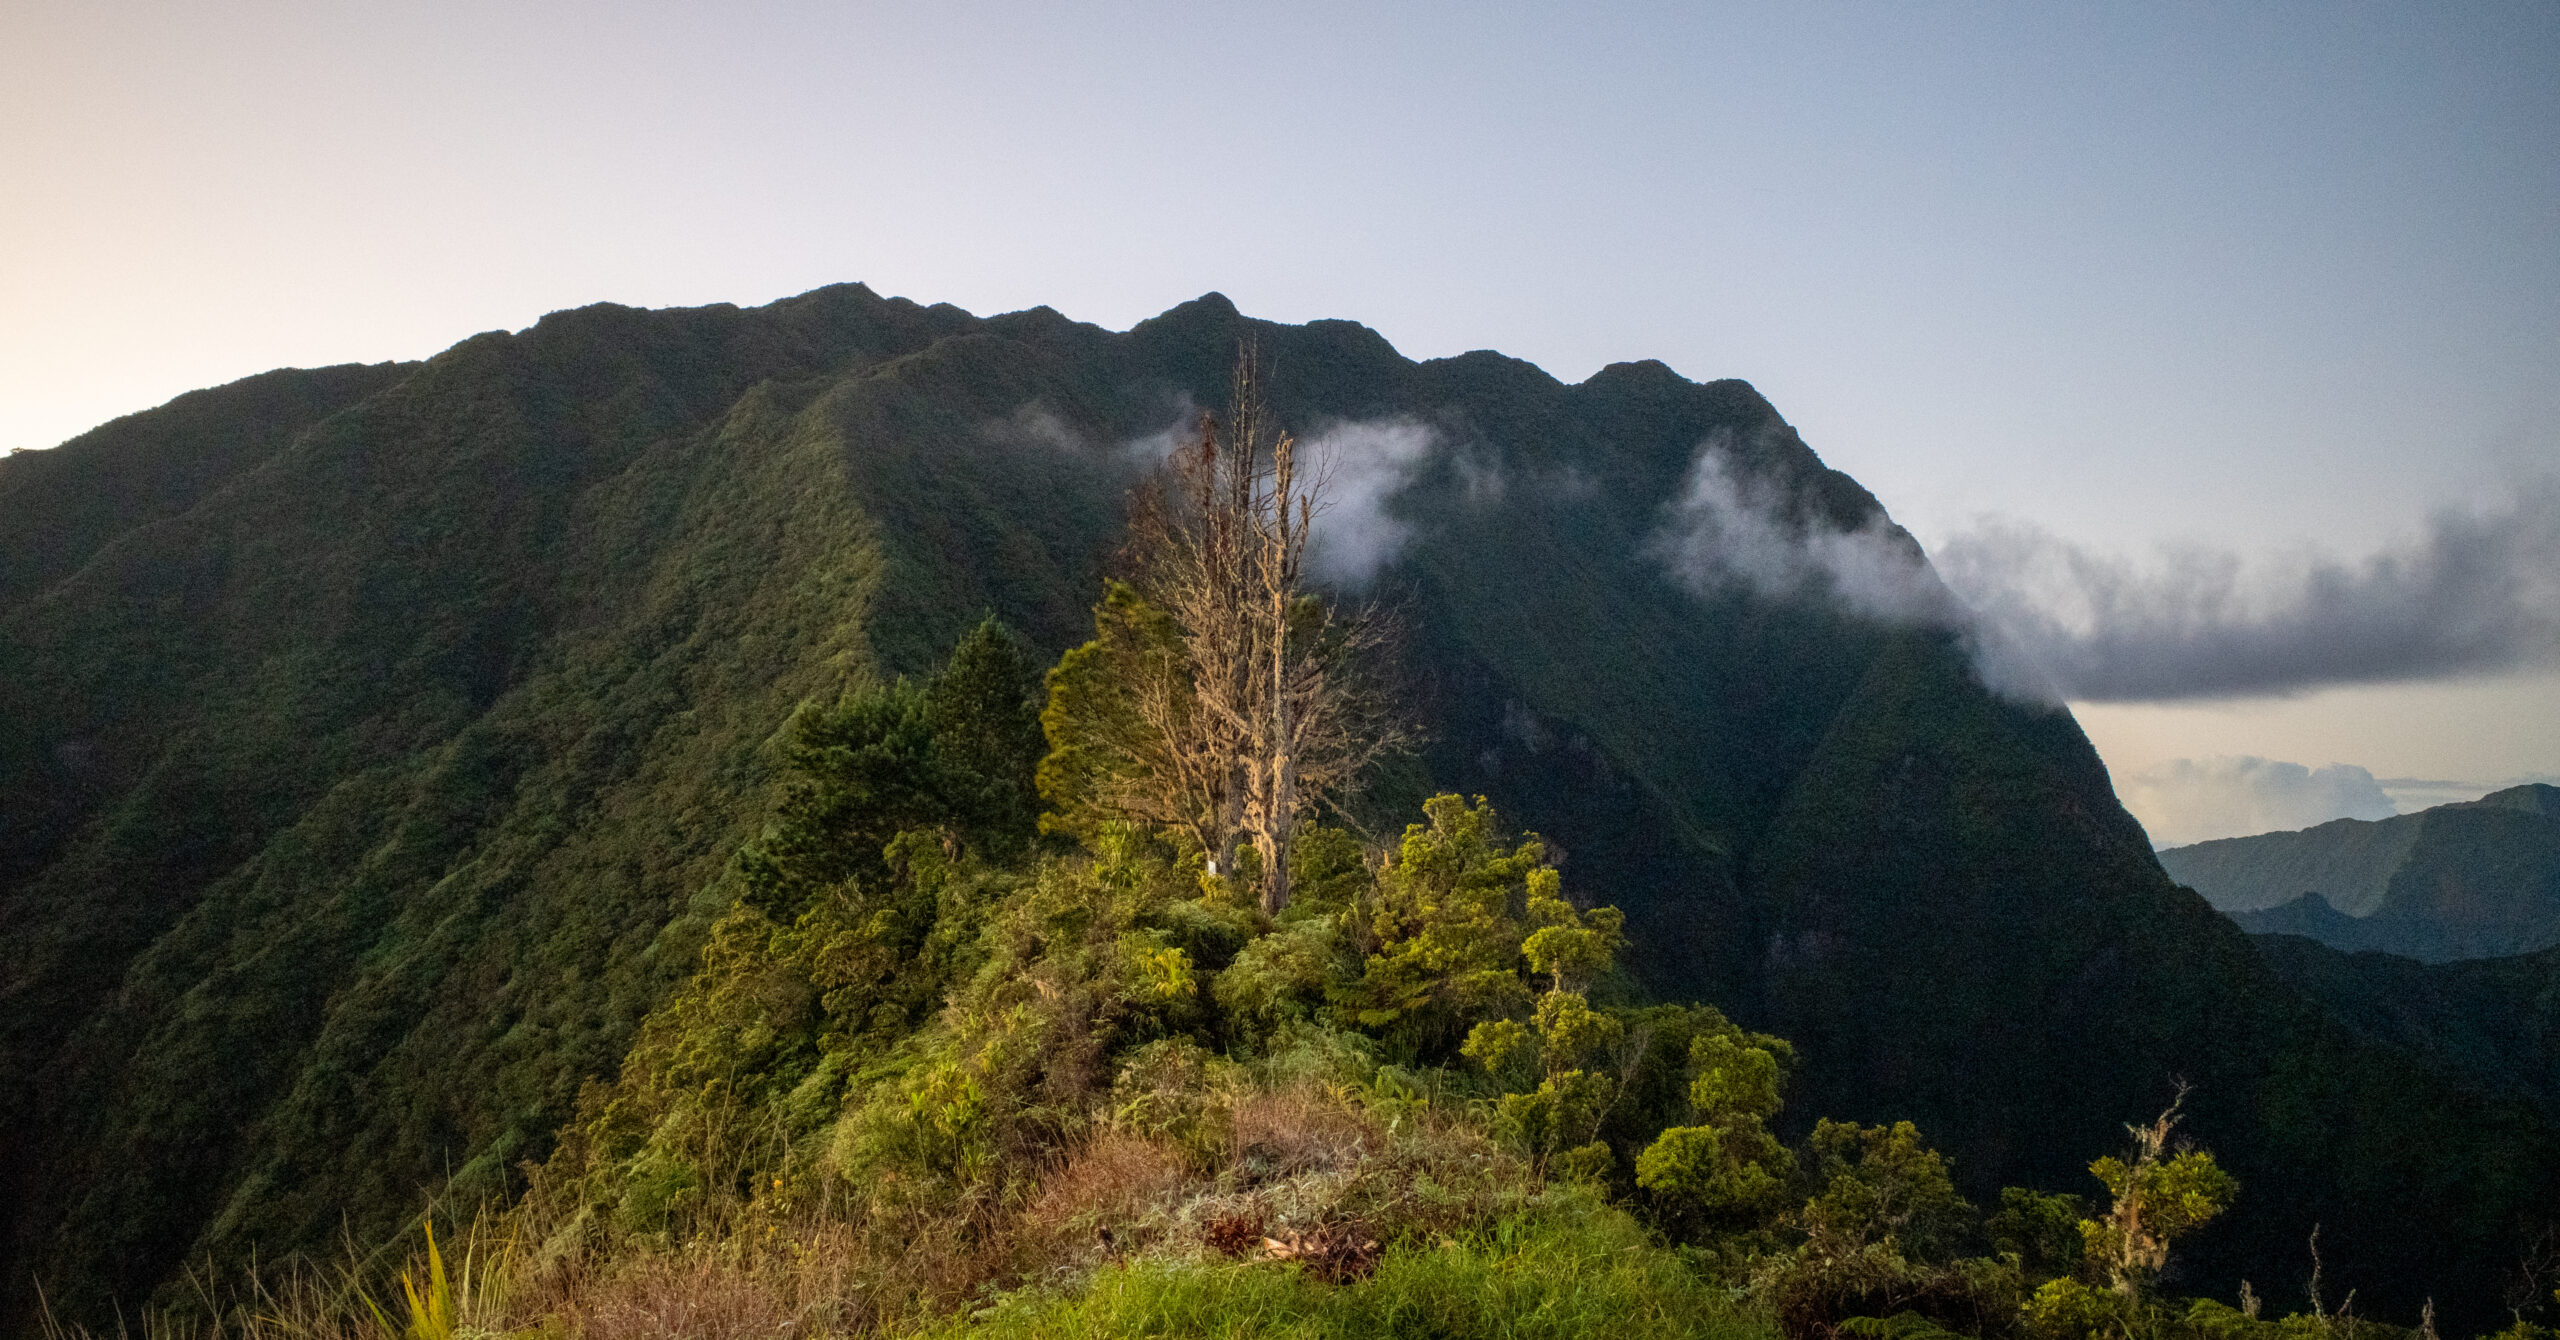
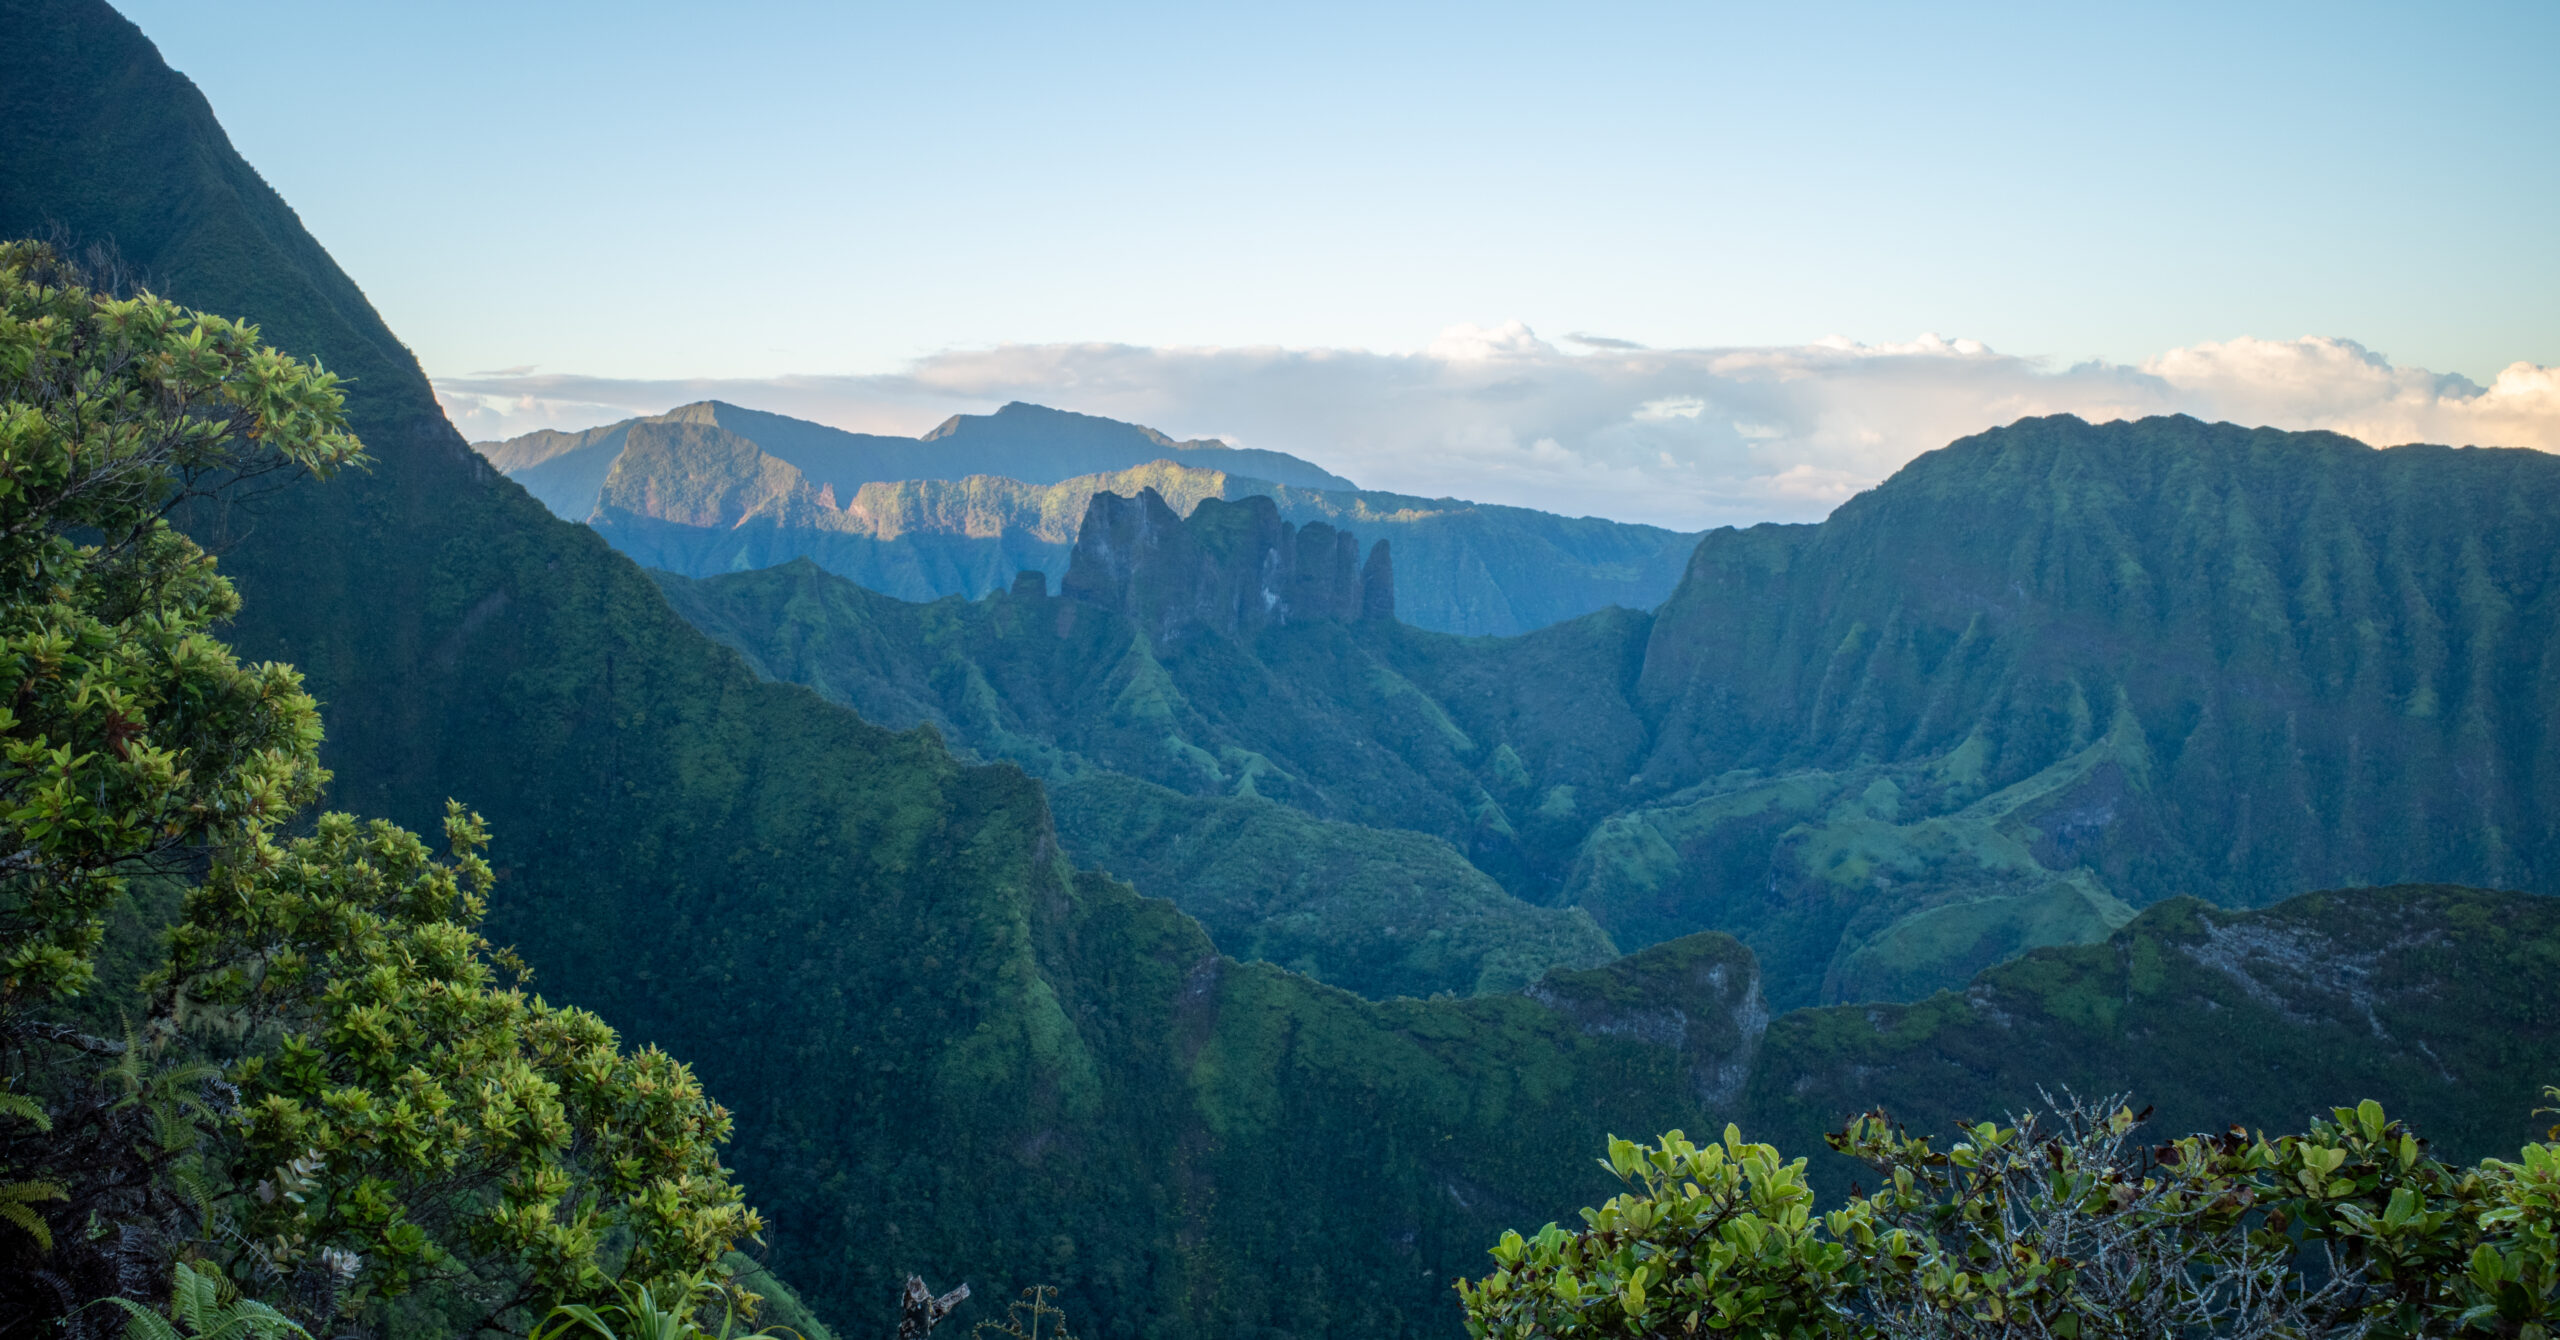
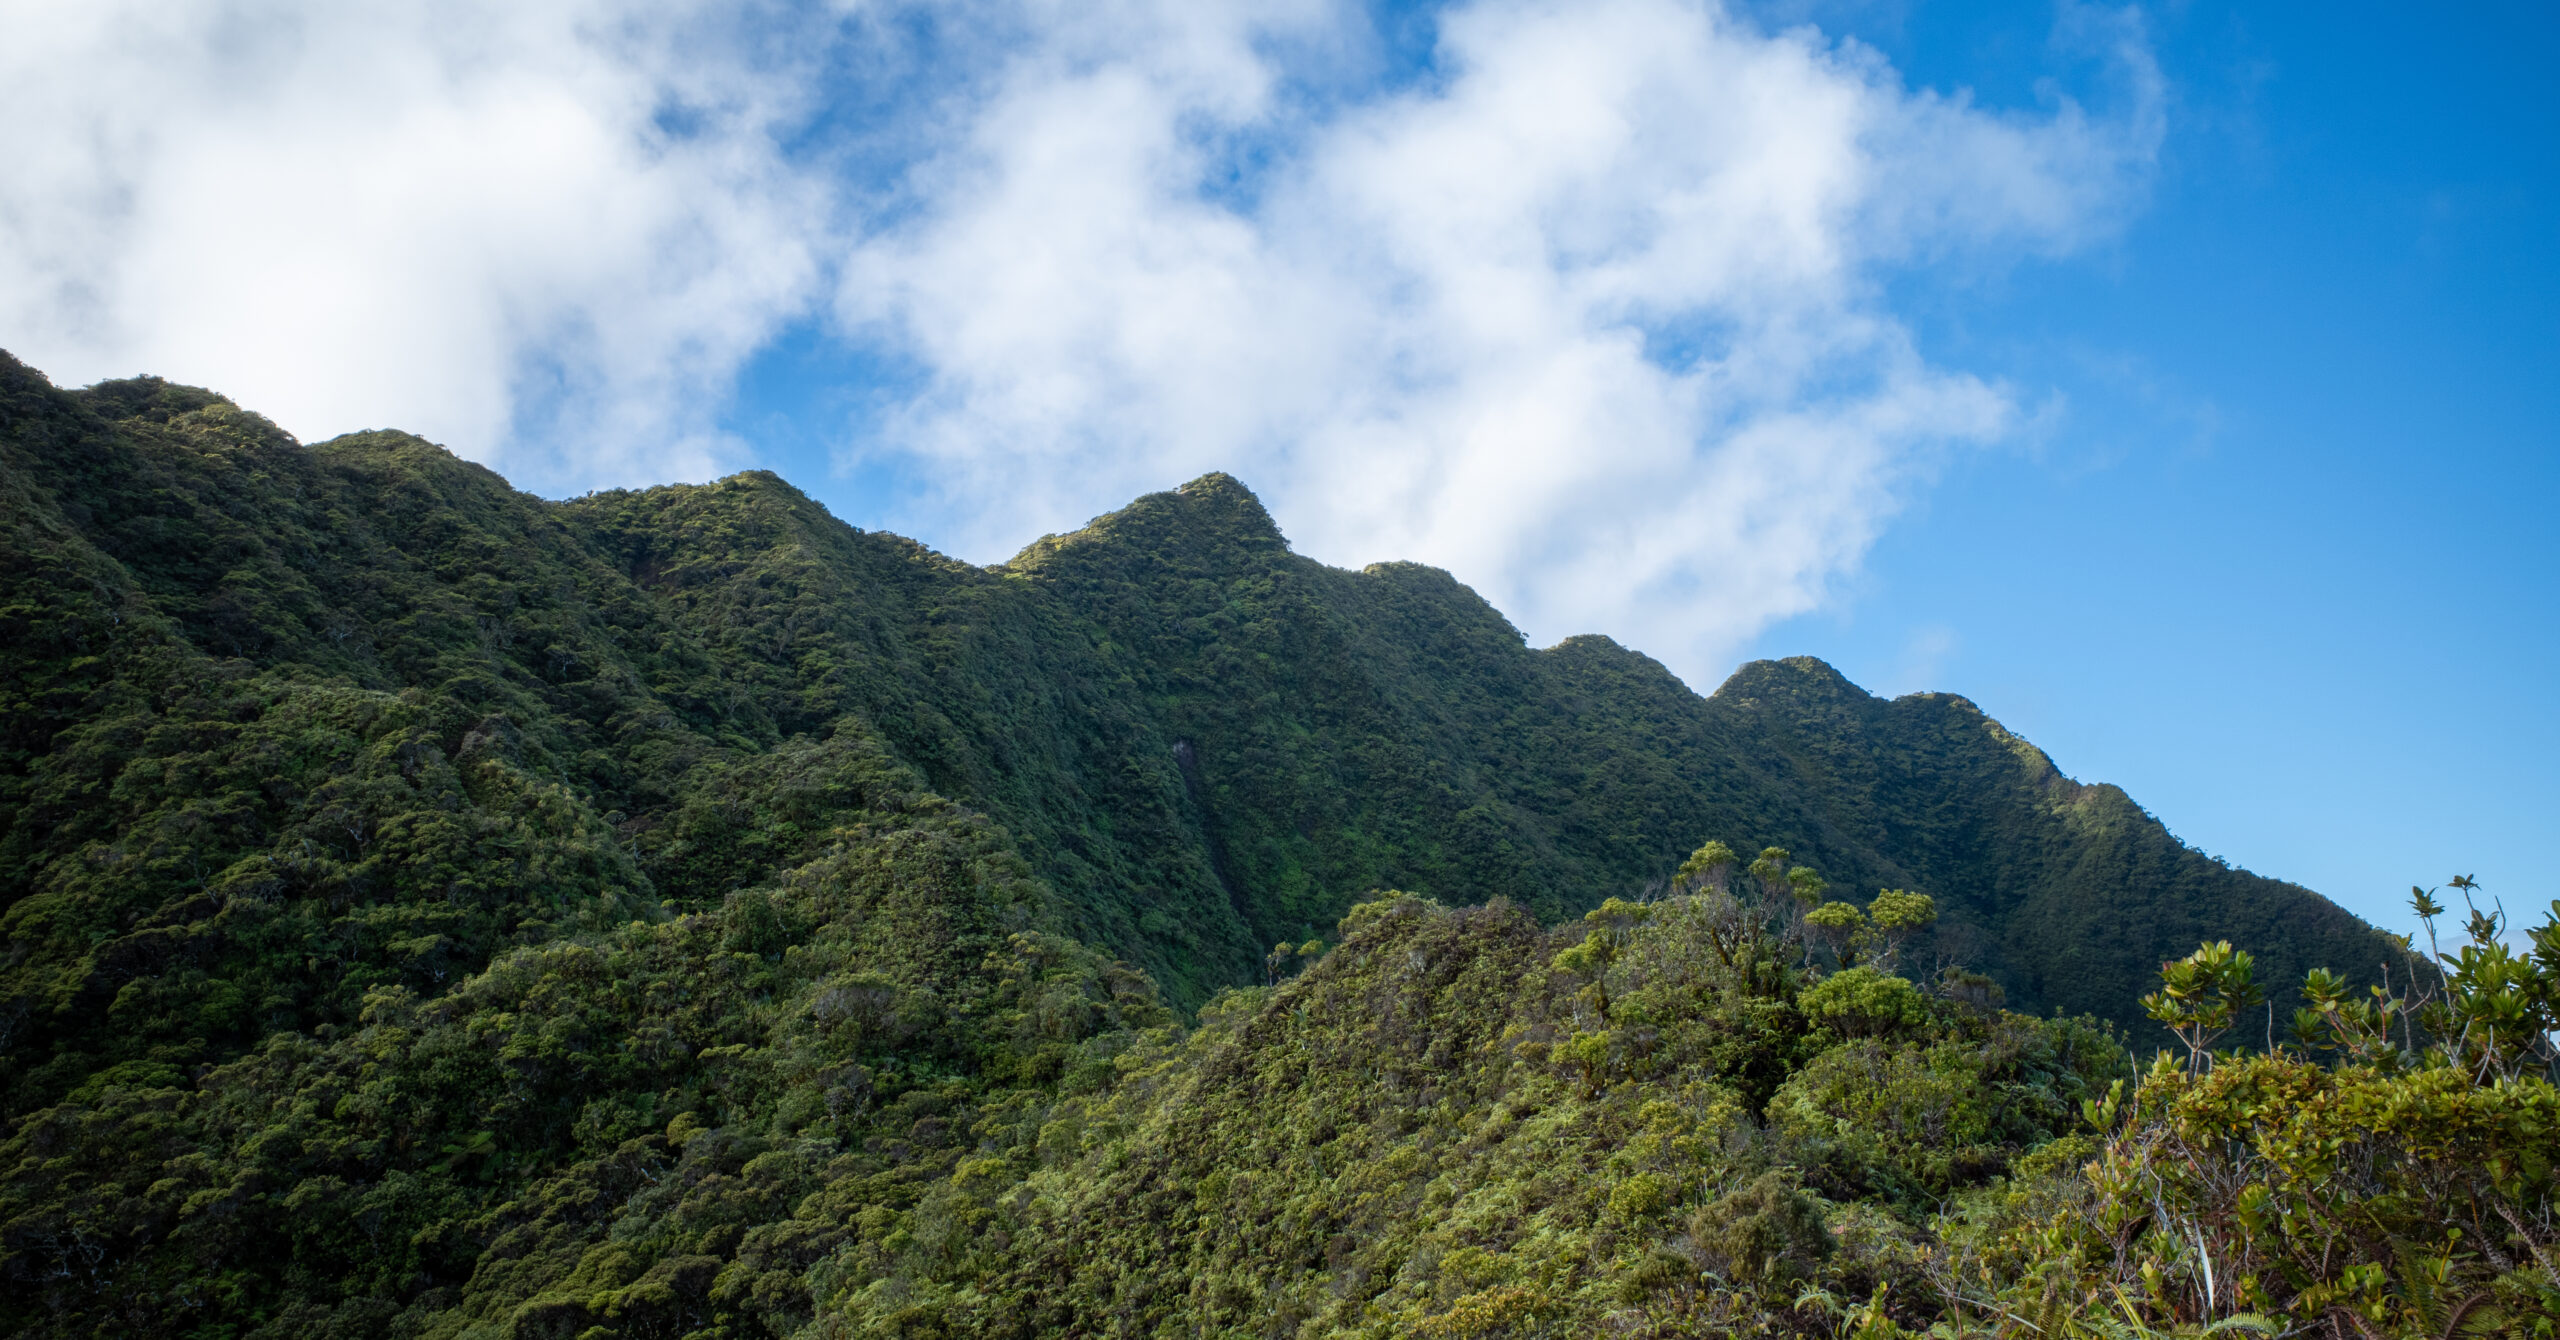
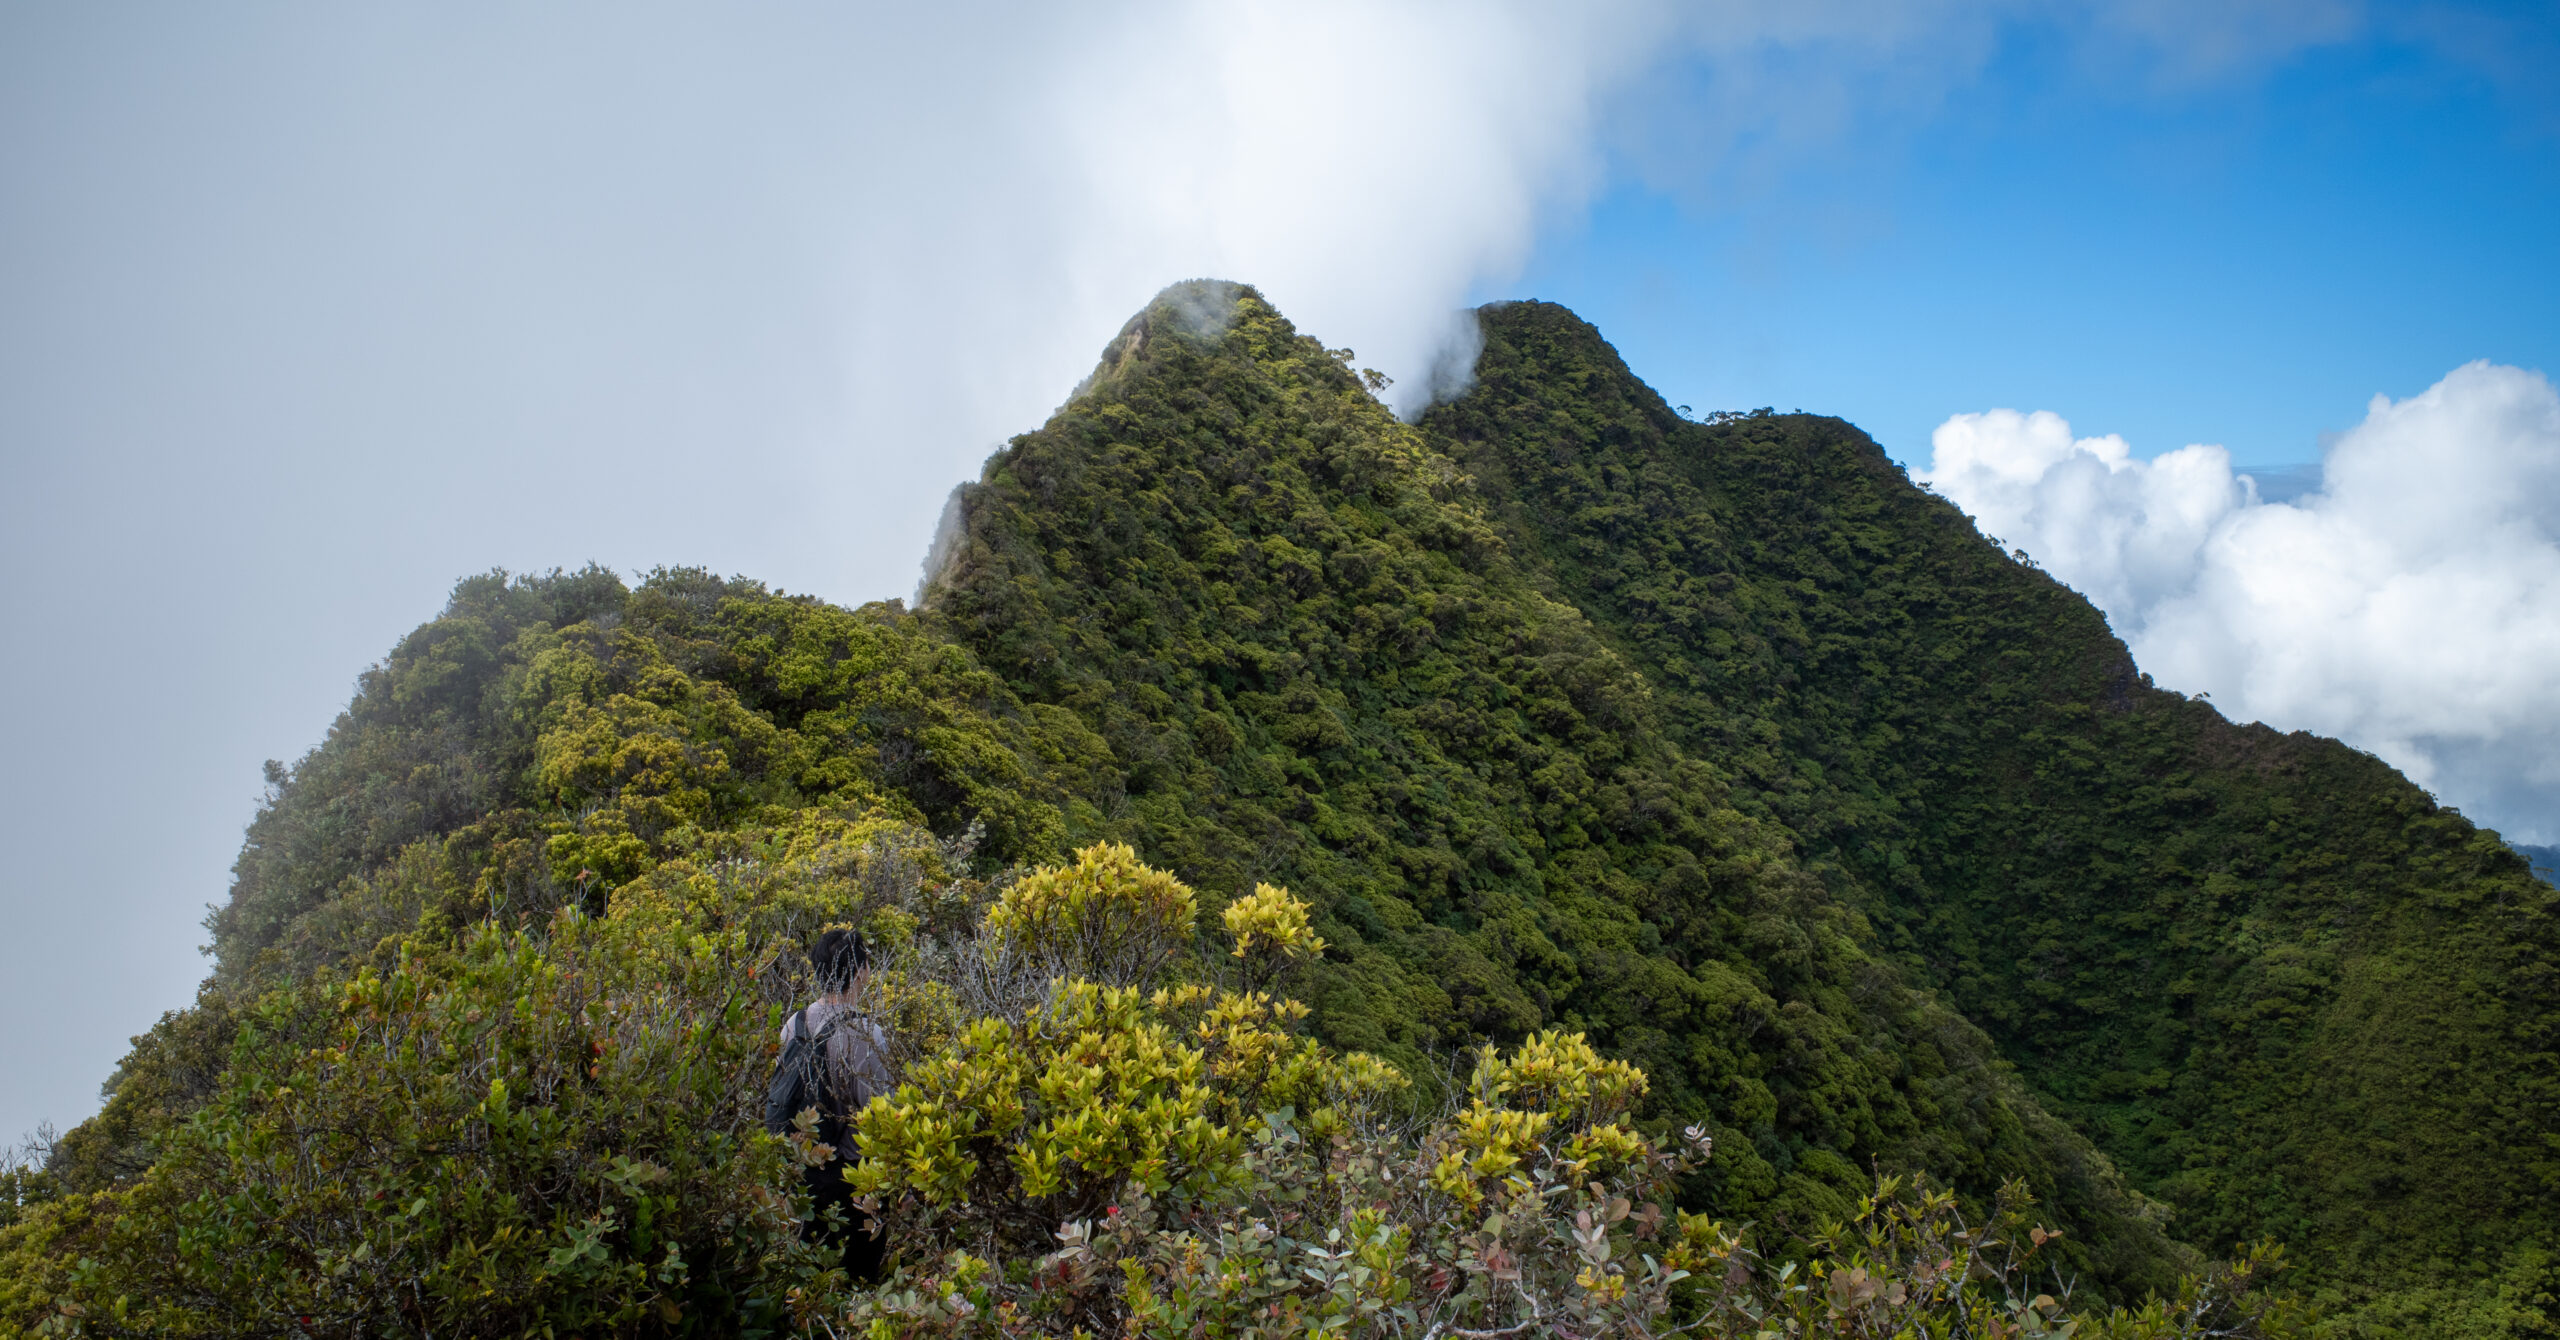
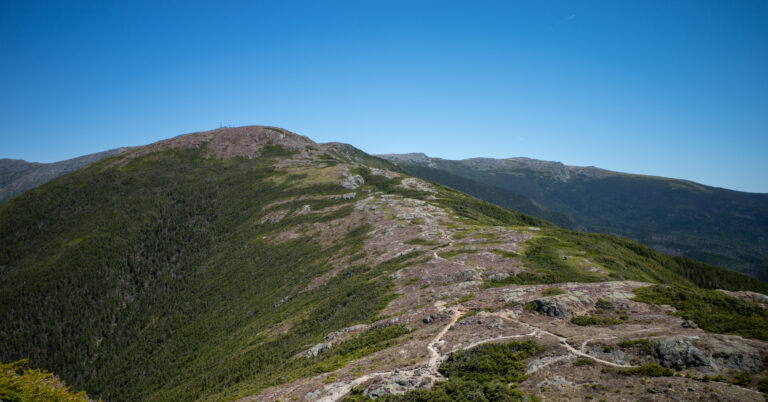
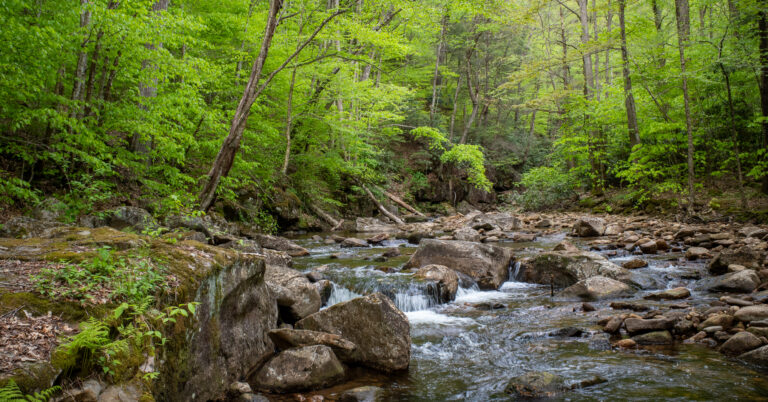
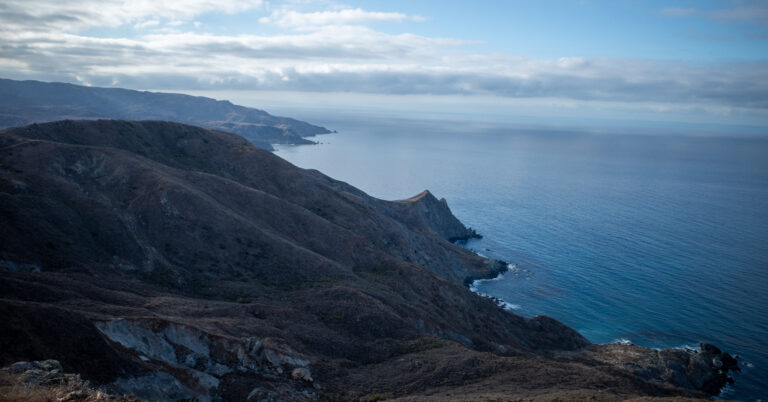
Six frames from the trek, from the forested trail near O Belvédère through sunrise at Fare Mato and the exposed summit approach.